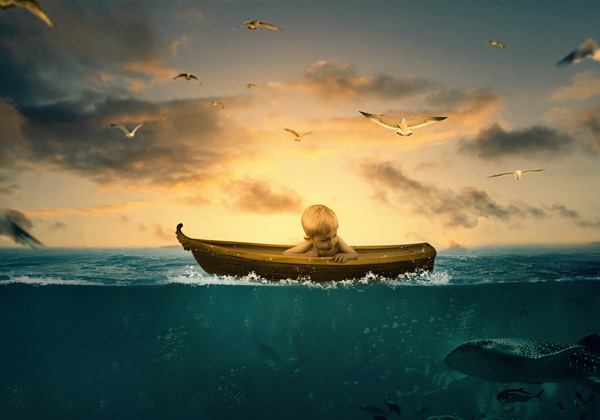
Step 11
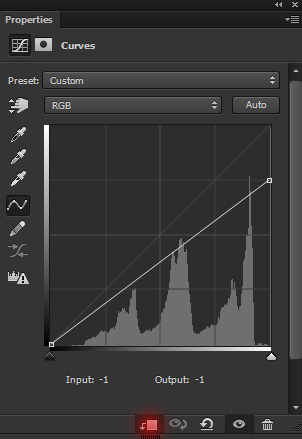
Now select the underwater layer and make a Curves adjustment layer and set it as clipping mask (press the red icon). Reduce the brightness of the underwater using the following settings:
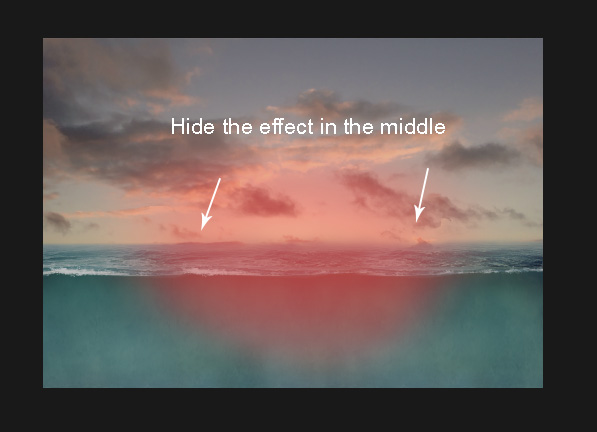
I erased the effect on the highlighted red area as I want to keep it brighten. Also, I aim to create light source there. To erase the effect, select the layer mask of the Curves and using a soft, basic brush mask the effect.
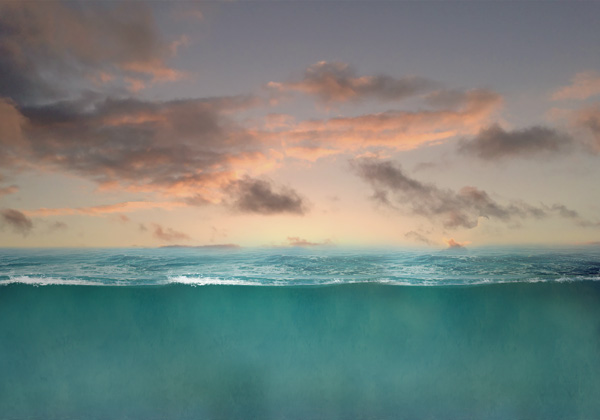
Results after erasing effect:
Step 12
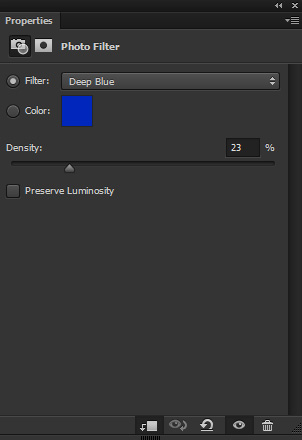
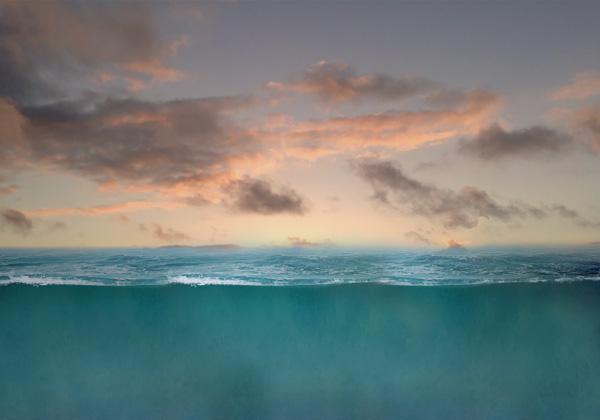
Make a Photo Filter adjustment layer for underwater layer and add more color to underwater.
Results:
Add the Underwater 2
Step 13
Add the underwater stock 2 to main document and place it to the bottom right side.
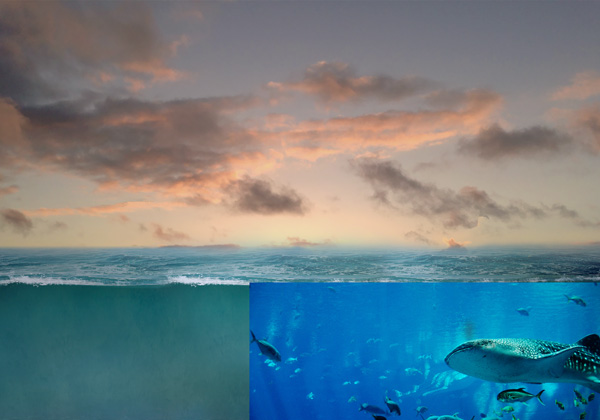
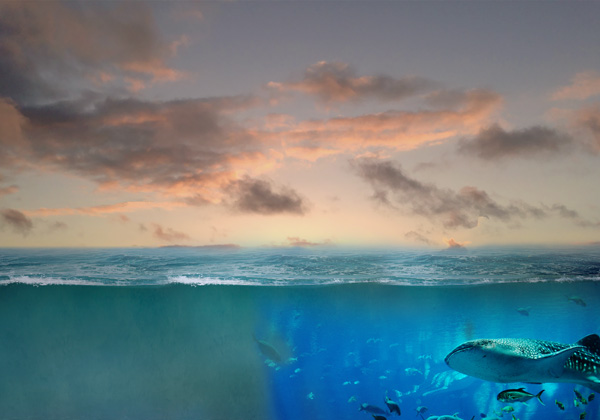
Add a mask to underwater 2 stock. Use a soft, basic black to mask the unwanted edges and blend it properly with existing background.
Step 14
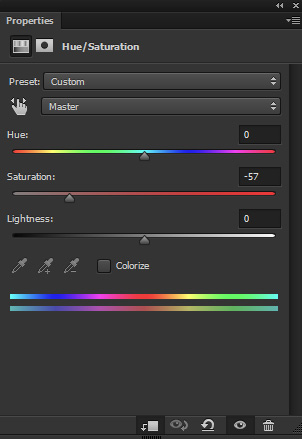
Make a Hue/Saturation adjustment layer and decrease the Saturation value to -57.
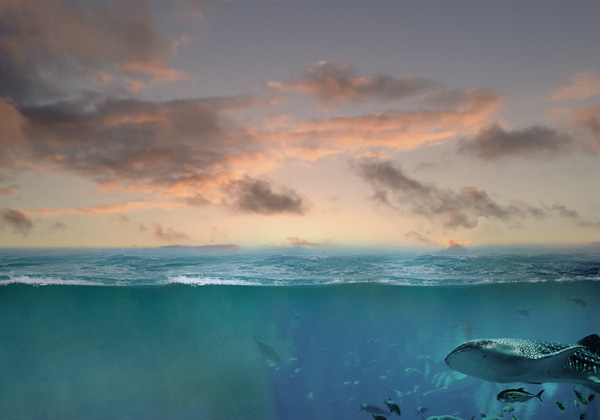
Results:
Step 15
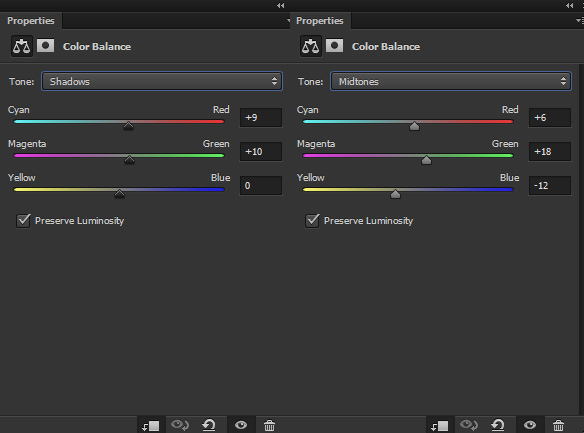
Make a Color Balance adjustment layer and change the Shadows and Highlights values to match the color of underwater 2 with the rest of the background.
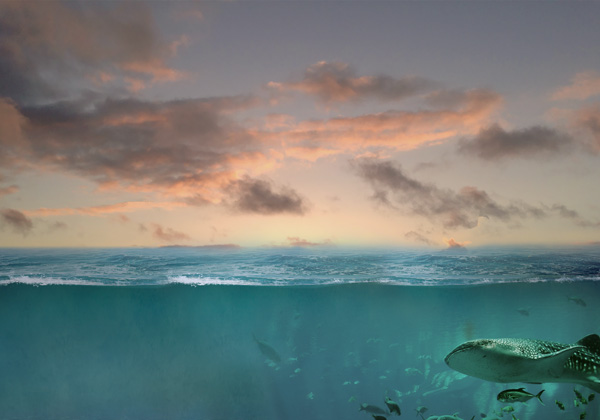
Results:
Add the Fishes
Step 16
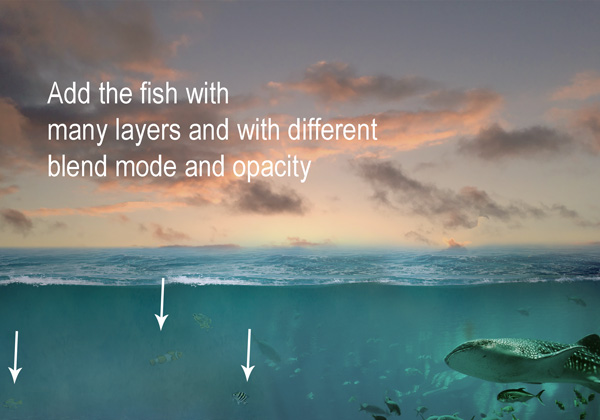
Using fishes image add the fishes as shown in below image. Try to change the blend modes and opacity to blend them inside the underwater. I used Overlay blend mode for each fish layer but the different opacity.
Add the Boat
Step 17
Place the boat image to main document.
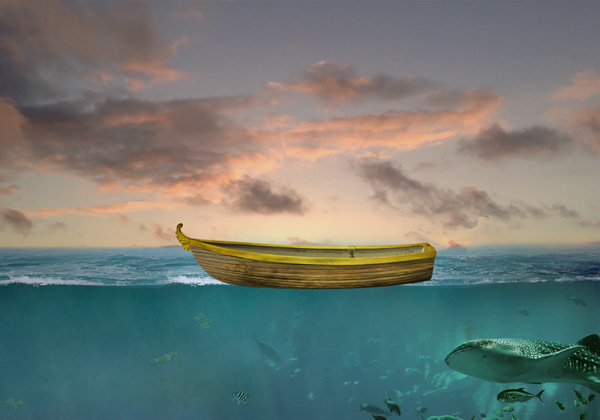
Add a mask to boat layer. Use a medium-soft black brush to mask its lower parts and make the lower part of the boat appear under the sea surface.
Step 18
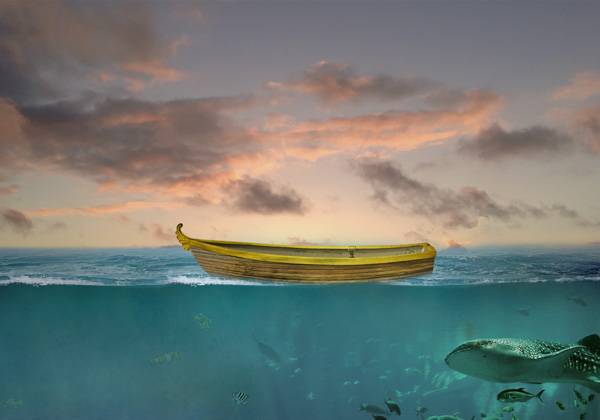
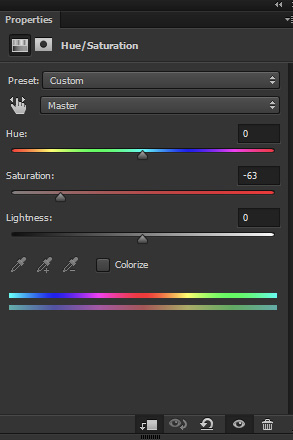
Make a Hue/Saturation adjustment layer for boat and use it as Clipping Mask. Now reduce the saturation by setting Saturation value to -63.
Results:
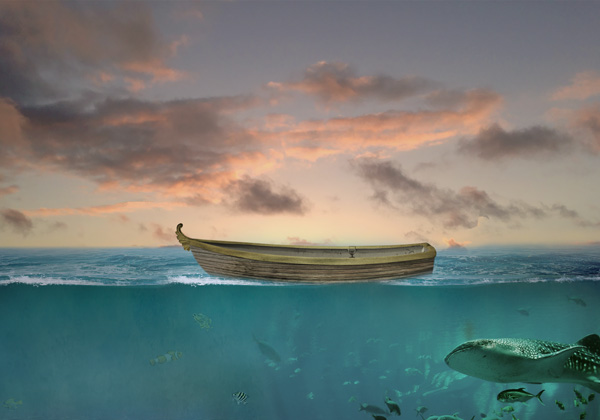
Step 19
Make a Curves adjustment layer and reduce the brightness of the boat.
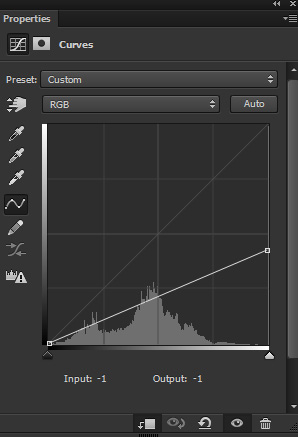
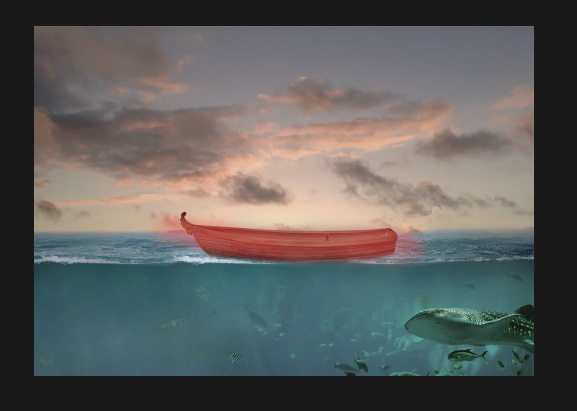
On the layer mask of Curves, mask the effect on the highlighted red area to leave the dark effect on those parts that are less reflected by the light.
Results:
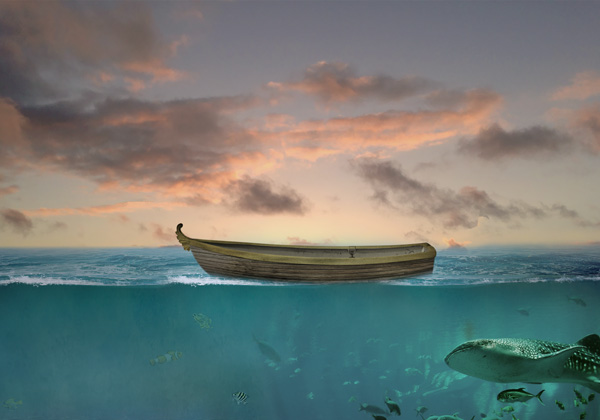
Step 20
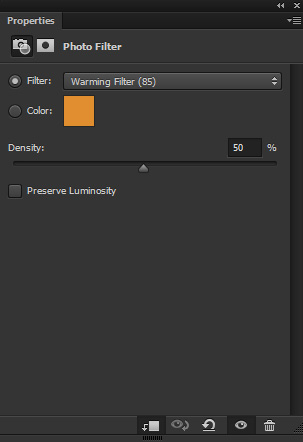
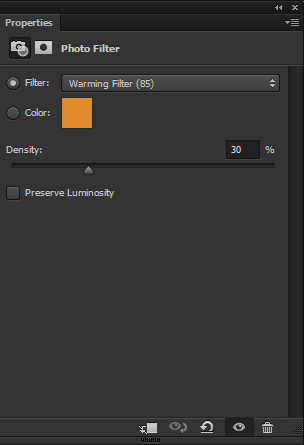
Make Photo Filter adjustment layer for boat. Use the Warming Filter (85) to match the boat color with sky.
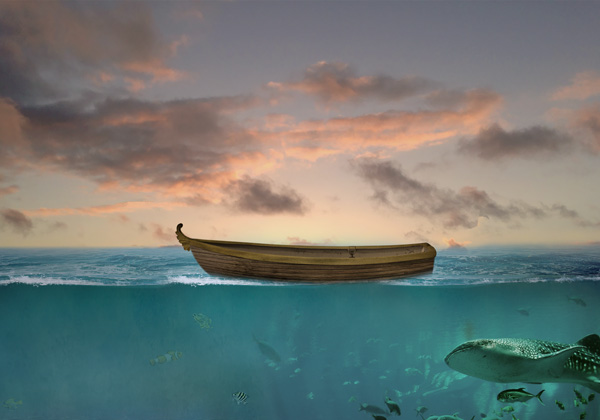
Results:
Step 21
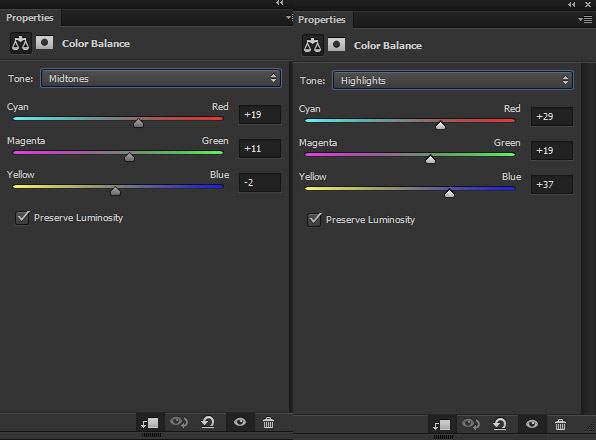
Make a Color Balance adjustment layer and further enhance the color of boat by altering Midtones and Highlights value.
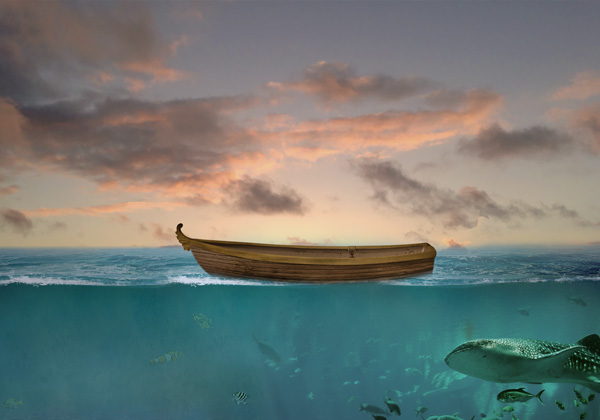
Results:
Step 22
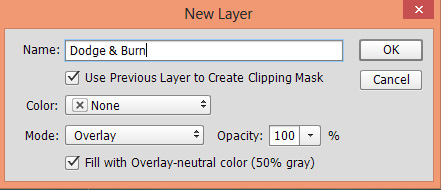
Create a new layer (set as Clipping Mask). Change the blending mode to Overlay 100%, and fill this layer with 50% gray.
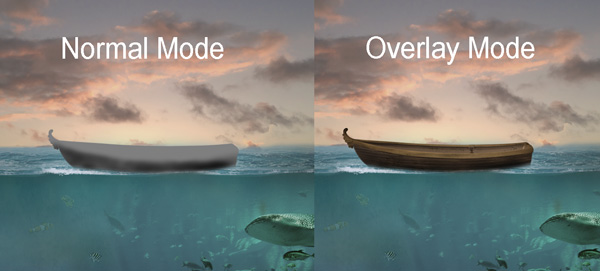
Select the Burn Tool (O) with Midtones Range Exposure about 10% to add more shade to the lower parts of the boat. You can see how I did it with Normal and Overlay mode.
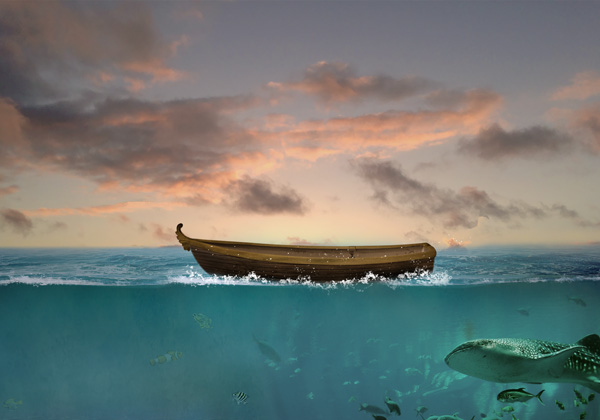
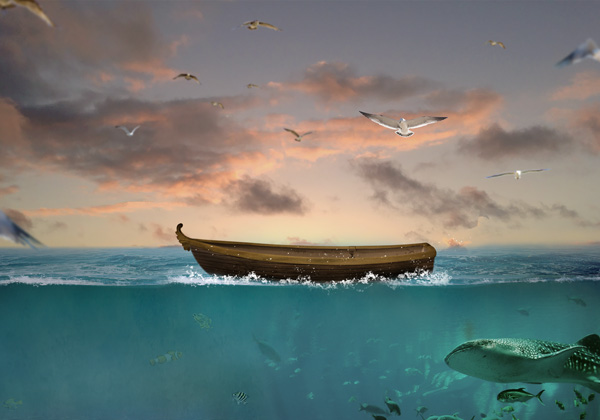
Load the water splash brushes in Photoshop. Use the water 07 splash brush to paint water splashes around the boat as shown below.
Step 23
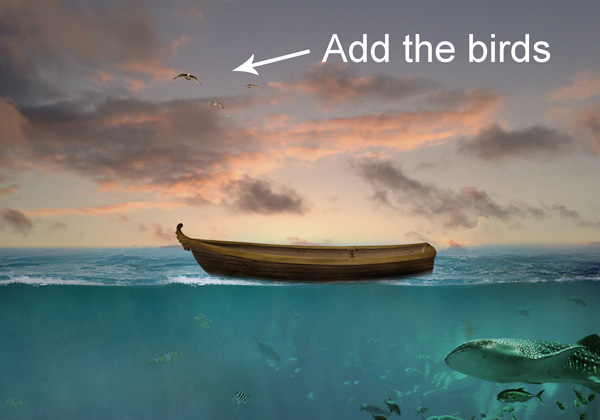
Open up the birds 1 image in Photoshop. Isolate the birds from the background using Magic Wand Tool and then place the birds to the main document. Make the birds smaller using Transform Tool (CTRL + T) to appear them far in the scene.
Step 24
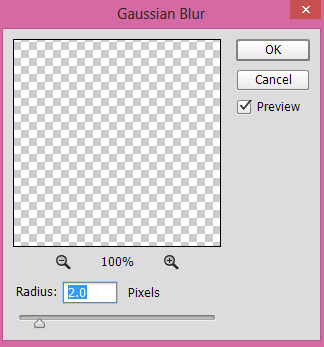
Convert the birds layer into Smart Objects. Go to Filter > Blur > Gaussian Blur and set the Radius to 2px.
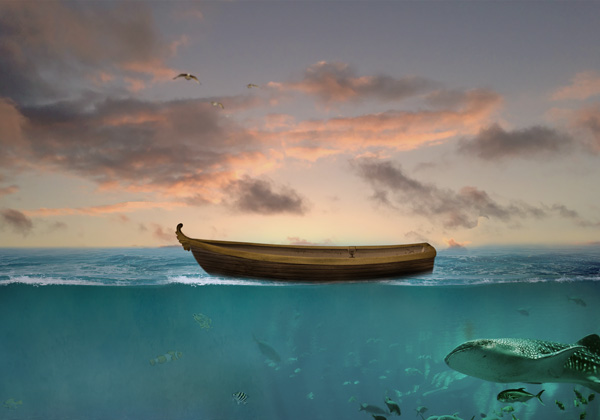
Results:
Step 25
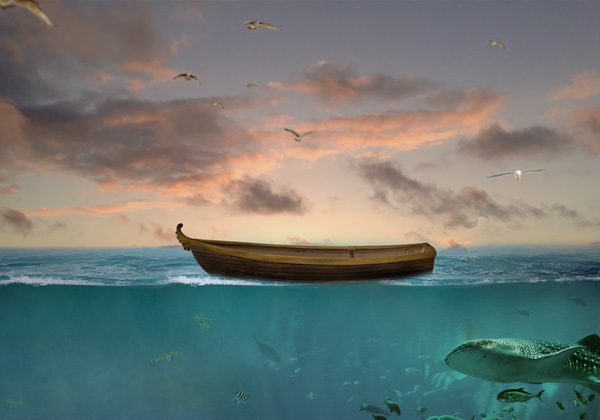
Similarly add more birds to scene using bird 1 and bird 2 image. On each of these layer apply 2px Gaussian Blur.
Step 26
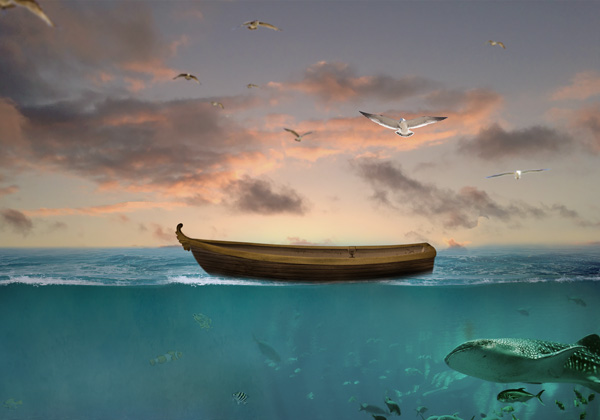
Isolate the bird 3 from the background and place it just the above the boat. Don’t apply the blur to this bird.
Step 27
Open up the birds 4 layers and isolate the birds from the background. Place two birds at the corners.
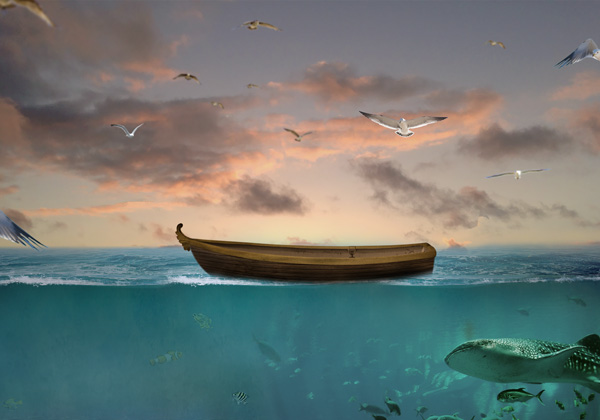
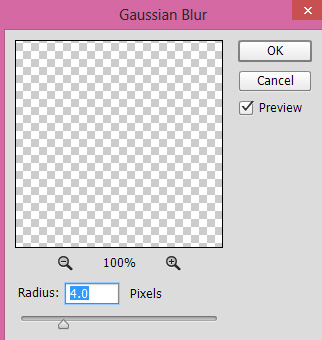
Apply 4px Gaussian Blur on these two corners birds to create more depth.
Results:
Step 28
Select all bird layers and CTRL + G to make a group for them. Change the mode of the birds group from Pass Through to Normal 100%.
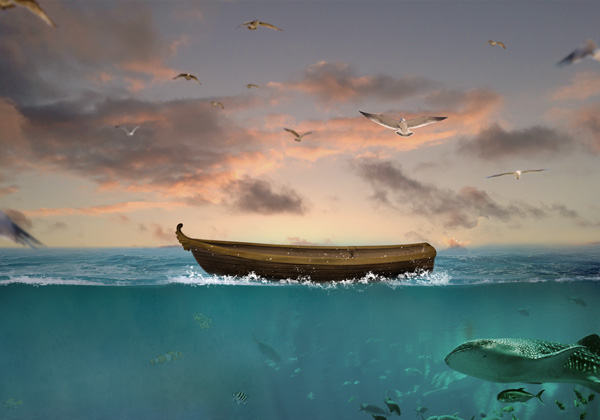
Create a Photo Filter adjustment layer to match the color of birds with the sky. Don’t forget to make this adjustment layer inside the group.
Results:
Step 29
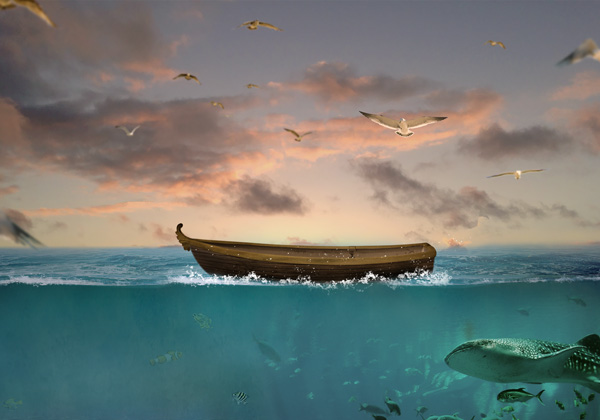
Create a new Color Balance adjustment layer for birds. Use the Midtones and Highlights settings.
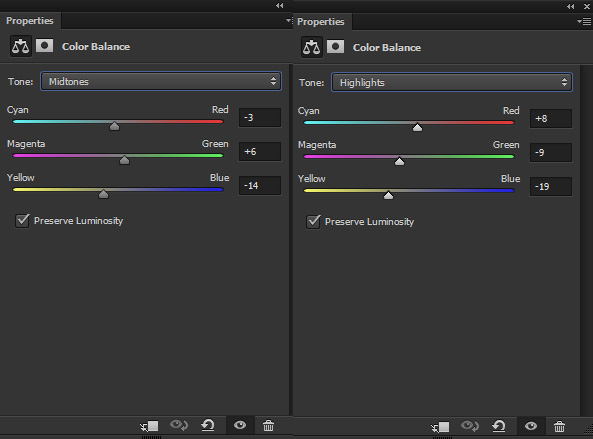
Results:
Step 30
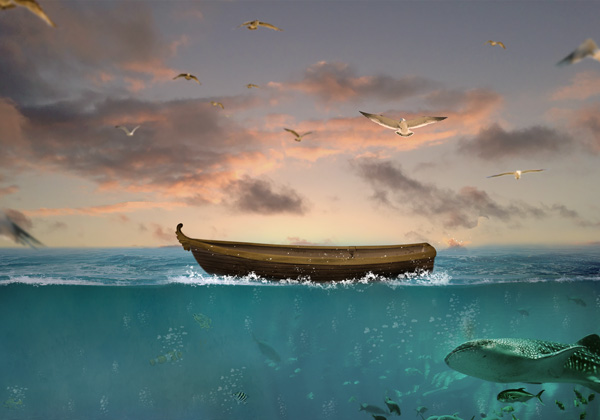
Using the bubbles brushes paint the bubble as shown below.
Step 31
Extract the little pal from the background and place him to the main document. If you notice then you’ll find I masked the left hand to make the boy appear he is inside the boat but don’t mask the right hand.
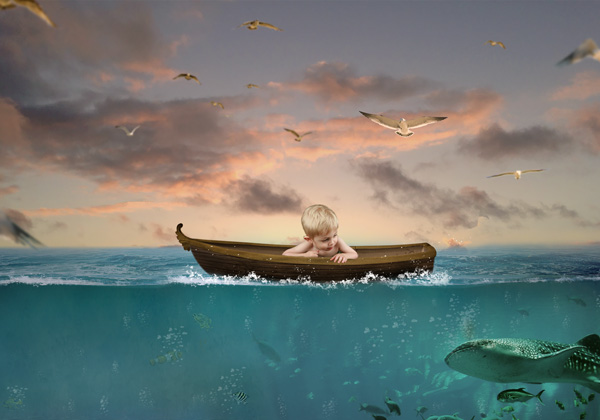
Step 32
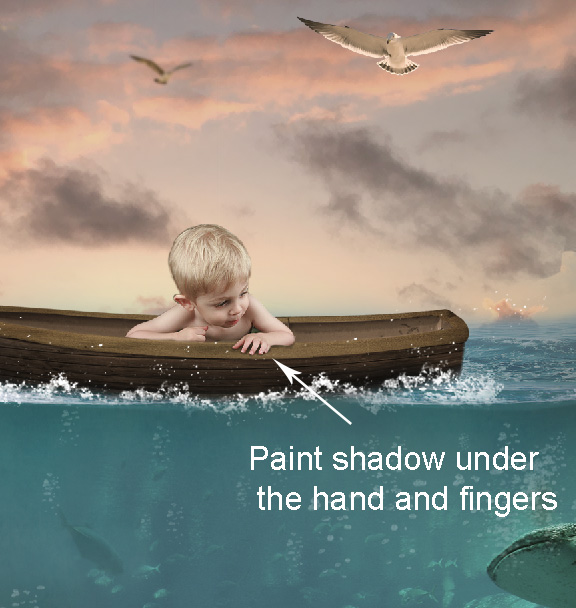
I created a new layer under the boy. Using a soft black brush I painted subtle shadow under the right hand and fingers. The shadow will be barely visible but for detailing it do make sense to create the shadow. If you don’t want to make shadow then just skip the step.
Step 33
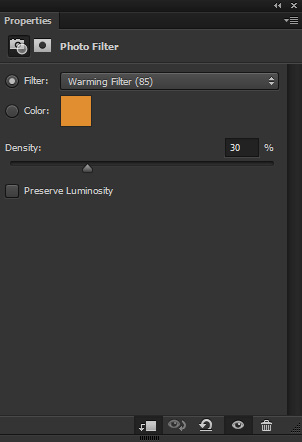
Create a Photo Filter adjustment layer to match the color of boy with sky.
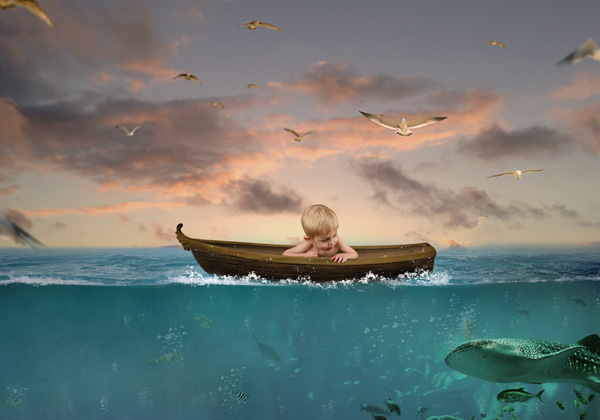
Results:
Step 34
The child looks too bright at the moment and also, we need to refine the light and shade on him. Make a Curves adjustment and reduce the brightness.
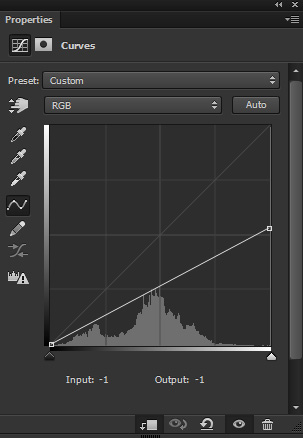
On the layer mask of Curves, I masked the effect on several parts to maintain light there like on the head, left shoulder and hand and many other areas. You can see the highlighted red area where I masked effect using the soft-medium black brush.
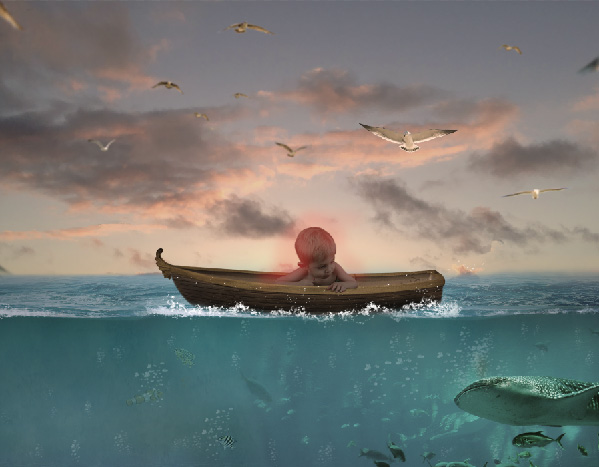
Results:
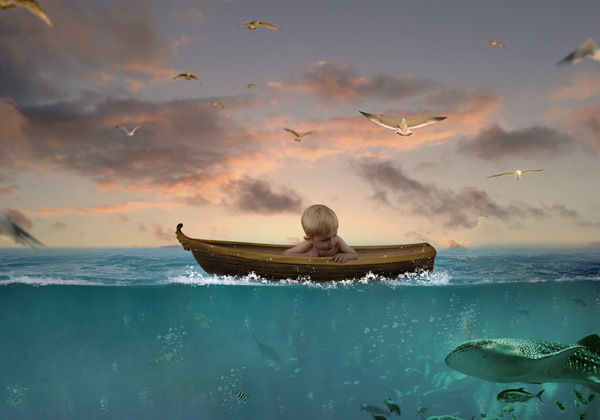
Step 36
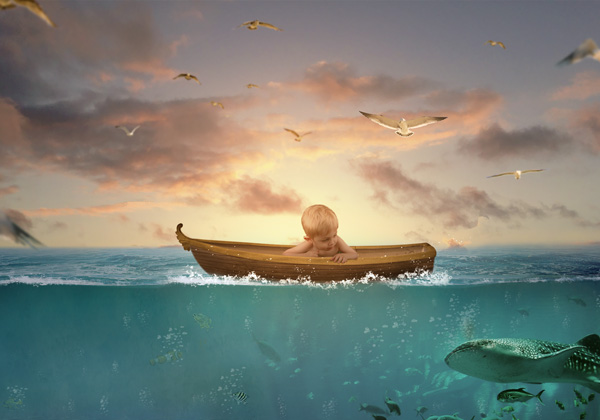
Create a new layer and name it ‘light source’. Set the foreground color to #6a3d19. Now pain the light on the middle section.
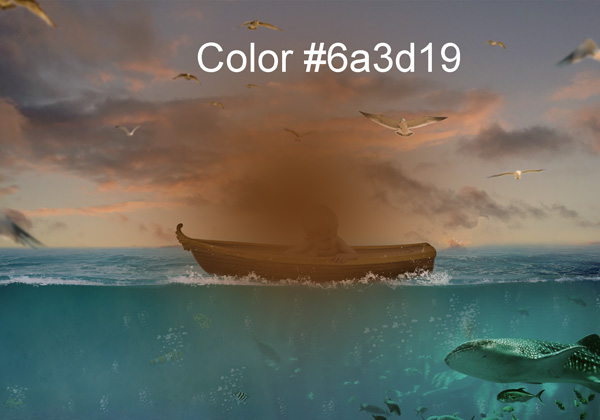
Set the blending mode to the Linear Dodge and lower the opacity to 74%.
Final Adjustments
Step 37
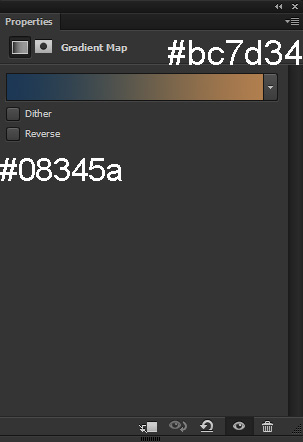
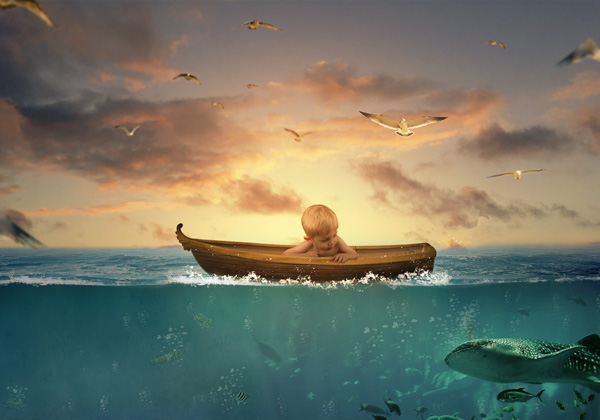
Create a Gradient Map adjustment layer on top of the layers and pick the color #08345a and #bc7d34. Change this layer blend mode to Soft Light and lower the opacity to -69%.
Results:
Step 38
Make a Curves adjustment layer and decrease the brightness.
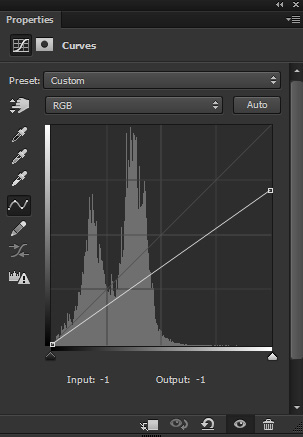
On the layer mask, use a soft black brush to erase the effect on the highlighted red area and leaving the bottom right and left (not completely) corner darker.
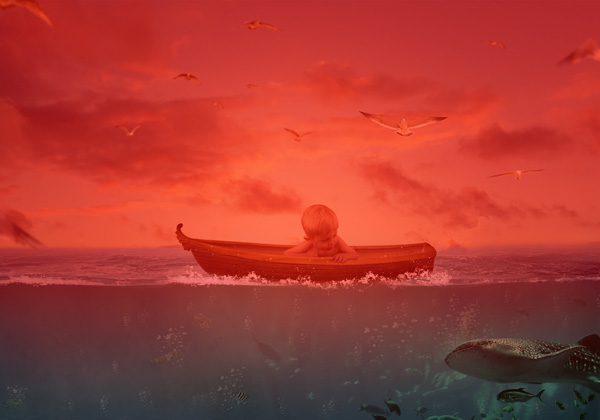
Results:
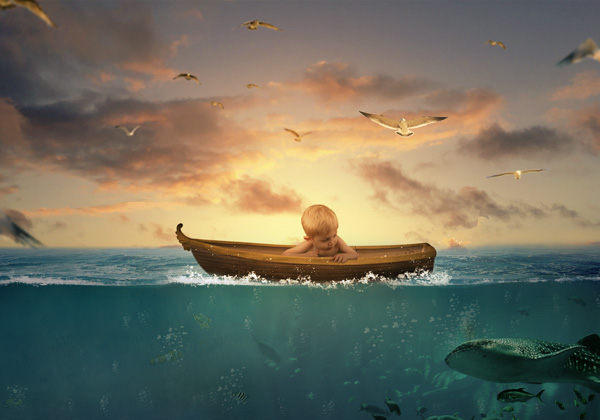
Step 39
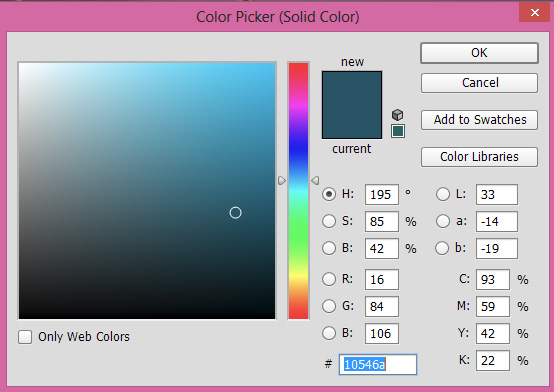
Make a Solid Color adjustment layer and pick a dark blue color (I chose #10546a). Set the blending mode of this layer to Multiply and lower the opacity to 25%. Also, only keep the effect on the underwater and sea surface area, use a soft black brush to erase the effect on upper parts.
Results:
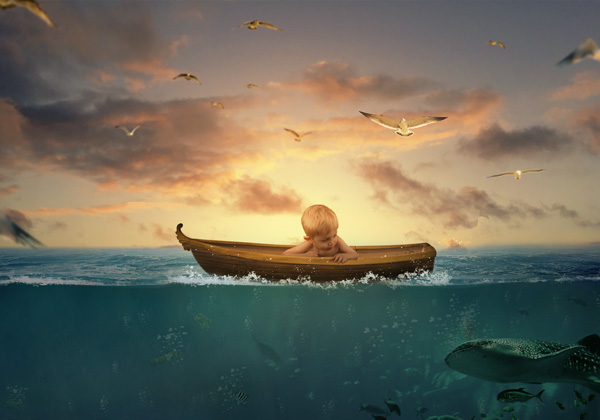
Step 40
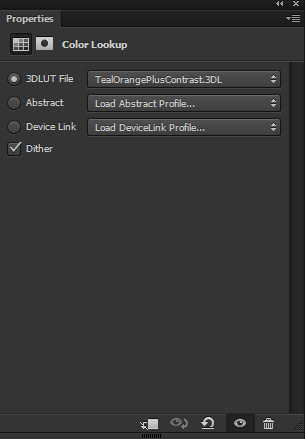
Finally, create a Color Lookup adjustment layer and choose the Teal Orange Plus Contrast filter.
Lower the opacity of this layer to 70%.
Final Results:
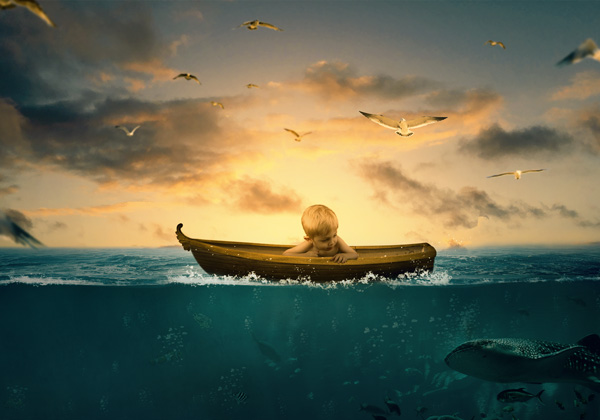
Conclusion
Thanks for following the tutorial. I hope you enjoyed the creating process of surreal underwater photo manipulation in Photoshop with this tutorial. If you have any question then just drop me a message. Have a great Photoshopping day!!

Nice tut. Thanks
Thanks William!!
WOW! It came out awesome.
I cant wait for you to publish even more.
Learning so much from this
Thanks Red!
where did you get the fish from in step 16?
Thanks for notifying my Juan. I just added the link to fishes image. I really appreciate that!