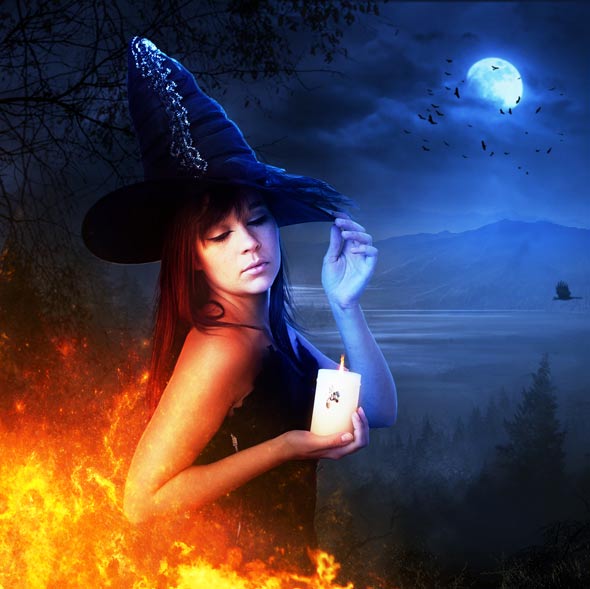
Learn how to create this dark, fiery Halloween witch in this Halloween. In this tutorial, you’ll learn how you can achieve realistic fire effects with the very dark background. You’ll learn how to work with fires, practice retouching, making light effects, painting hairs and deal with complex masking in an easy and effective way.
Find out more by diving right in !!
Tutorial Resources
- Night Background
- Sky
- Moon
- Mountain
- Tree Borders
- Model
- Texture
- Fire 1
- Fire 2
- Raven and Crows
- Birds Brushes
Preparing a Dark Background
Step 1
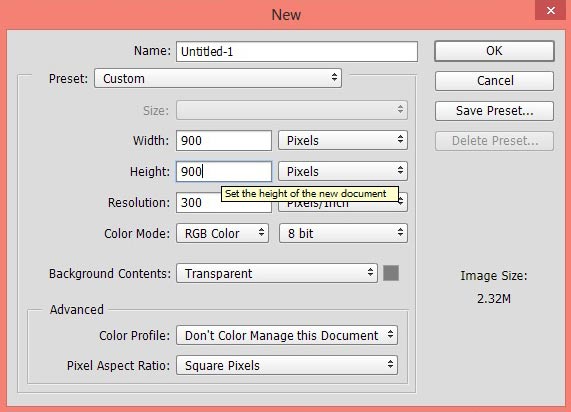
Start by creating a new document by selecting File > New and then set the setting as shown in the image below or feel free to choose your own setting.
Step 2
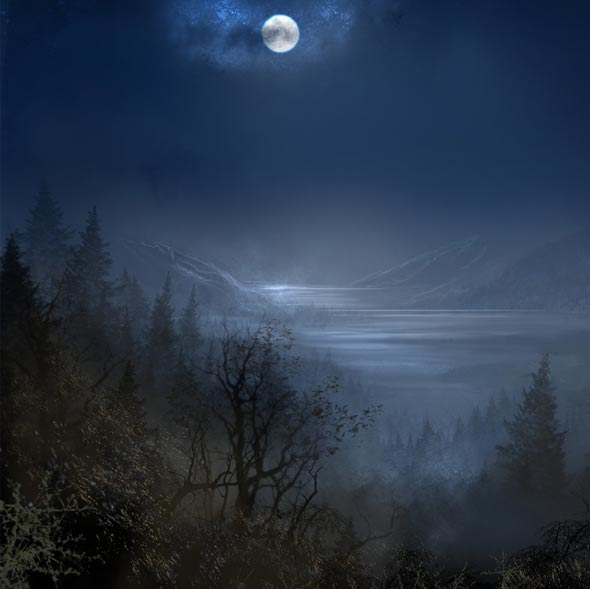
Place the night background image to the main document by selecting File > Place Embedded (Photoshop CC 2014) or Place. Place it as shown in the image below.
Step 3
Add a Layer Mask to night background (Layer > Layer Mask > Reveal All). Activate the
Brush Tool (B) . Set it’s opacity and flow about 30%. Using a soft round black brush hide the sky part of night background.
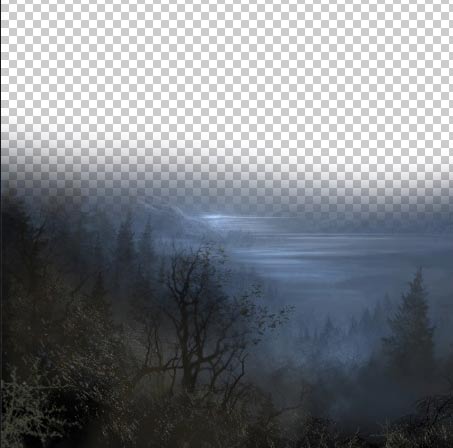
Now place the sky image under the night background layer.
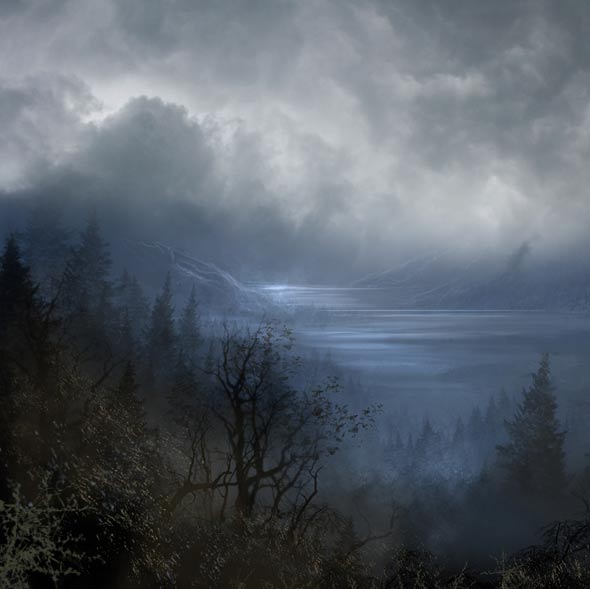
Step 4
Add a Gaussian Blur filter to sky image. But before doing this convert the sky layer into smart objects by right clicking on it and then choose ‘Convert to Smart Object’. Now apply the filter by selecting Filter > Blur > Gaussian Blur. Set the radius value to 2.1px and here are the results.
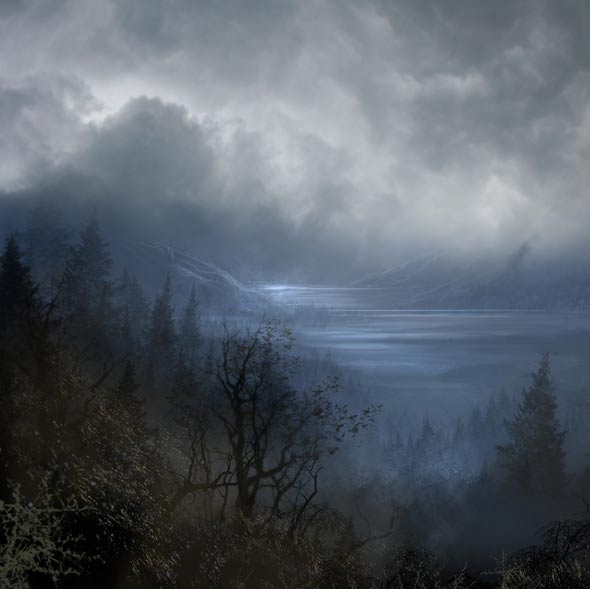
Step 5
Decrease the lightness of sky using Curves (Layer > New Adjustment Layer > Curves) adjustment layer. Here are the values.
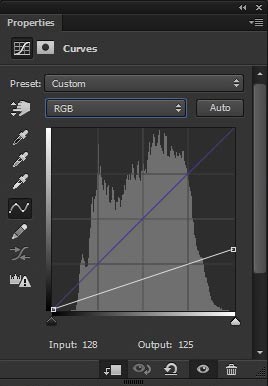
Decreased brightness on sky:
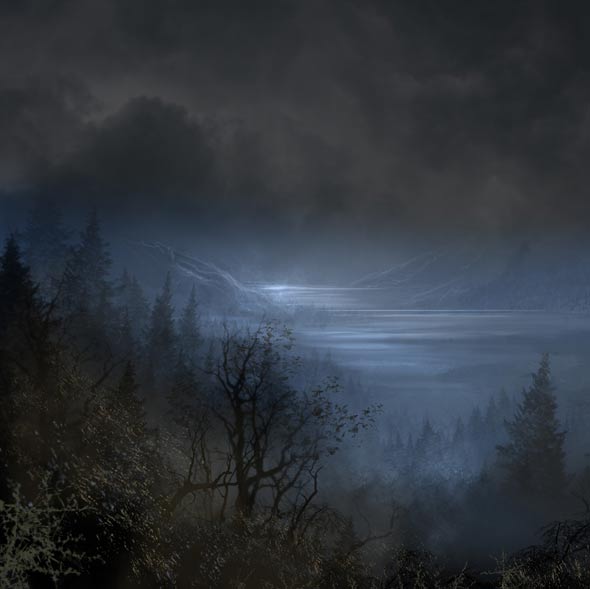
Adding Moon
Step 6
Place the moon to the main document.
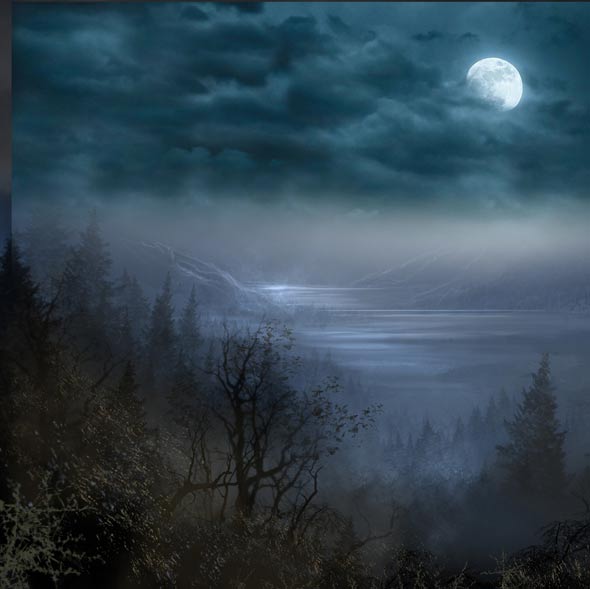
I also added the same amount of Gaussian Blur to the moon as well.
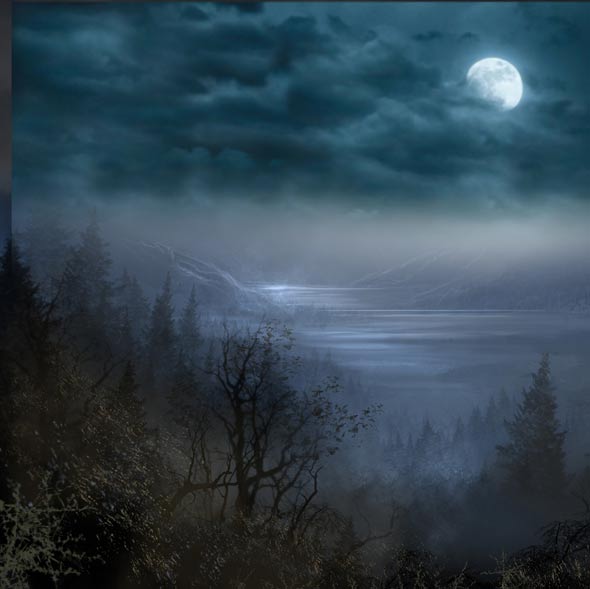
Step 7
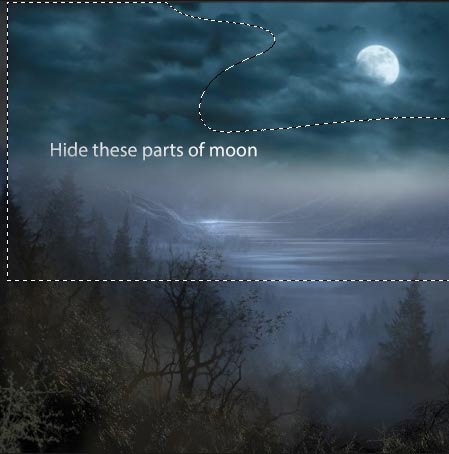
Add a Layer Mask to moon layer. Using a soft round black brush (with same setting in step 3) hide the selected part of moon as shown in the image below.
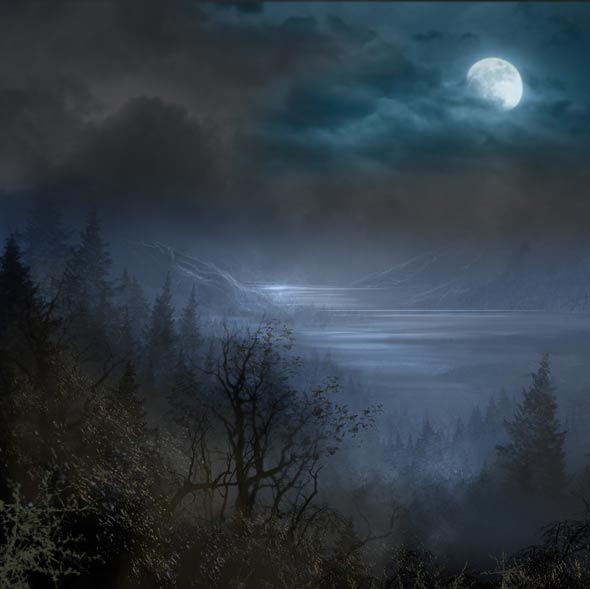
Results:
Step 8
Make a Hue/Saturation to moon as clipping mask (click on the red button to clip it to moon) to reduce the saturation and lightness.
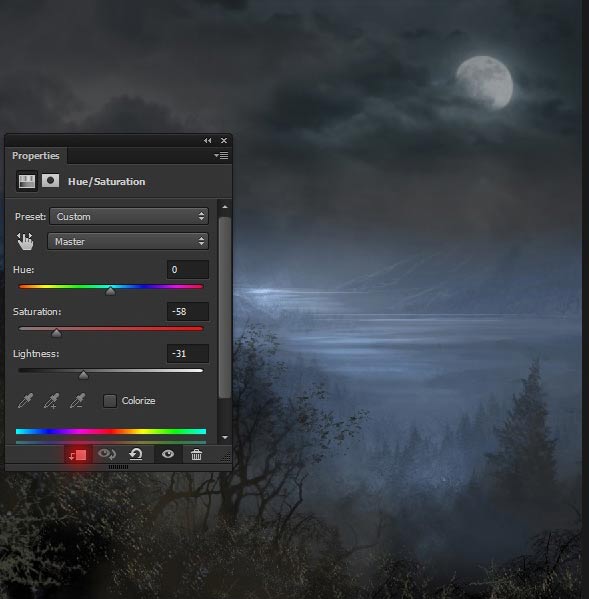
We’ll make the moon brighter further in this tutorial.
Step 9
Let’s add some colors to the sky part of our scene. Make Curves adjustment layer (above the moon) and set the setting as shown in the image below.
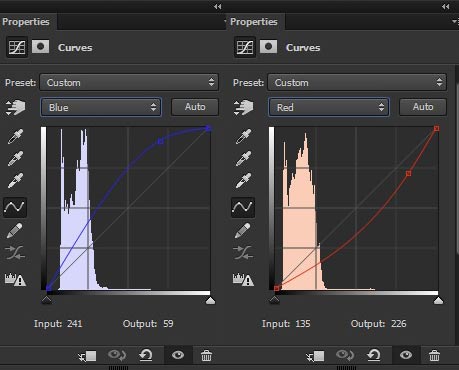
Reduce the opacity of Curves to 49%.
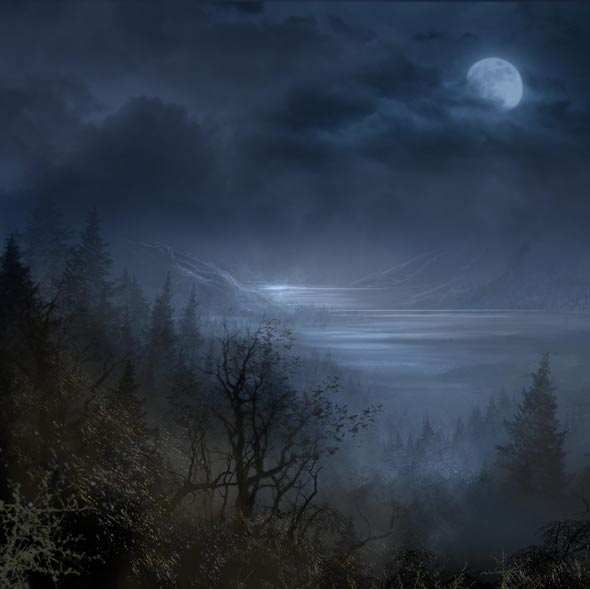
Step 10
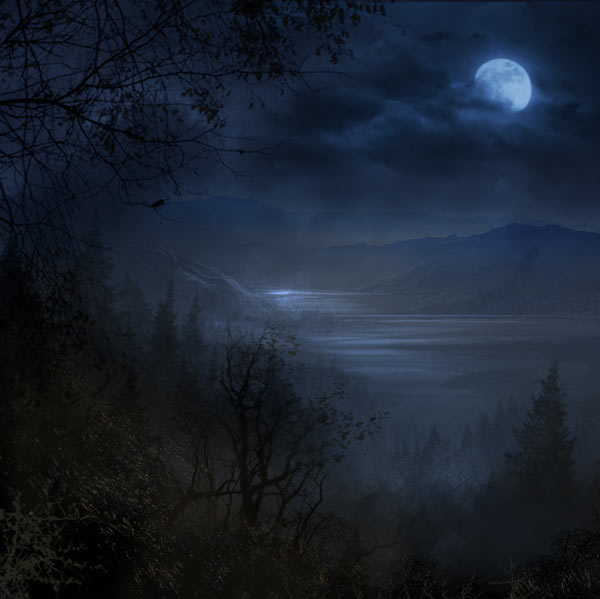
Make a Brightness/Contrast adjustment to increase the brightness and contrast.
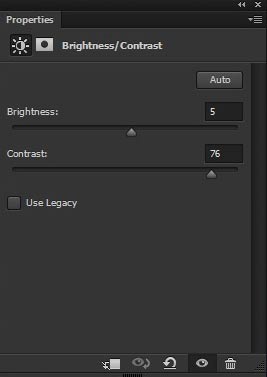
Results:
Step 11
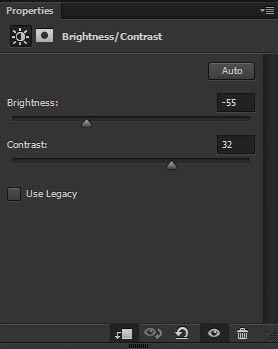
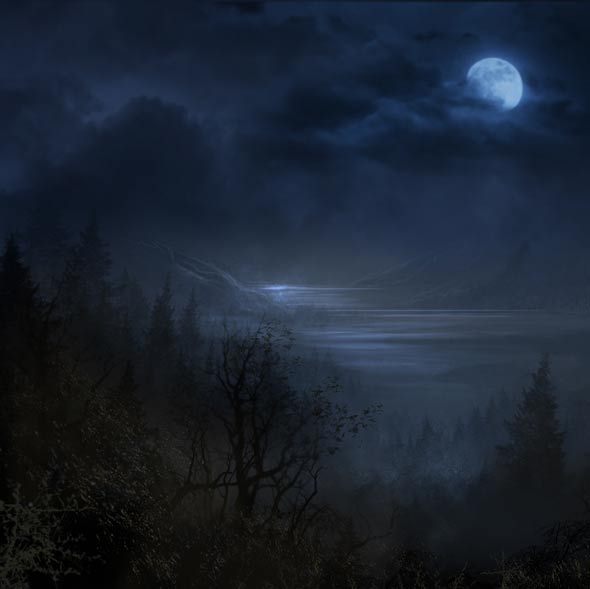
Now head back to ‘night background’ layer and add a Brightness/Contrast adjustment layer to match it’s lightness with above parts of the scene.
Results:
Adding Mountain
Step 12
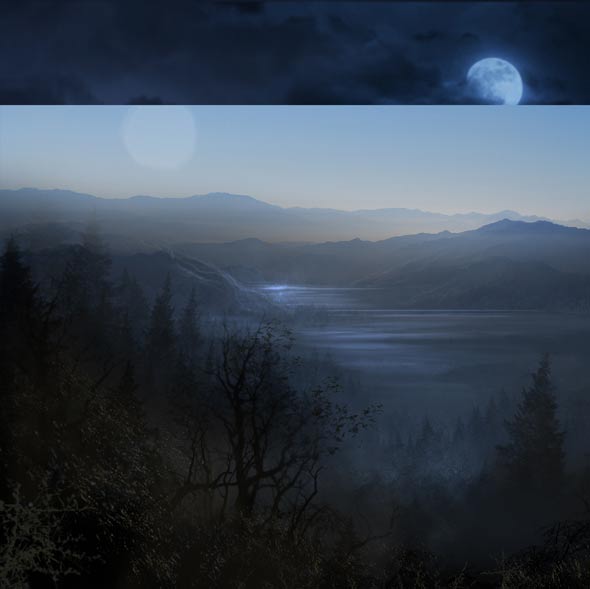
Place the mountain image under the ‘night background’ to complete mountain parts of it. Here is the screenshot below showing how I placed it.
Step 13
Add a Layer Mask to mountain layer and hide the selected parts of it using a soft round black brush.
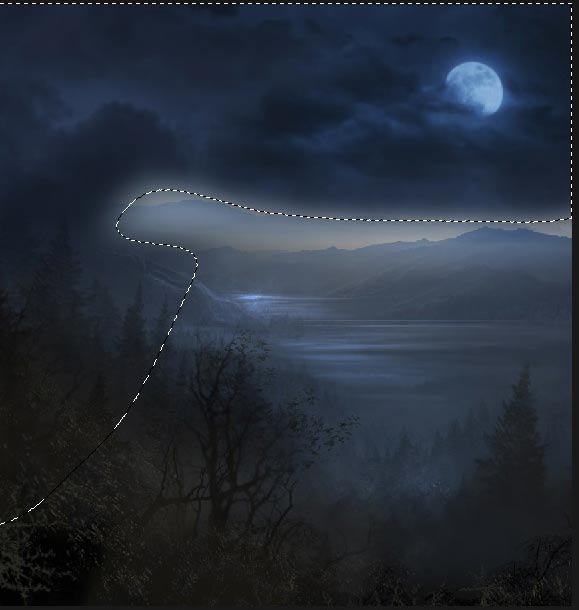
Now simply change the blend mode of mountain layer to Soft Light to blend it to the scene.
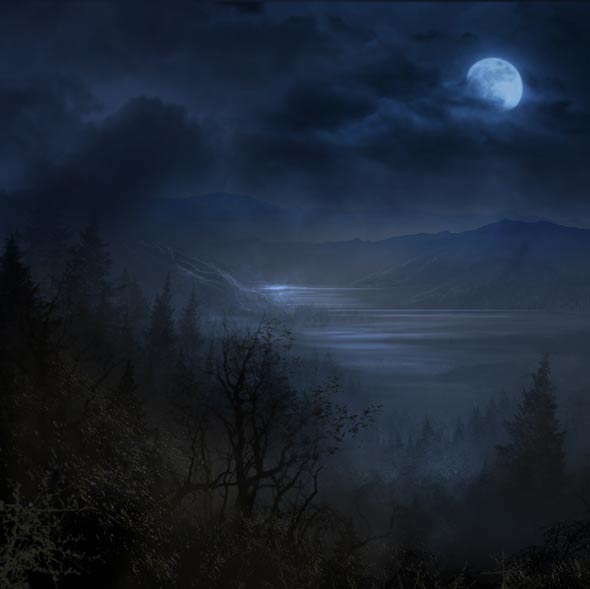
Adding Dead Trees
Step 14
Open up the tree border pack and choose #DSC03177 image then place it at the left top corner of the scene.
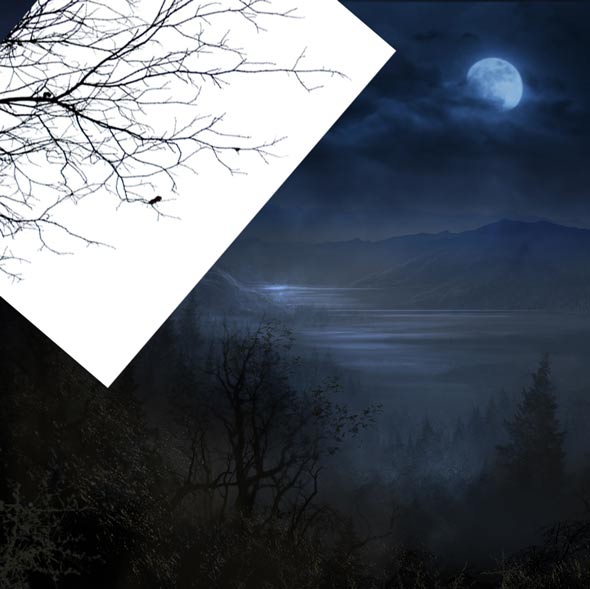
Now change it’s blend mode to Multiply.
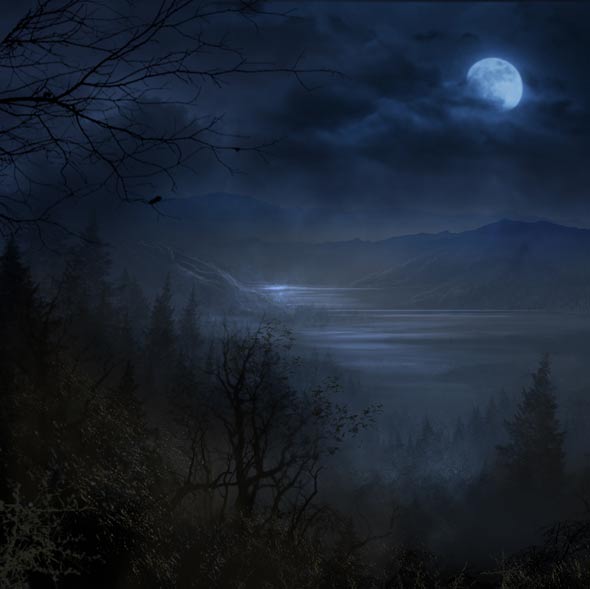
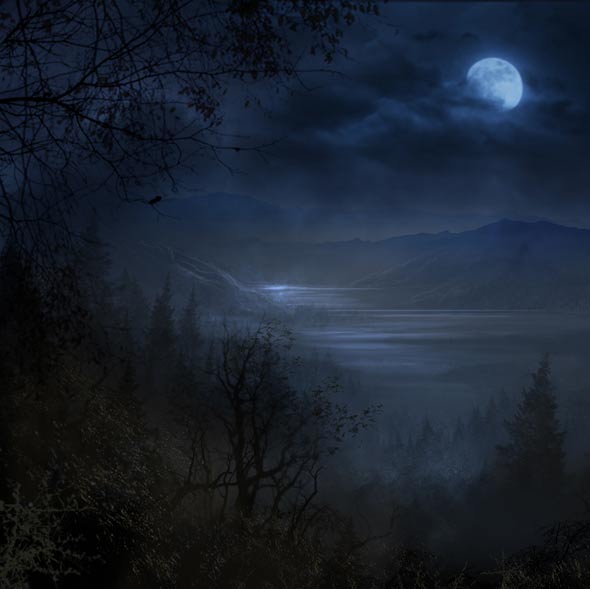
Step 15
Choose one more tree from tree border pack. This time I’ve chosen the DSC03314a and then place it above the last one.
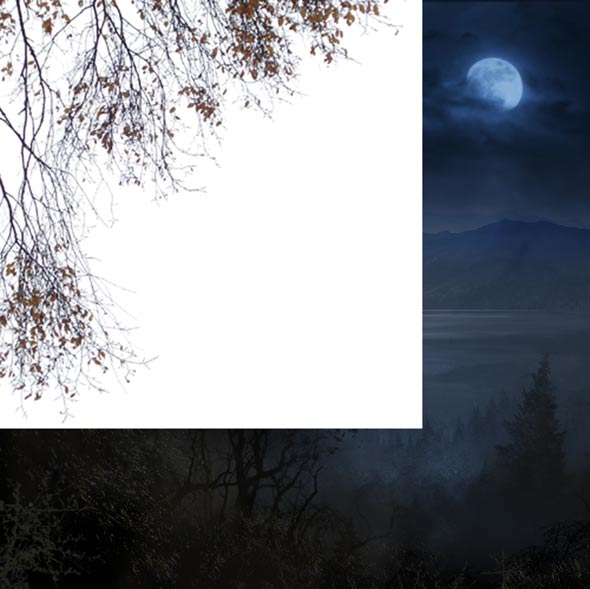
Results after changing the blend mode to Multiply .
Adding Model
Step 16
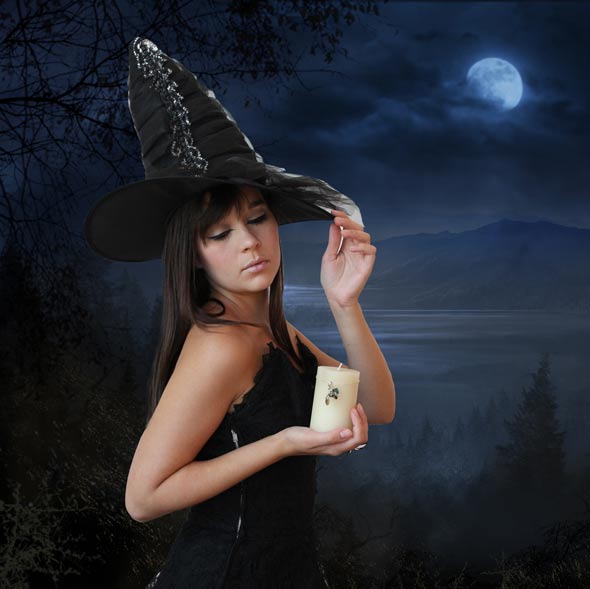
Extract the model from it’s background using selection tool and then place it to the main canvas. Don’t forget to flip the model using Transform Tool (CTRL + T).
Step 17
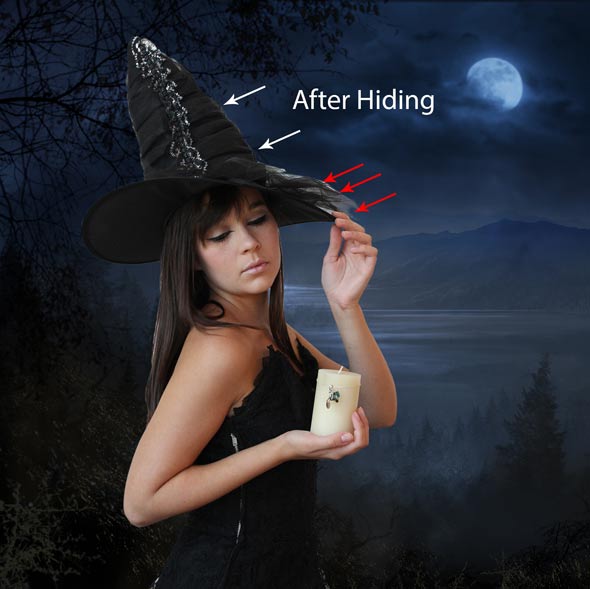
You may notice that there are a lot of transparent parts around the model hat. To be honest, I really don’t like these parts because it is difficult to extract them. To get rid of these parts, I will mask the parts of hat indicated by white arrows but not indicated by red arrows. We’ll blend the parts, indicated by the red arrows, later in this tutorial.
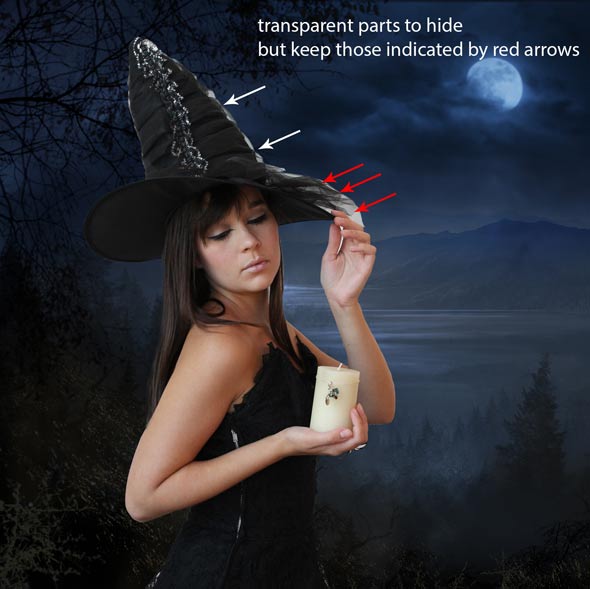
First, choose a soft round black brush and hide out these transparent parts around the model hair. Try to hide it in the shape of the hat. Here are the results after masking.
Painting Hairs
Step 18
Painting the hairs requires little bit skills and patience. I remember those days when I struggled every time while masking the hair but not right now. I’ve also written a Photoshop tutorial about masking the hair using Refine Edge tool but in this tutorial we’ll paint the hair using Smudge Tool .
But before we do that, first duplicate the model layer by pressing (CTRL + J) on the keyboard. Now hide the original model layer by clicking on the visibility icon (eye icon). Then convert the duplicated model layer to ‘Smart Object’ and in that way, you’ll merge the layer mask of the model to it. After that right click on it and then choose ‘Rasterize Layer’. Now you’ll have a layer of the model without layer mask.
Activate the Smudge Tool (just above the Dodge & Burn Tool )on tool box. Set the strength 90% (on the option bar) and reduce the brush size of 2px. Now start painting small hair strands around the model hair. Here how I painted the hair.
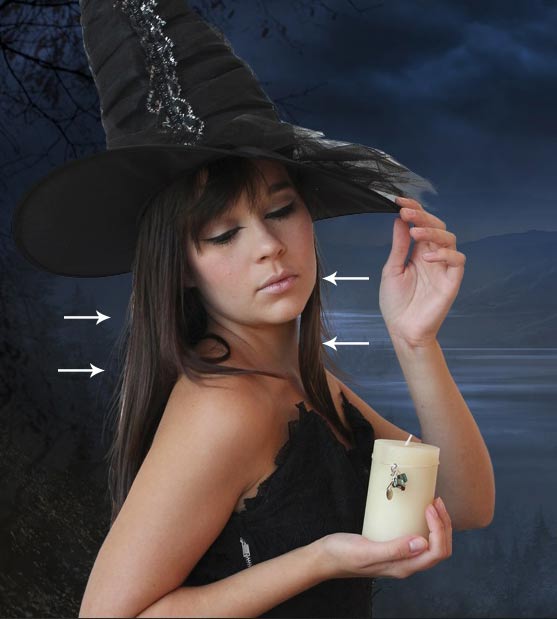
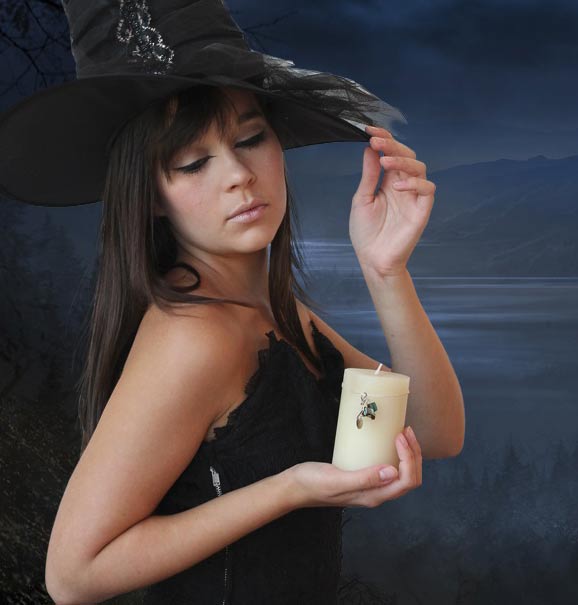
To make the hair more realistic we should add shadow to it. To do this, create a new layer (CTRL + SHIFT + ALT + N) and name it ‘Hairs’ and then clip it to model layer (hover your mouse between the model and hairs layer and then click on it to clip the newly created layer). After that use a soft round black brush with opacity and flow about 30% to add some shades to newly painted hair. So just paint it over the painted hair. Here are the results.
Step 19
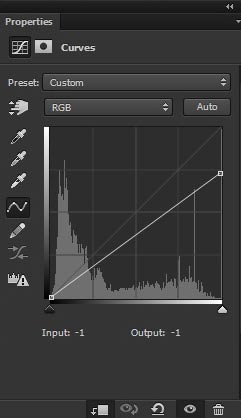
We’ve done with hairs and now it’s time to adjust the model, with the rest of the background, using adjustment layers. First add a Curves adjustment layer and reduce the lightness of model.
Here are the results.
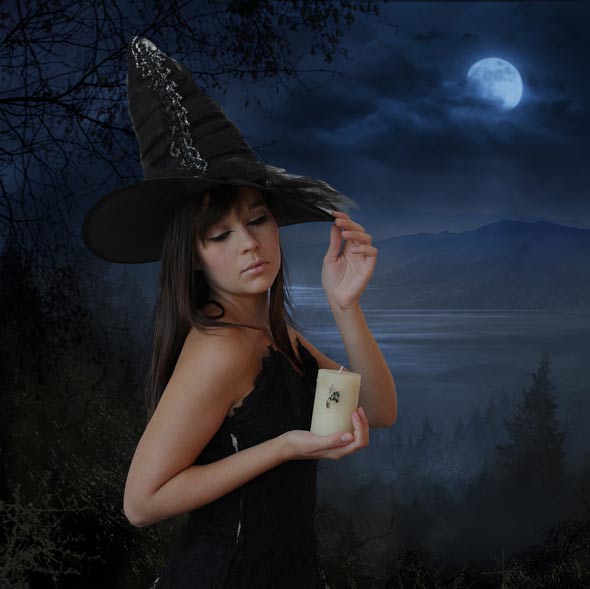
Step 20
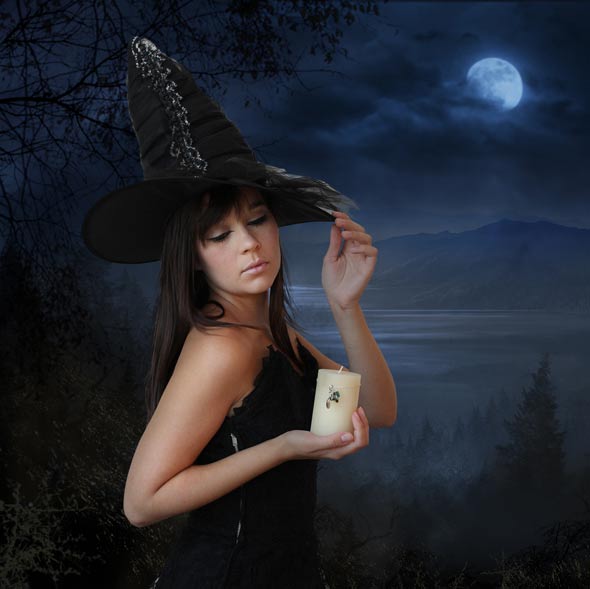
On the layer mask of Curves hide the effect, highlighted in red color to maintain some light there.
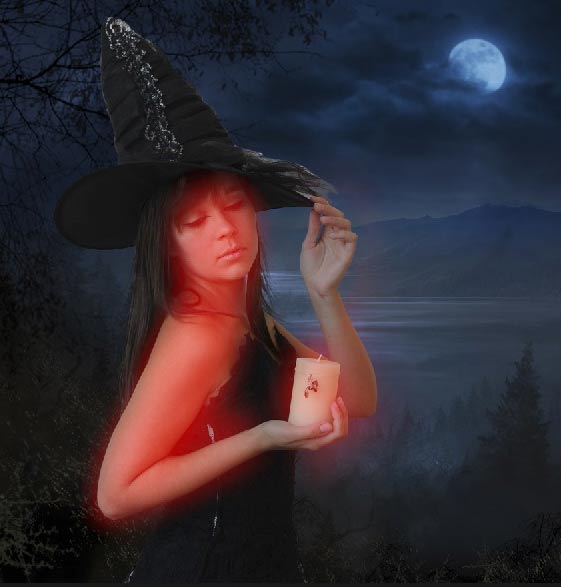
Results after masking:
Step 21
Make a Hue/Saturation adjustment layer to model.
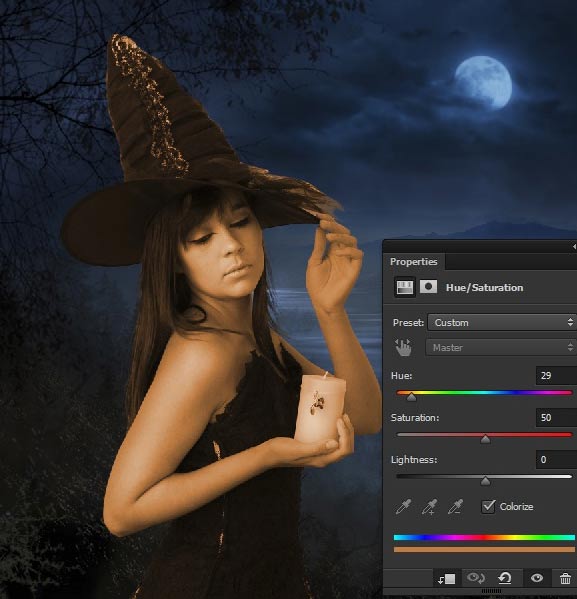
Hide (on the layer mask of this adjustment layer using a soft round brush) the effect of Hue/Saturation on the right-hand side of the model part. Make it visible on the left side especially on the hand, elbow, hair and hat. Because as we know we’ll create the fire effect there and there should be yellow color tones.
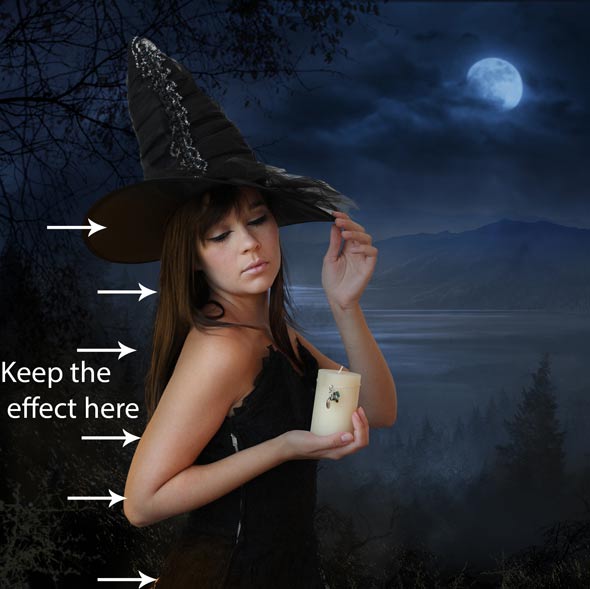
Step 22
Now we’ll darker the left part of model using a Brightness/Contrast adjustment layer. Here are the values.
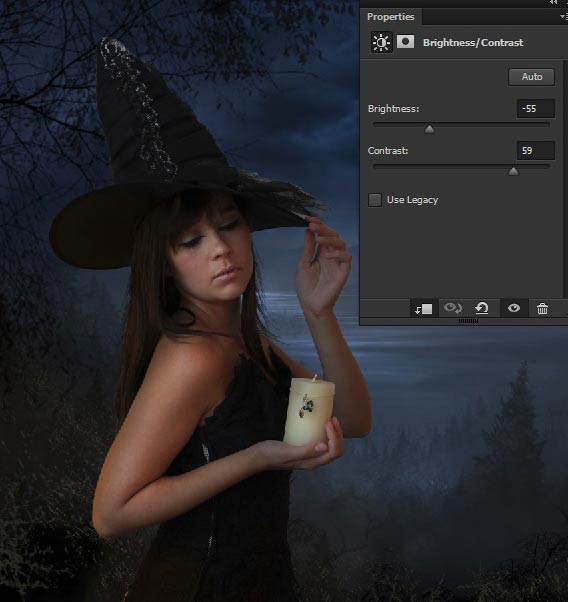
On the layer mask of Brightness/Contrast hide the selected effect using a soft round black brush. That we’ll make the right part of the model more brighter compared to the left part.
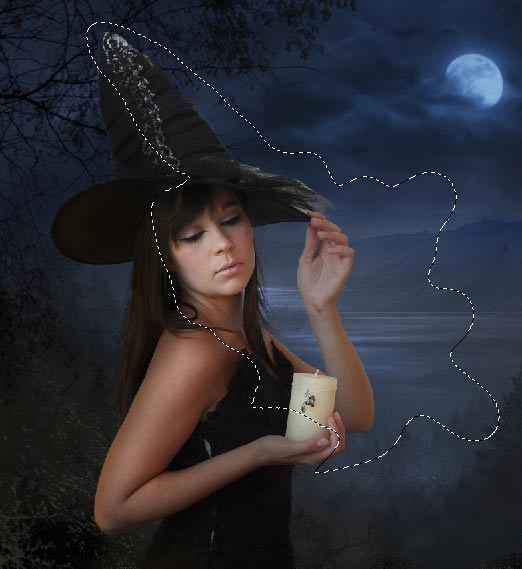
Step 23
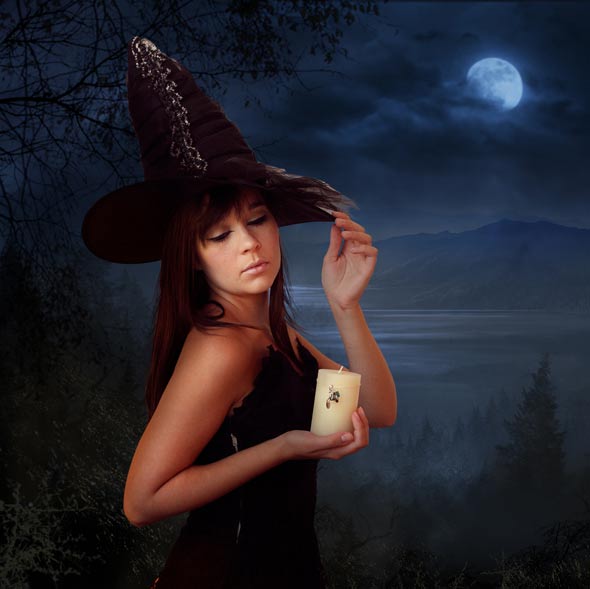
Make a Color Balance adjustment layer to model. Set the setting as shown in the image below to add some red color tones to model.
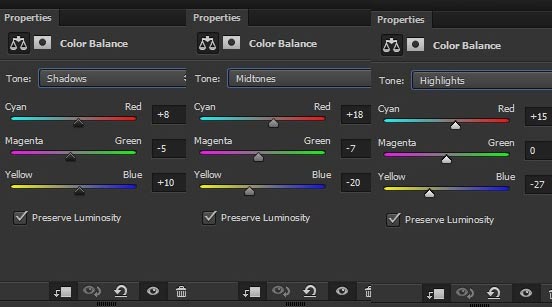
Reduce the opacity of Color Balance to 70%.
Step 24
On the layer mask of Color Balance I erased the selected effect using a soft round black brush.
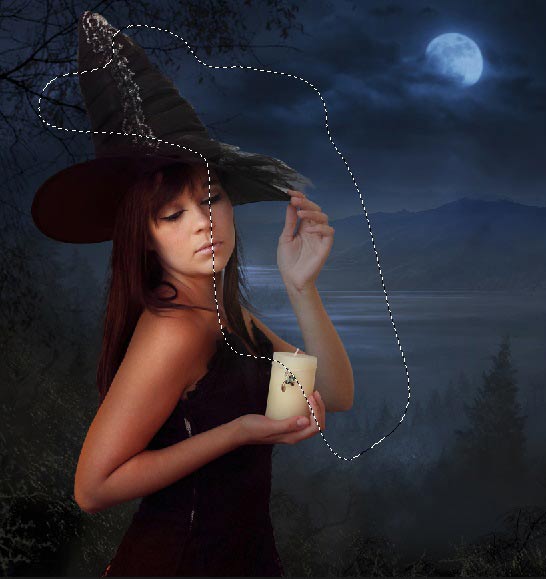
Step 25
Make a Color Balance adjustment layer to model again. This time we’ll add blue tones to right hand side parts of model.
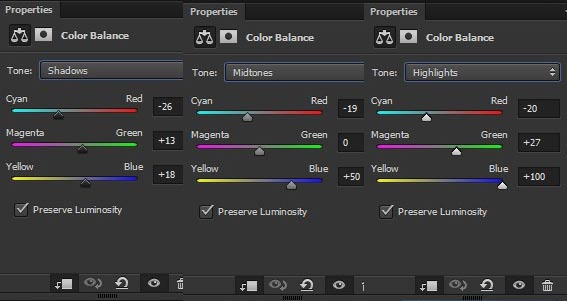
I hide effect of Color Balance on the left hand side of model.
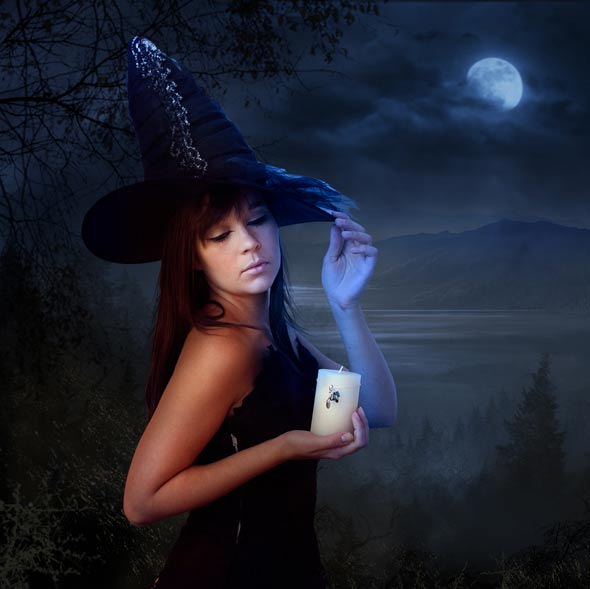
Step 26
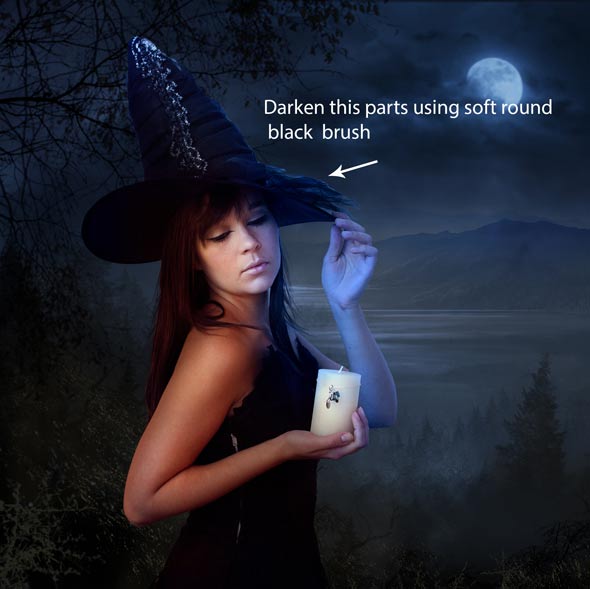
Create a new layer and then using a soft round black with opacity and flow about 30%, darker the remaining transparent parts (indicated by white arrows) of the model hat. Phew!! the parts are now blended and now leave the rest of the adjustment to Adjustment Layers .
Creating Light Effects
Step 27
Creating light effects is one of the important aspects of every photo manipulation. Now we’ll paint light effect on our model. Create a new layer and name it ‘light 1’. Grab the Brush Tool (B). Set it’s opacity and flow about 30% then change your foreground color to #41110c. Now starting painting light on model hair but only on the left-hand side where will be the fire effect.
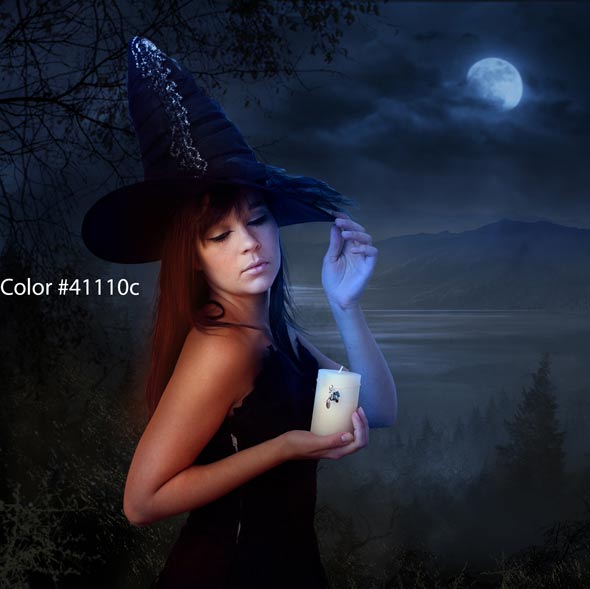
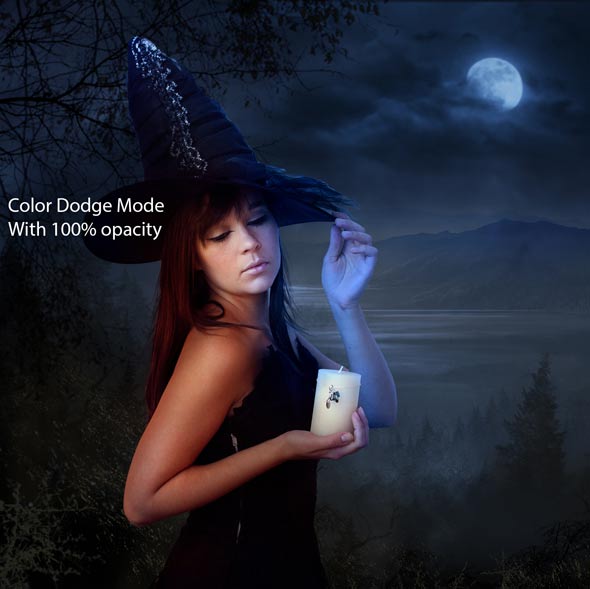
Change the blend mode to Color Dodge.
Step 28
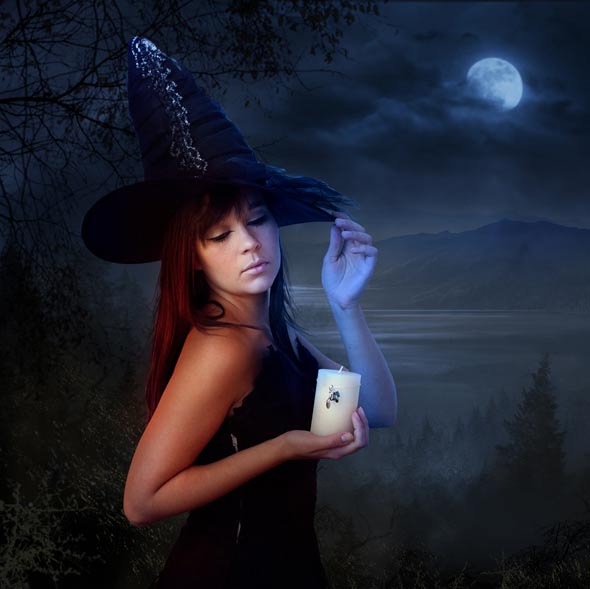
Duplicate the ‘light 1’ layer for more stronger effects.
Step 29
Create a new layer again and then using same color paint some more light but this time on face, hands, under the hat, below the hand (candle) and wherever you think that there should be light reflected by the fires.
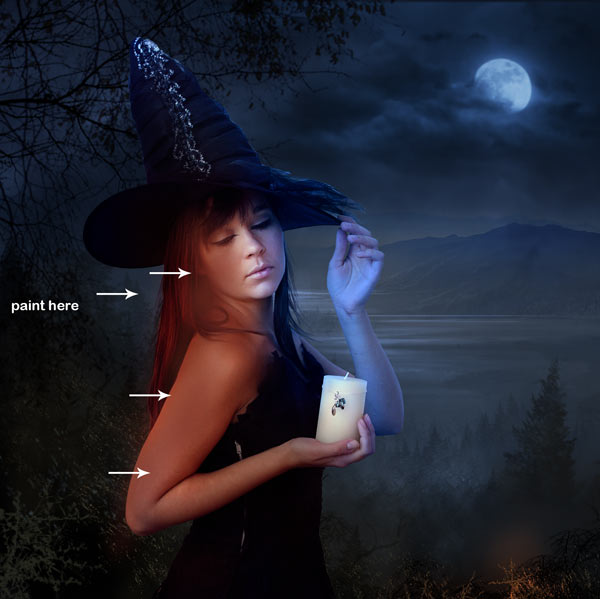
Set the blend mode to Linear Dodge and reduce the opacity to 50%.
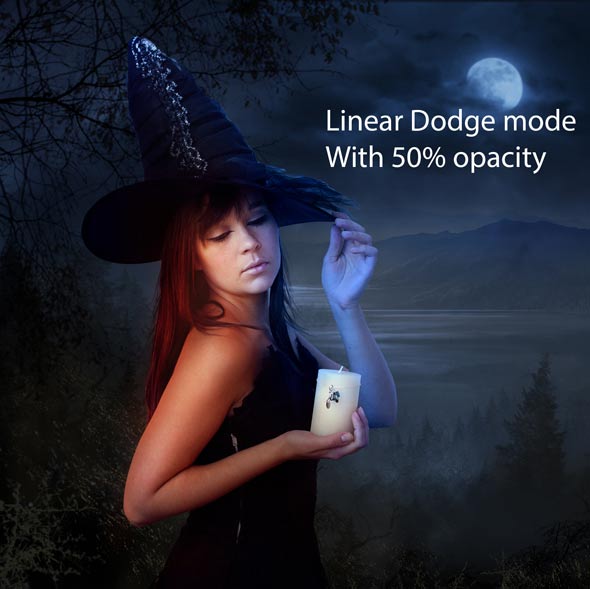
Step 30
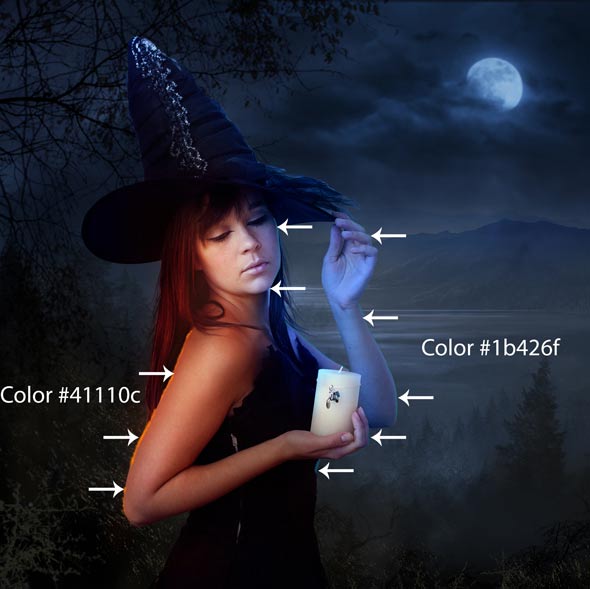
Create a new layer again and name it ‘light 3’. Change your foreground color to #1b426f and this time paint some light on the parts of the model which are close to moon lights. You can see the below image for reference.
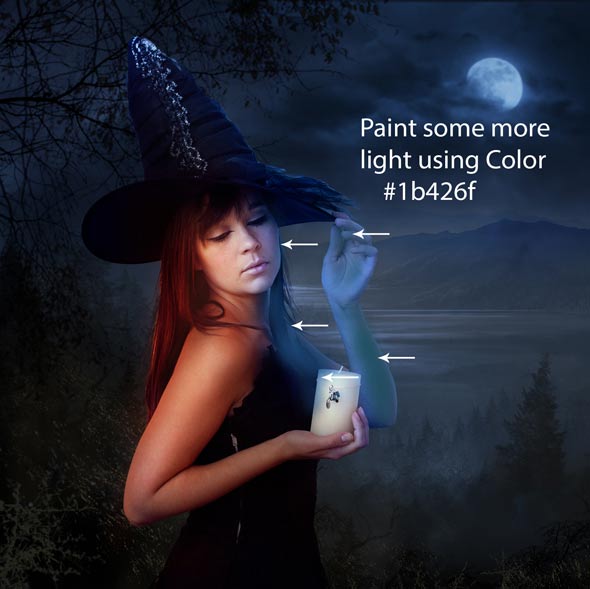
Set the blend mode of ‘light 3’ layer to Color Dodge and reduce the opacity to 72%.
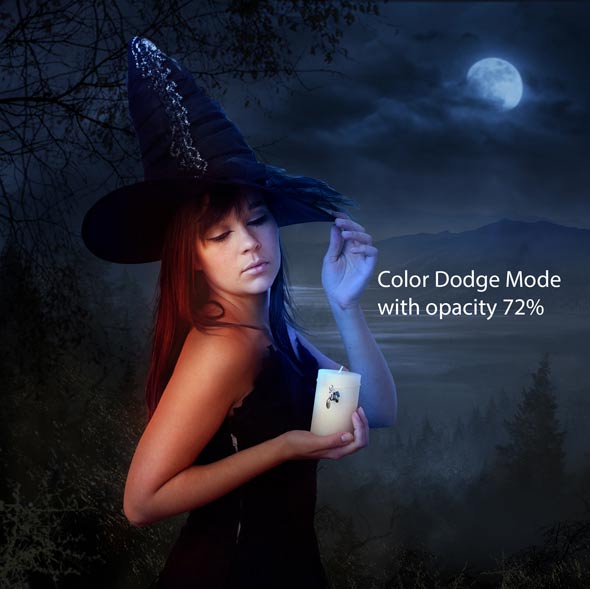
Step 31
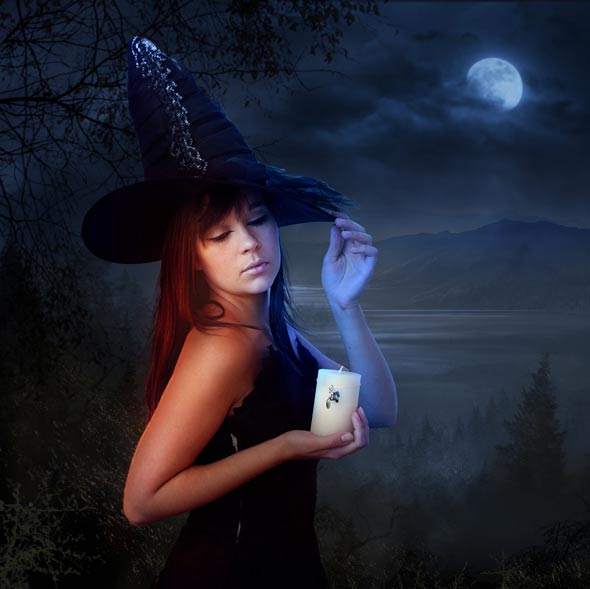
Create a new layer again and name this ‘Both lights’. This paint some more paints light on the edge of the hand, face, elbow, hat to create some minor highlights there. Remember using a different color for both sides.
Change the blend mode to Color Dodge and reduce the opacity to 39%.
Creating Fire Effects
Step 32
Place the texture to the main document and place it at the bottom left side of the scene. Also use the Transform Tool (CTRL + T) to transform it as shown in the image below.
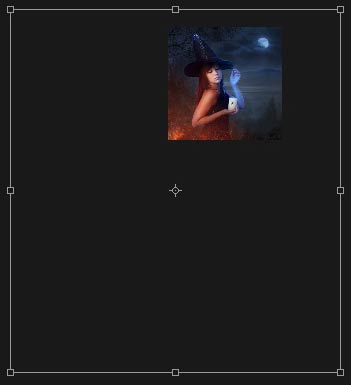
Here you can see the results.
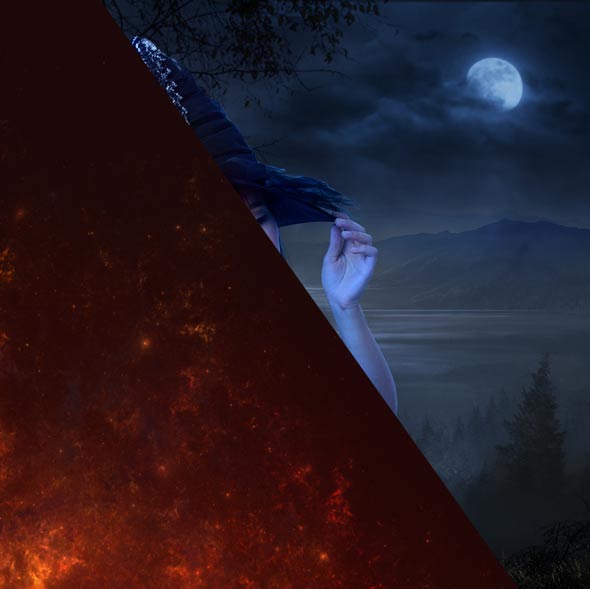
Change the blend mode of texture to Screen . Also, use a layer mask to get rid of the hard edges of texture. Use a soft round black brush to hide the texture edges.
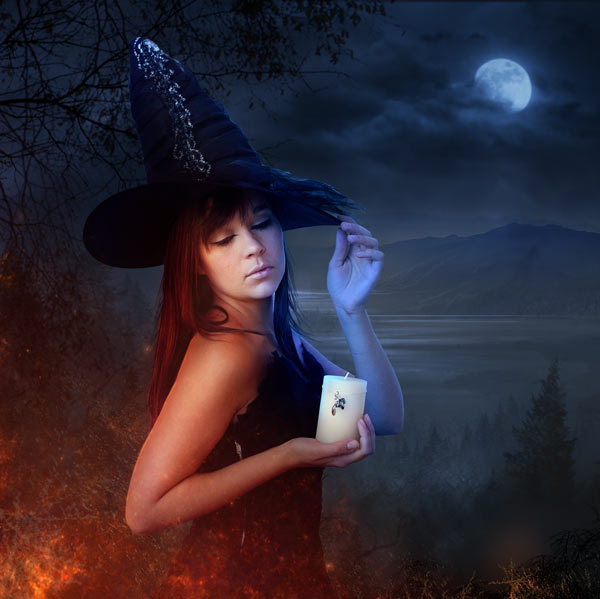
Step 33
Make a Hue/Saturation adjustment layer to texture and then colorize it.
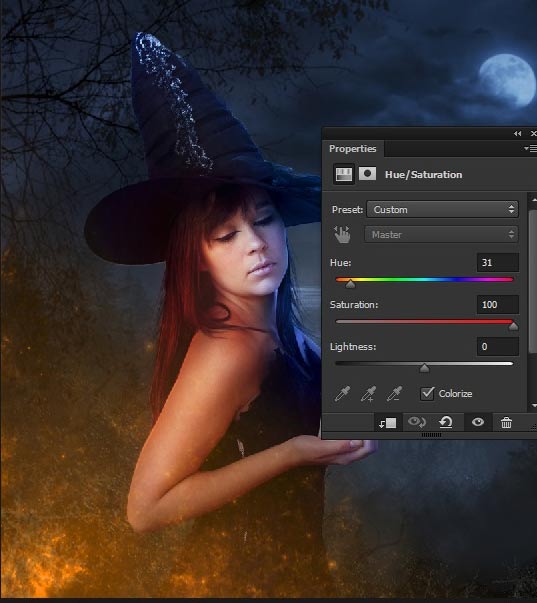
Step 34
Place the fire 1 image to the main document and transform and rotate it using Transform Tool so you can only get the flames of it.
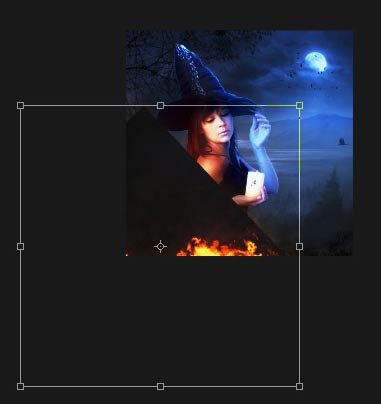
Here you can see how I placed it.
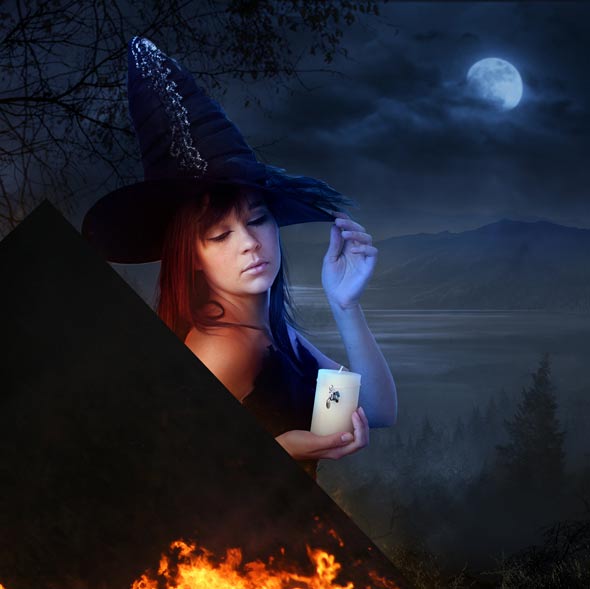
Change the blend of fire layer to Screen . Here are the results and if needed you can also use a layer mask to hide its parts.
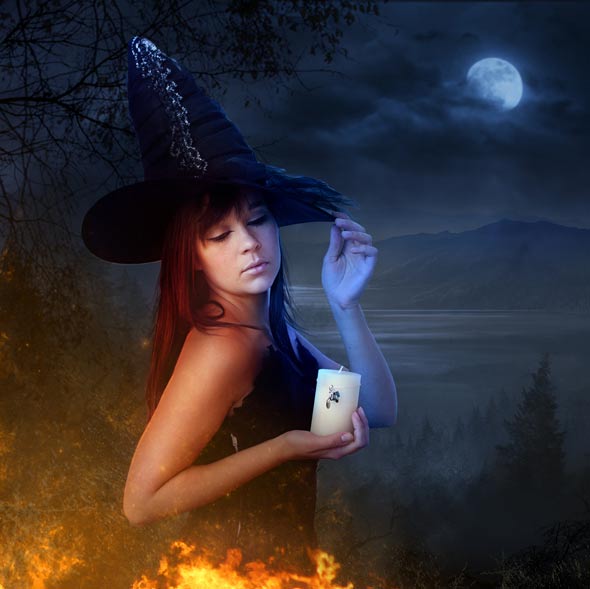
Step 35
Light up the candle using Fire 2 image. Place the fire 2 to main document. Use the Transform Tool to resize it, so it can fit on the candle. Don’t forget to change it’s blend mode to Screen .
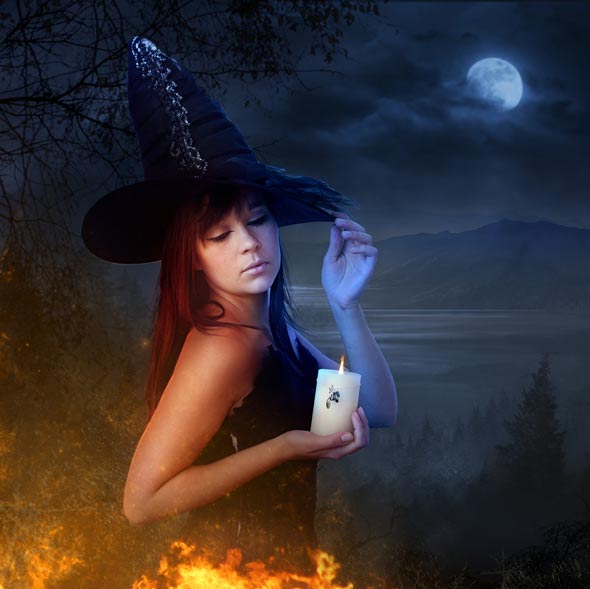
Add a Level adjustment layer to increase the contrast.
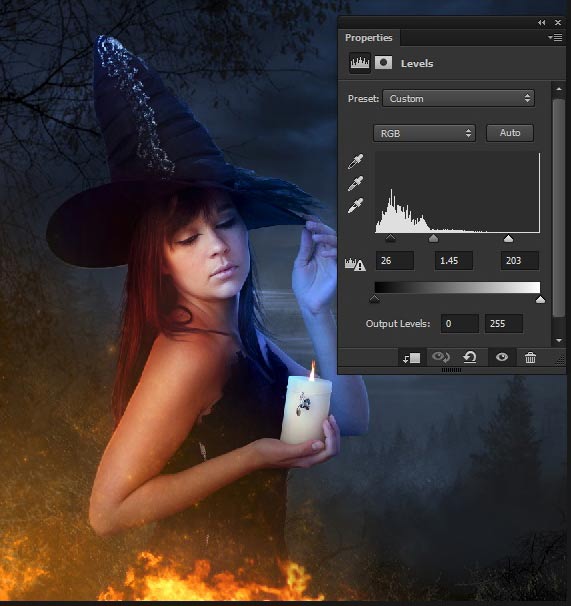
Step 36
Place the texture image again to the main document. This time transform it as shown in the image. Because I want to add some more flying sparks which are emerging from the bottom fire.
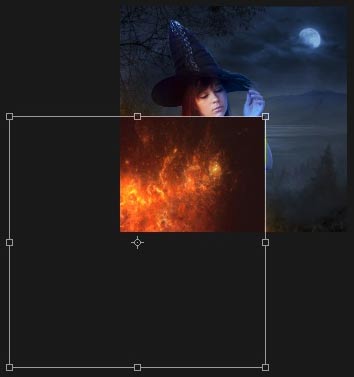
Here is the screenshot showing how I did it.
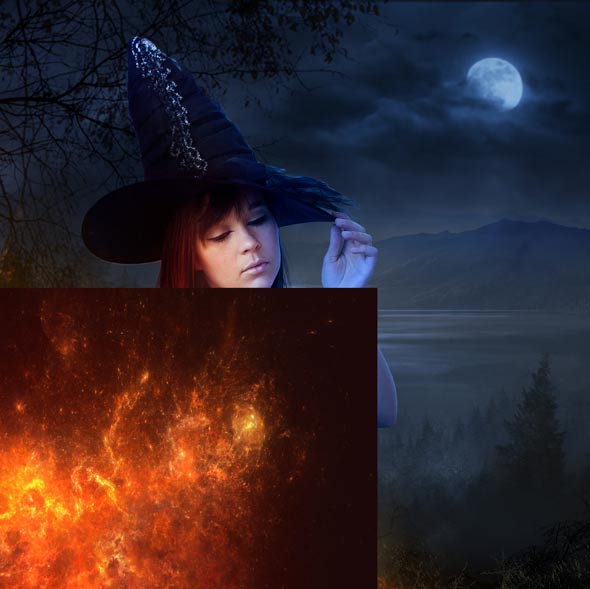
Change the blend mode of texture to Screen . Also, hide the parts of texture which are over the model.
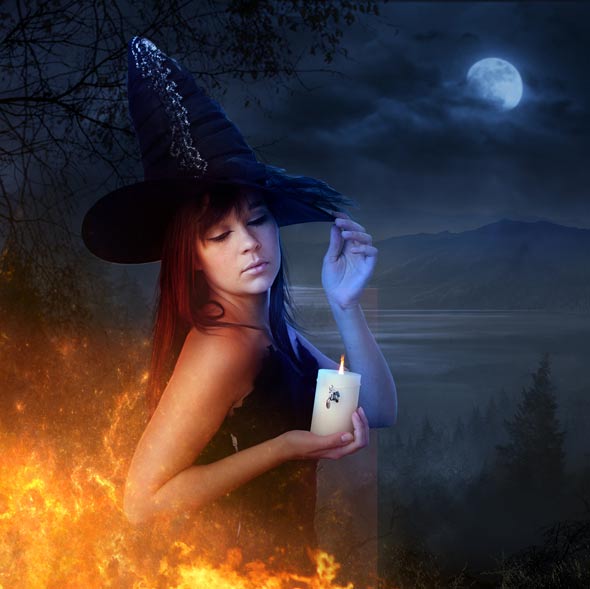
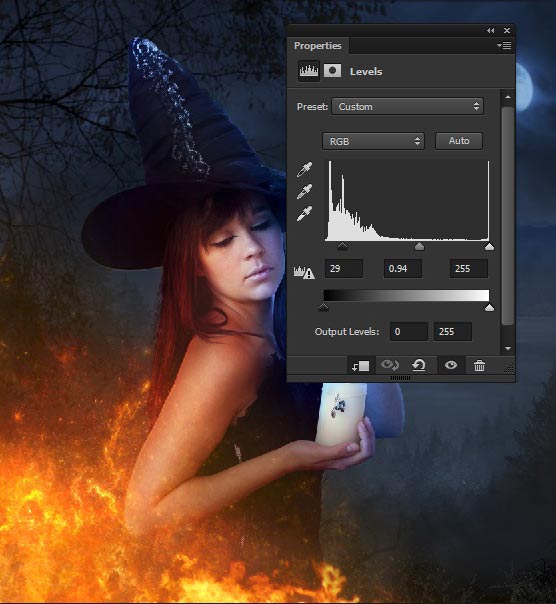
Step 37
Add a Levels adjustment layer to texture to increase the contrast and get rid from edges.
Step 38
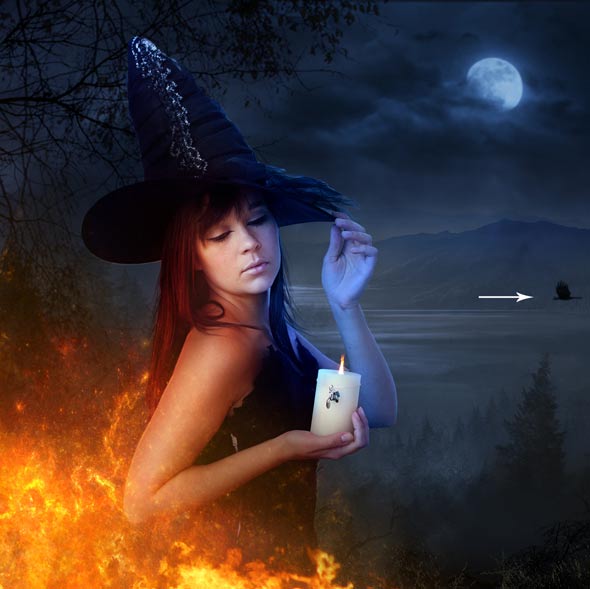
Open the Raven PSD file and choose any raven you want. Then place it as indicated by the white arrow. Add a Gaussian Blur about 2px to blend him with background. After that change it’s blend mode to Overlay .
Step 39
Now we’ll enhance the lights on fire and on the moon as well. Create a new layer and change your foreground color #233a59. Use soft round brush with opacity and flow about 100% to paint big stroke (size around 2900 pixels) on the moon.
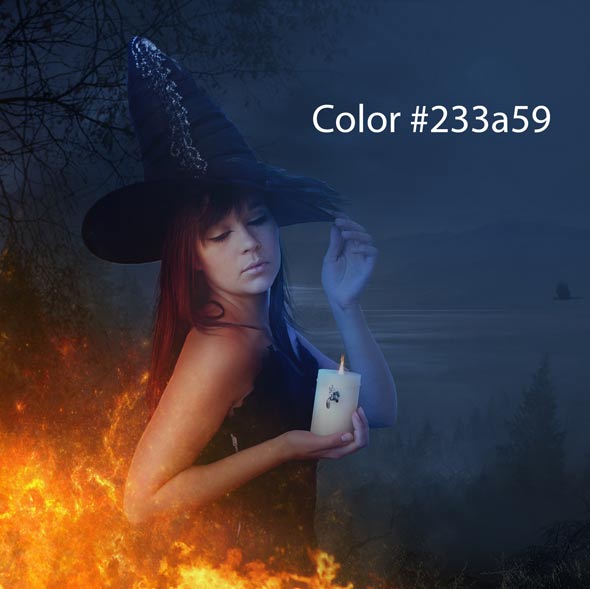
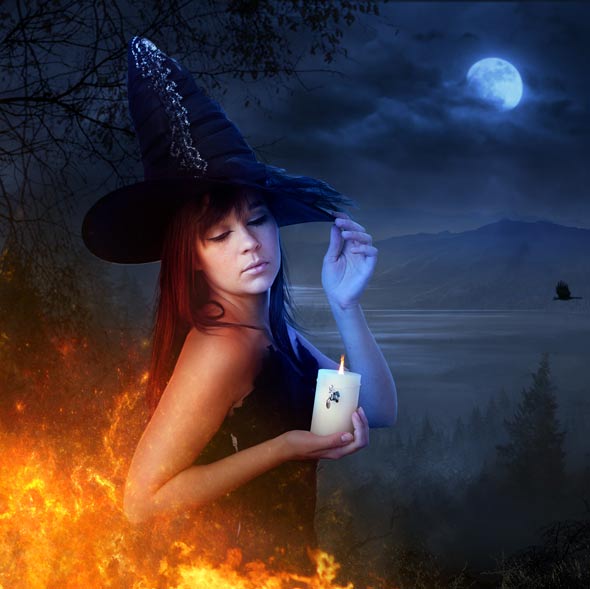
Change the blend mode to Color Dodge and reduce the opacity to 60%.
Step 40
Create a new layer again and this time change your foreground color to #533321 and brush size around 1500 pixels. Then paint light on fire parts.
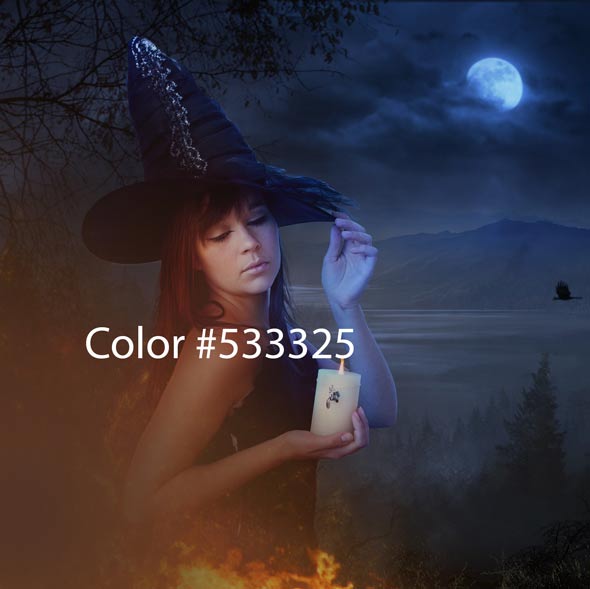
Change the blend mode to Color Dodge and reduce the opacity to 44%.
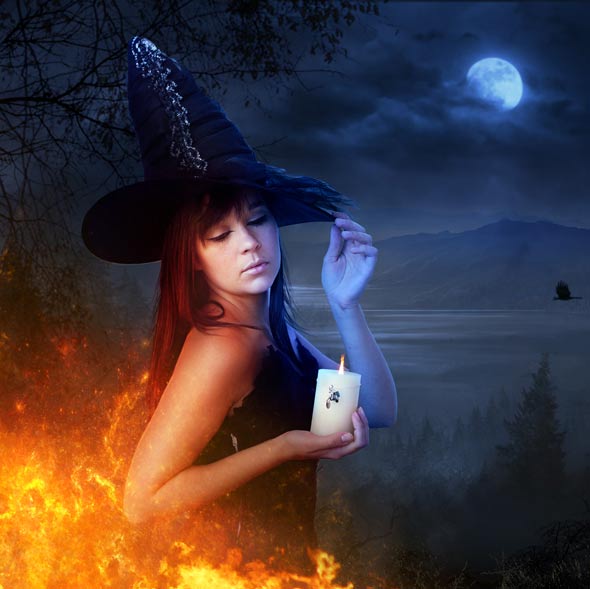
Step 41
You may notice we’ve not created the light effect for the hat so far in this tutorial. Now we’ll do that, create a new layer and change your foreground color to #1e4d60. Paint some light on the hat.
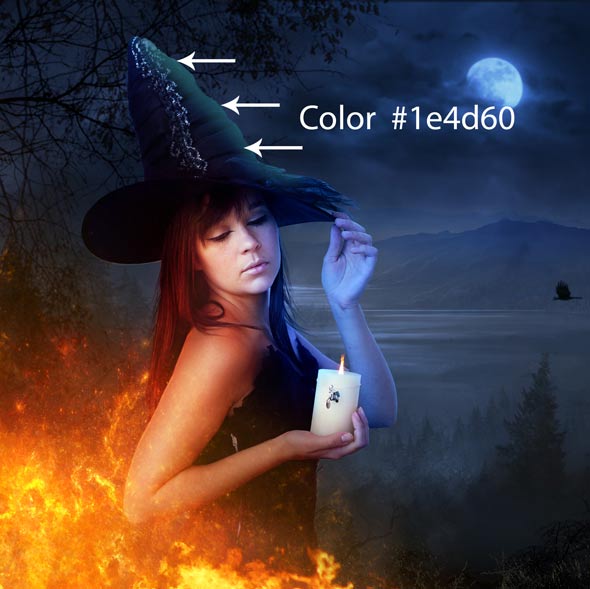
Change the blend mode to Color Dodge. Here are the results with nice glowing blue highlights on the hat.
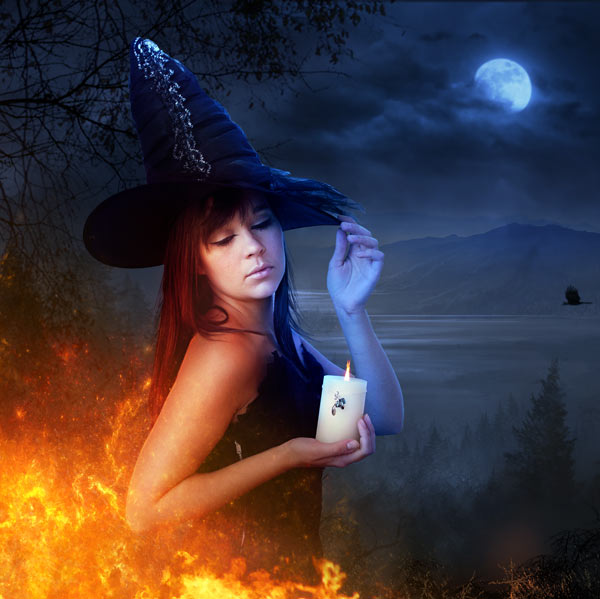
Step 42
Create a new layer and using the same color, paint some more lights on the hat but this time little bit left from the last one.
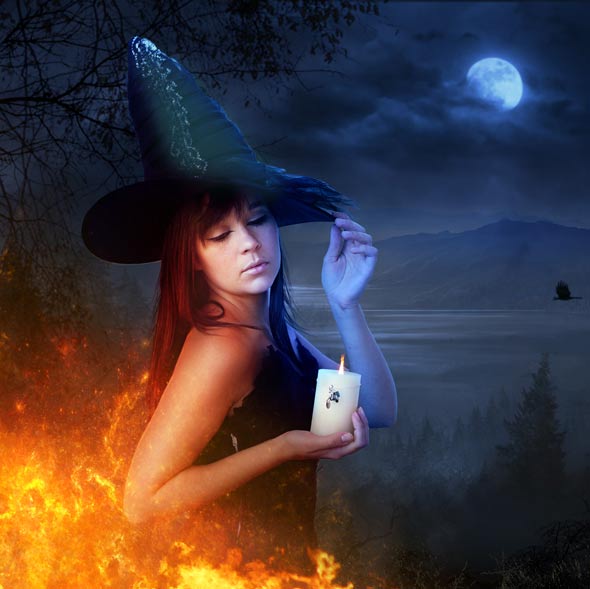
Change the blend mode to Color Dodge and reduce the opacity to 56%.
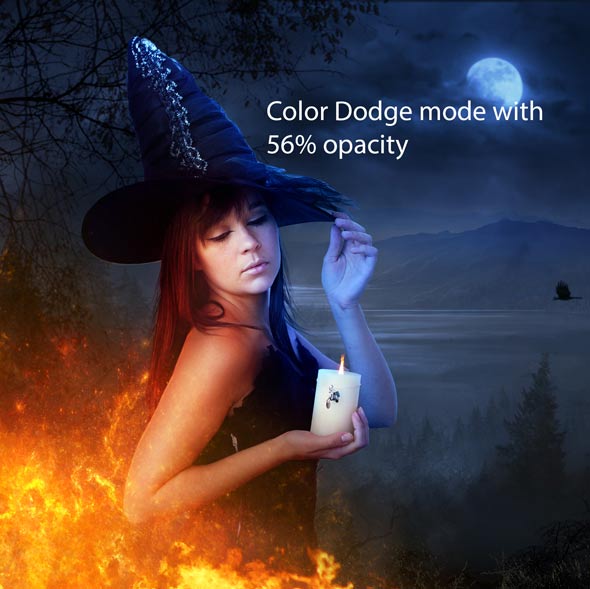
Step 43
At last make the last layer again and paint some minor highlights at the edge of the hat (use the size of brush around 2 to 5 px) using the same color.
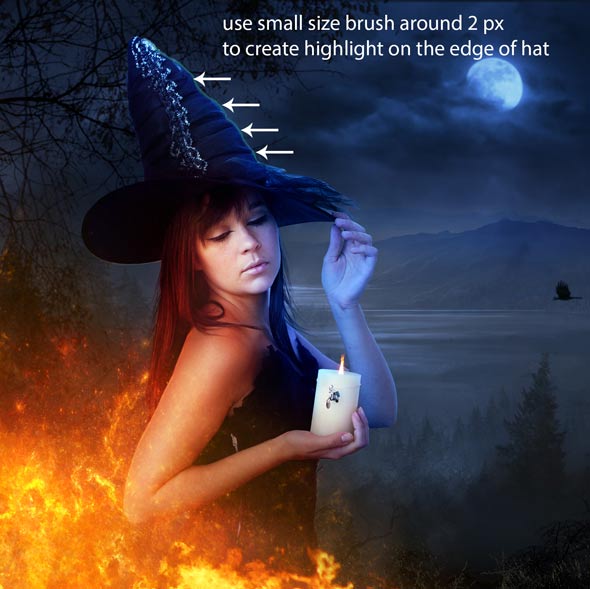
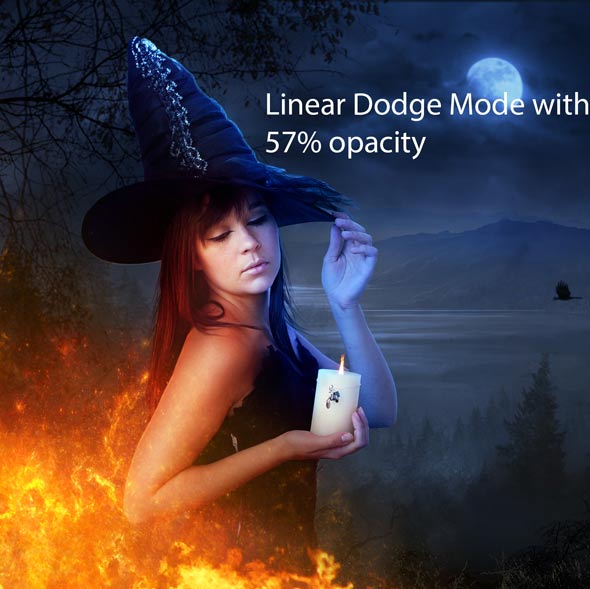
Change the blend mode to Linear Dodge and reduce the opacity to 57%.
Step 44
I also painted some lights on candle using color #6f3b19.
<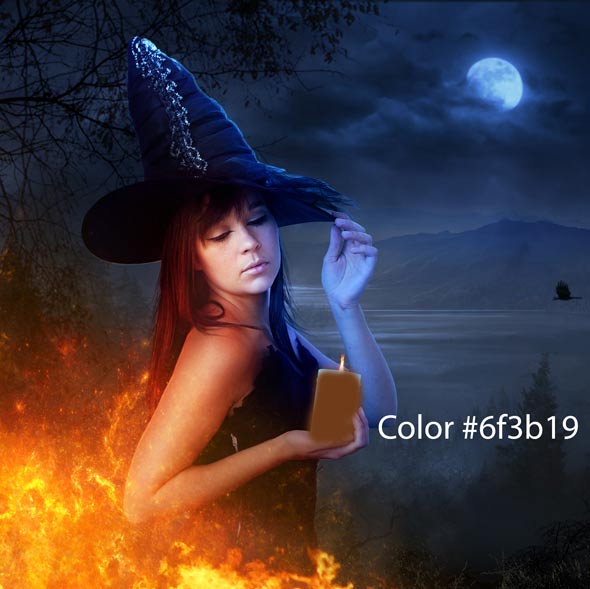
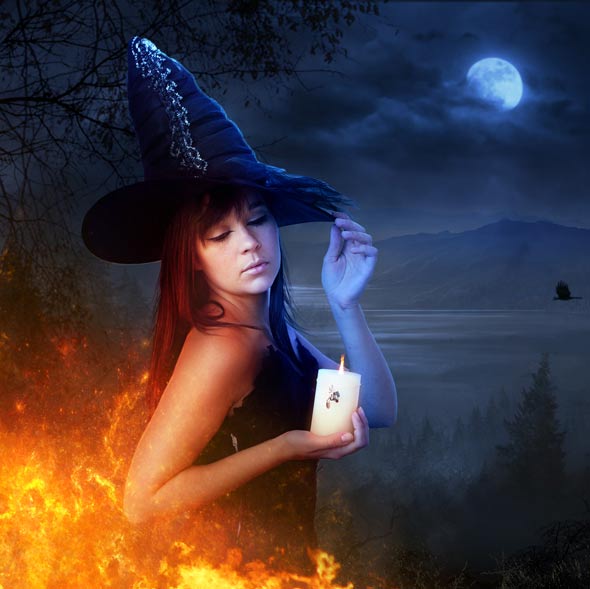
Here are the results with Linear Dodge blend mode and reduced opacity to 56% .
Step 45
Create a new layer and name it ‘Final Lights’. Use the same color in step 39 and then paint a brush stroke as shown in the image below.
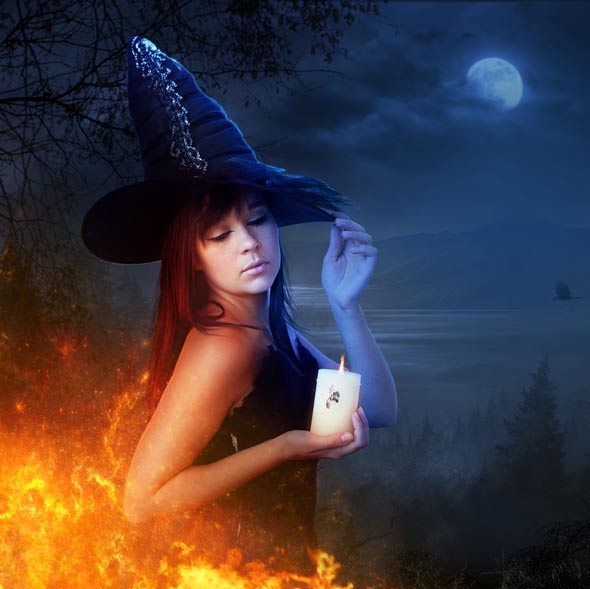
Change the blend mode to Linear Dodge .
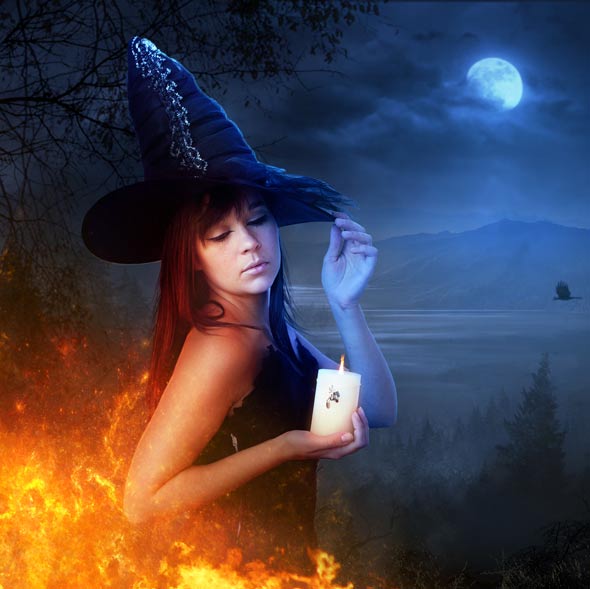
Step 46
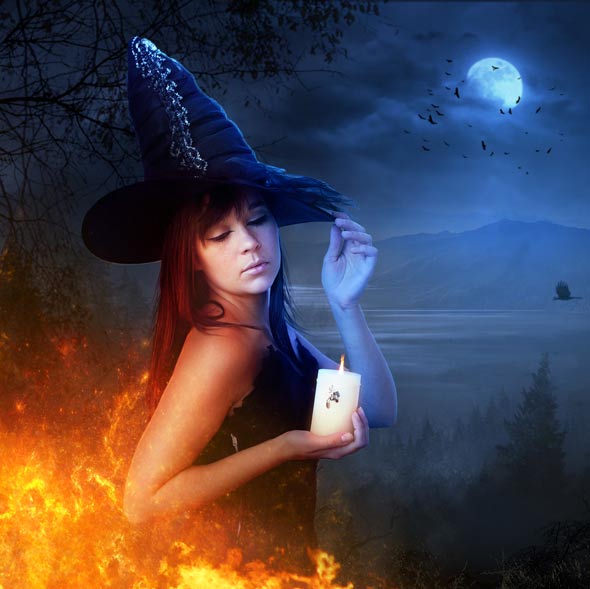
Load the bird’s brushes in Photoshop. I’ve chosen a 2471 pixels brush but feel free to choose your own. After that paint some birds as shown in the image below.
Final Adjustments
Step 47
Step 47
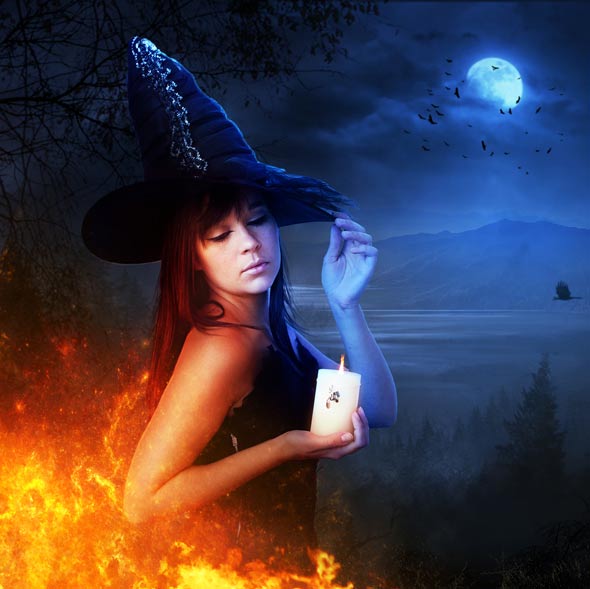
Now we are at the end of the tutorial and we’ll finish it up using adjustment layers. So add a Brightness/Contrast adjustment layer (above all layers) to increase the contrast of overall scene.
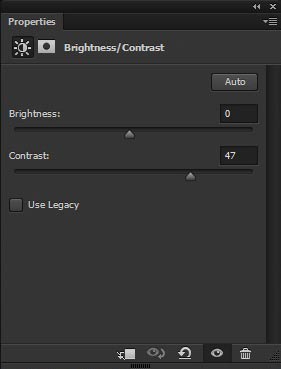
Results with increased contrast:
Step 48
Now finally, make a Gradient Map adjustment layer to light up the entire scene. Use color #081933 for shadows and for highlight choose #804718 .
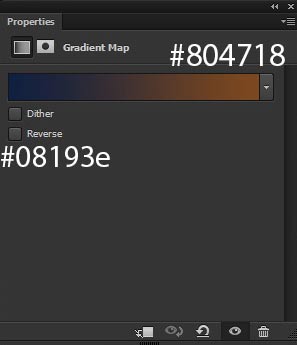
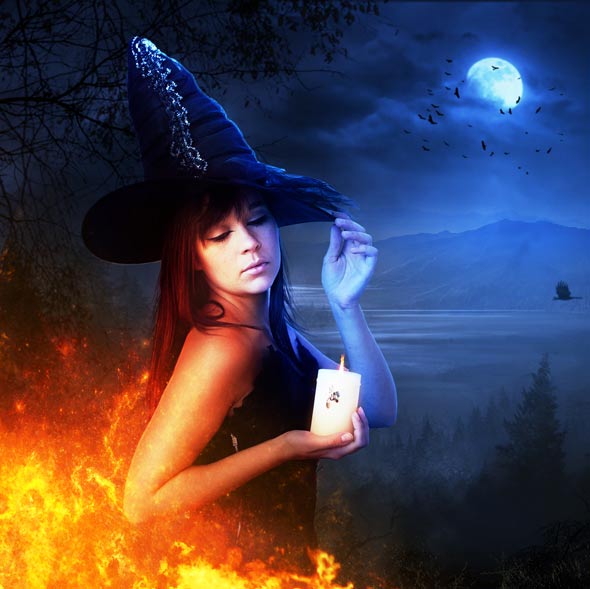
Change the blend mode to Color Dodge and reduce the opacity to 43%. Here are the Final Results.
Conclusion
Thanks for following the tutorial and I hope that you’ve learned something new today. If you have any question regarding tutorial then do let me know through comments and I’ll happy to help you.

Nice.pic crating picture is cool..
Thanks Swap and I hope you enjoyed the tutorial !!