
In this Photoshop tutorial I’ll show you how to create an intense fallen angel composition in Photoshop. You’ll learn how to create a forest scene for an angel with beautiful lights of the woods. You’ll also learn how to correct shadow details from an image, making the scene intense and emotional.
Tutorial Resources
- Forest
- Light Rays Brushes
- Beach
- Model – by Werandra, Photographer :Lindsay Warrington
- Wings
Preparing Background
Step 1
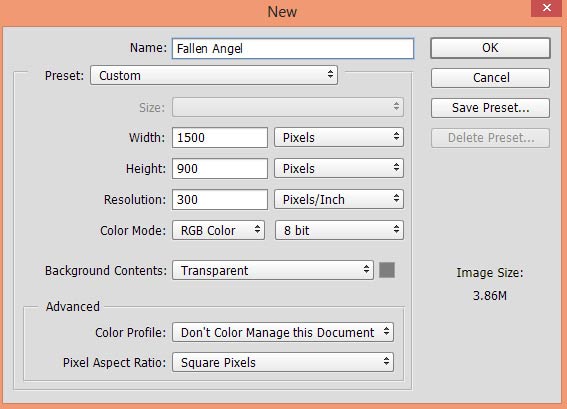
Create a new document in Photoshop with Height 900px and width 1500px.
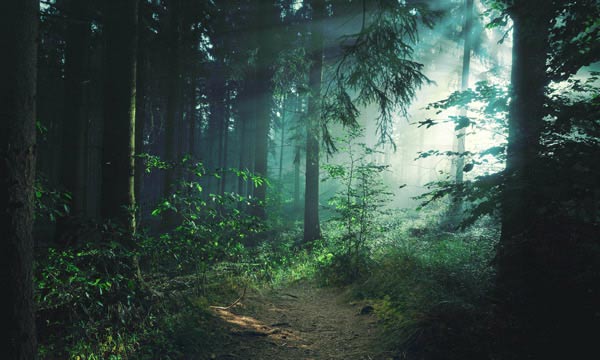
Step 2
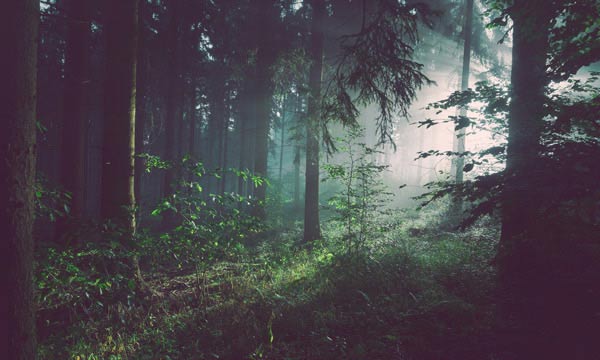
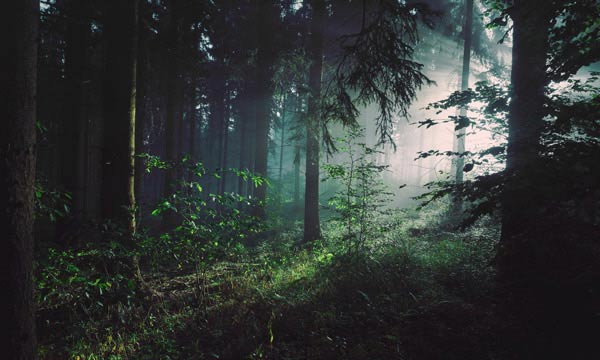
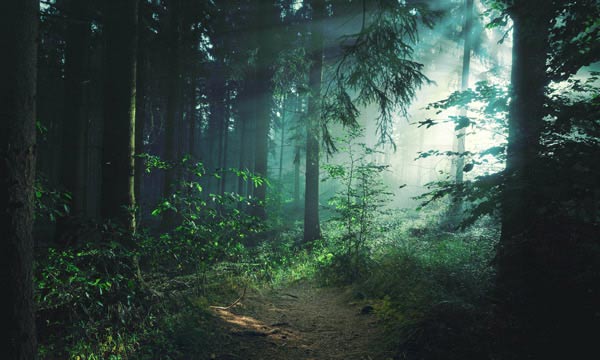
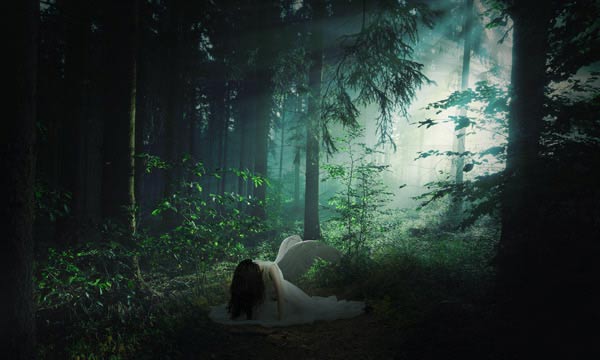
Place the forest image to our main document by selecting File > Place Embedded.
Step 3
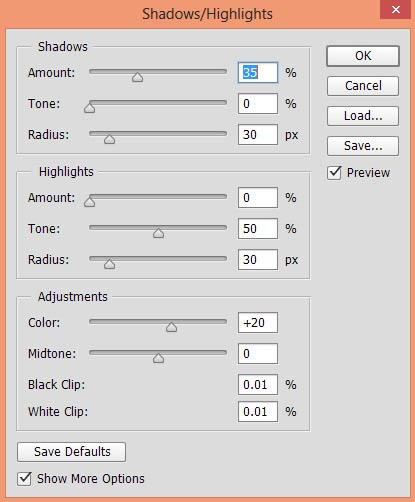
As you can see that there are overexposed shadows on forest. We need to get rid from them and for that, I am using Shadow/Highlights filter. First, convert the forest layer into Smart Objects. Now go to Image > Adjustment > Shadow & Highlights and under the Shadows section, reduce the Tones to 0% to reduce the lights on shadows. For detail explanation on this filter, read our Fantasy Magical Forest tutorial.
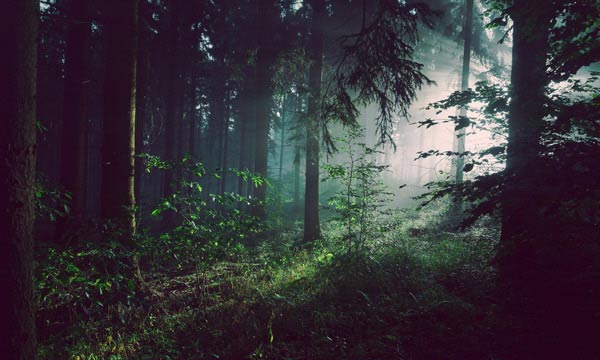
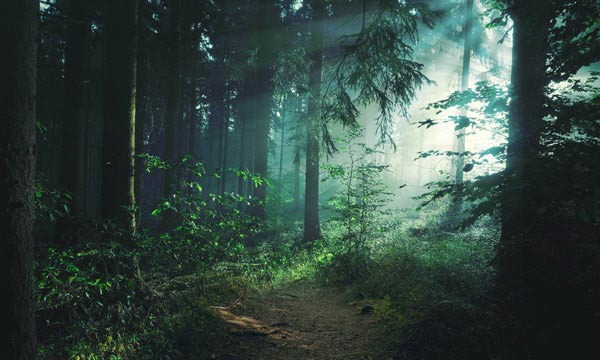
Results after fixing shadows:
Step 4
At the lower right and left corner of forest, there are some Magenta colors tones and I don’t want them. To fix this, make a Hue/Saturation adjustment layer to forest. Go to Layer > New Adjustment Layer > Hue Saturation and now select the Magentas on master drop down list and set the Saturation slider to -100.
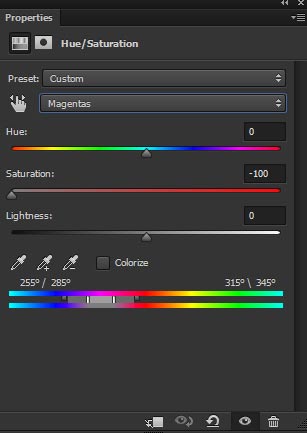
Results:
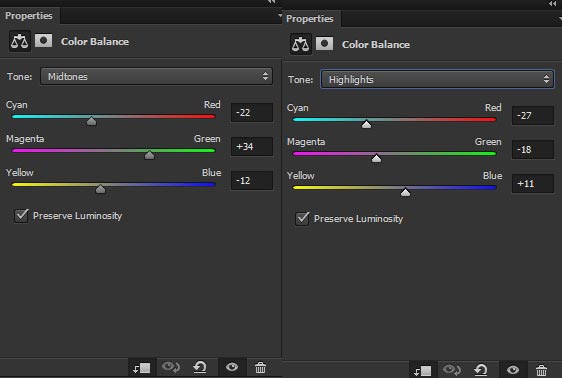
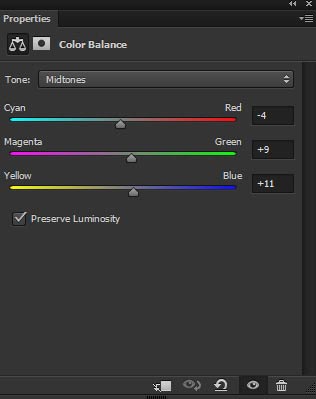
Step 5
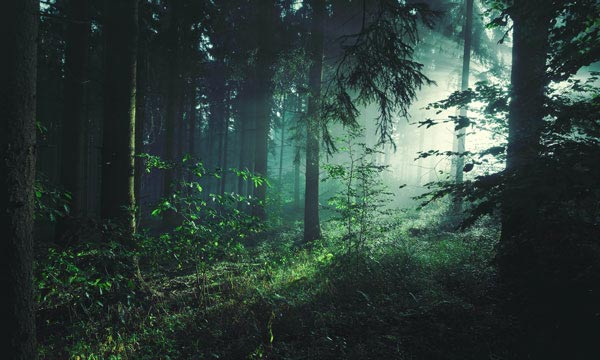
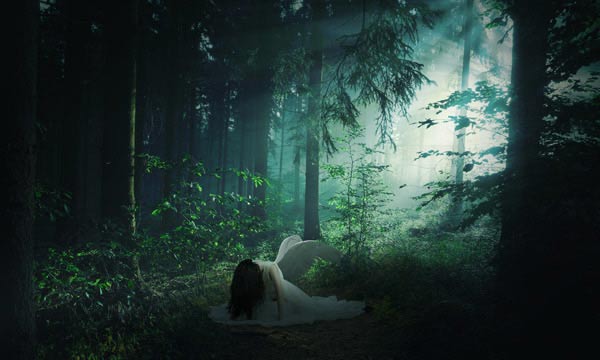
Make a Color Balance adjustment layer to forest. Now start adding some more colors to it. Only change the values of Midtones and Highlights.
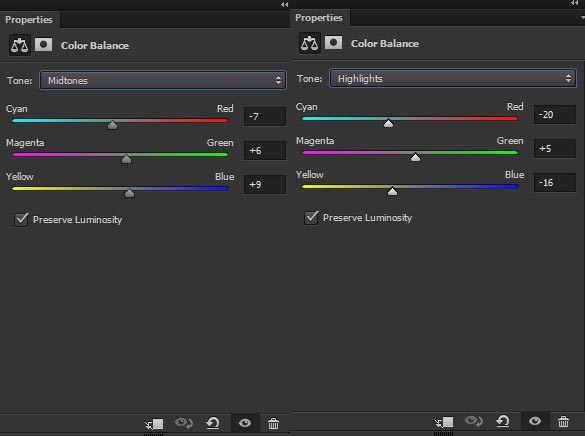
Results:
Step 6
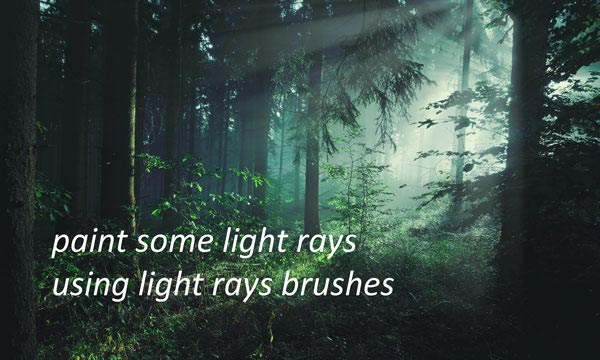
Create a new layer and name it ‘light rays’. Load the light rays brushes in Photoshop. Set your foreground color to #FFFFFF or White and using light rays brush, paint some light rays as shown below. Paint the light rays on the right side of the forest where the lights coming from. I used the light rays brush with the size of 1305 pixels.
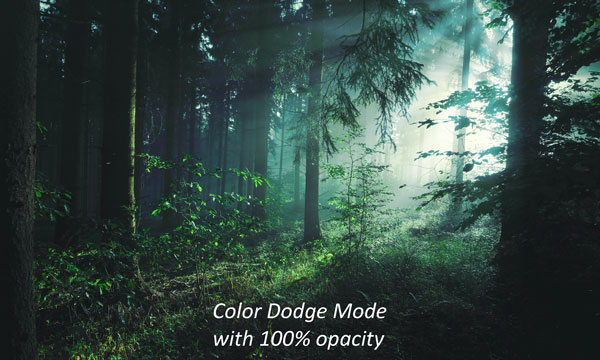
Now set the blend mode of ‘light rays’ layer to Color Dodge.
Step 7
Open up the beach image in Photoshop and drag it into our main document using Move Tool (V). Place it on the middle of the background.
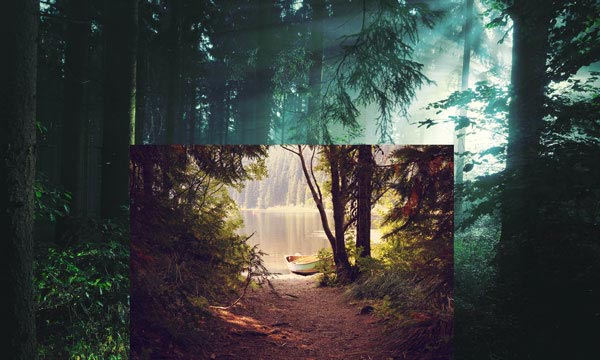
Add a Layer Mask to beach image. You can add Layer Mask by clicking on second icon at the bottom of layer panel. Use a soft, basic black brush to mask the hard edges of beach and blend it smoothly with the existing background.

Step 8
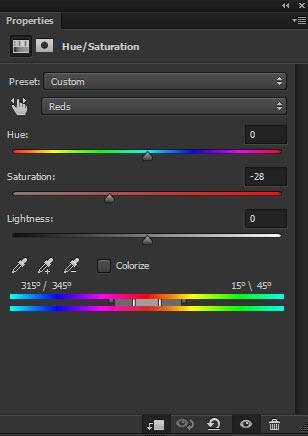
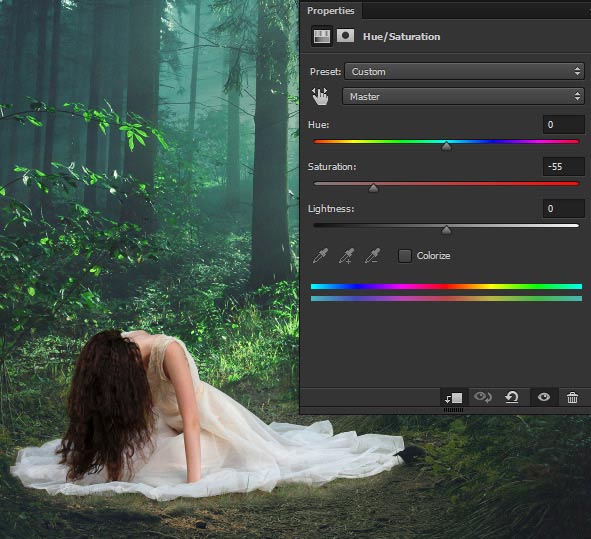
Add a Hue/Saturation adjustment layer to beach image and set it as Clipping Mask. Desaturate the Red Colors from it, little bit, and use the Reds color with the following settings :
Results:

Step 9
Make a Color Balance and match the color of beach with the background. Only change the values of Midtones and Highlights.
Results:
Step 10
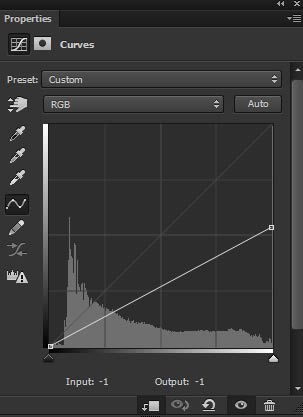
Use the Curves adjustment layer to darken the beach.
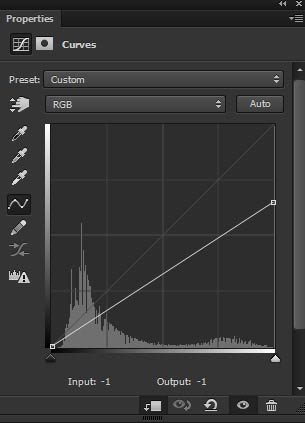
Reduce the opacity of Curves to 67%.
Step 11
On the layer mask of Curves, erase the effect on the highlighted parts of the beach. Use the soft basic black brush for masking and keep the light direction in mind during masking.
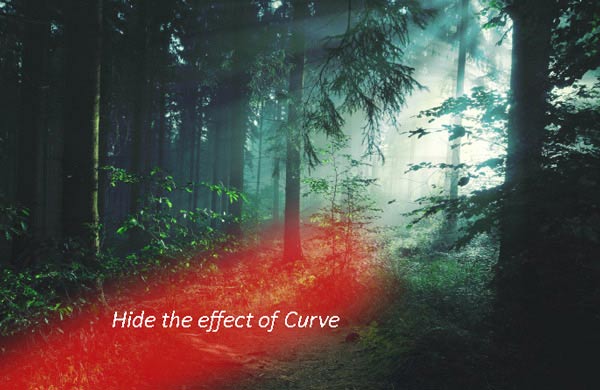
Results:
Adding Model
Step 12
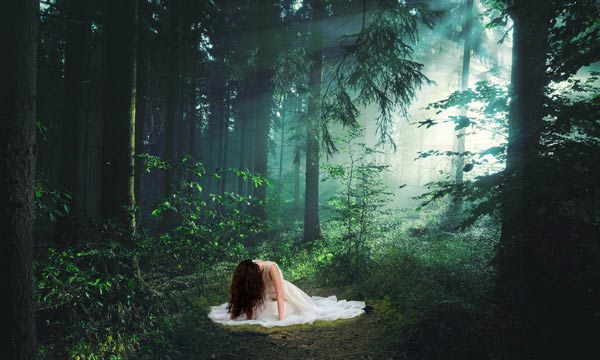
Extract the model from its background and place it above the beach.
Don’t extract it completely and leaves some parts around the lower parts of model’s dress.
Step 13
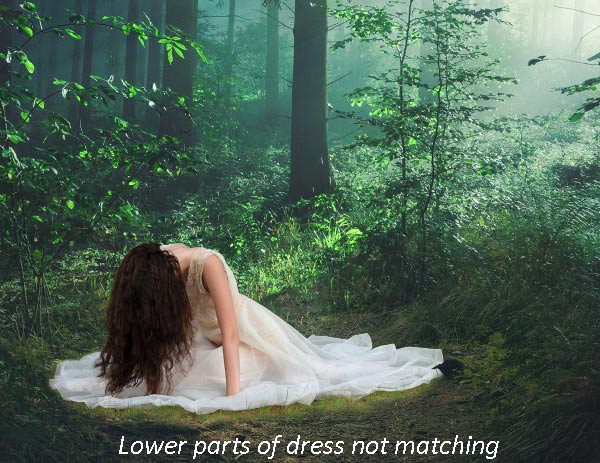
You can notice that lower parts of the dress are not matching. We need to match the colors to properly blend them with the background.
Step 14
Make a Hue/Saturation adjustment layer to model and desaturate her. Since this adjustment layer is only for lower parts then we should hide the effect on model’s upper parts. So mask the effect on the layer mask of Hue/Saturation and make the effect only visible on lower parts.
Step 15
Make a Curves to model and reduce the brightness.
Use it with following settings :
Results with decreased brightness:

Step 16
Add a Color Balance adjustment layer to model and match her color with the background. Use it with the following settings :
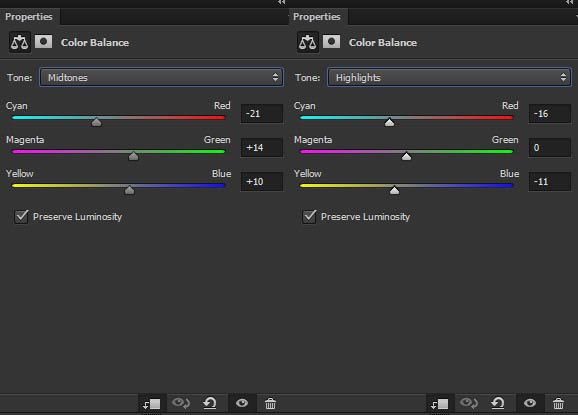
Results:

Step 17
Make a Hue/Saturation adjustment layer and desaturate the model (little bit).
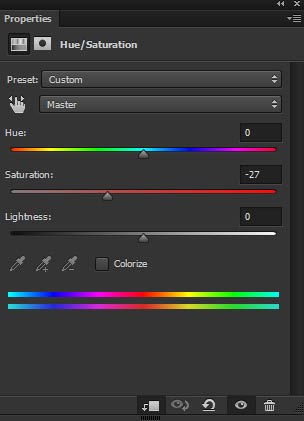
Results:

Step 18
Make a new layer and fill this layer with 50% gray color and set its blend mode to Overlay.
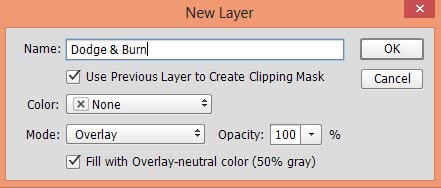
Select the Burn Tool (O) with Midtones Range, Exposure about 10-12%. Now darken those parts of the model that are less illuminated by lights (indicated by red arrows) and strengthen the shade there. Similarly select Dodge Tool (O) to refine the light on the model outside right parts and bring more light there as indicated by white arrows.
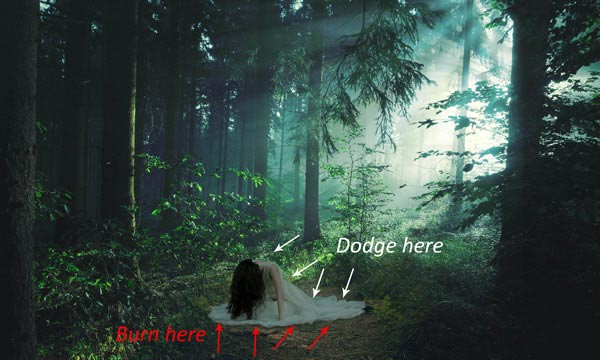
Results after Dodging & Burning:

Adding Wings
Step 19
Place the wings to main document and place it under the model layer.
Step 20
Add a Hue/Saturation adjustment layer to wings and desaturate them completely.

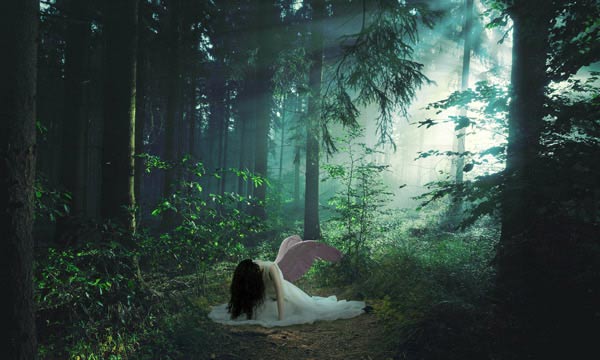
Results:

Step 21
Make a Color Balance adjustment layer and give some colors to wings as they don’t have any. Only change the value of Midtones.

Results:
Step 22
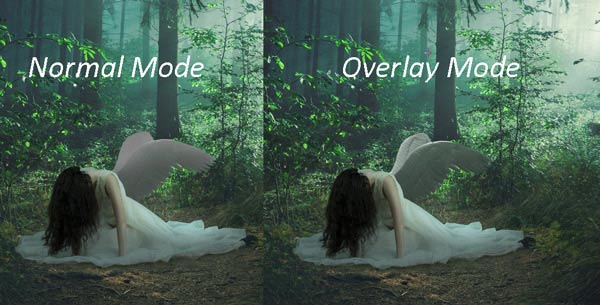
Create a new layer and fill this layer with 50% gray color. Now refine the shade and lights of wings using Dodge & Burn Tool (O) as we did for model.
Below you can see the results in both Normal and Overlay mode:
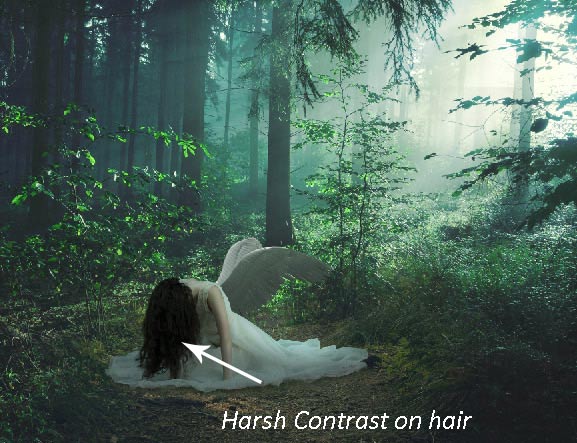
Step 23
There is harsh contrast on the model’s hair and you can see it clearly in below image.
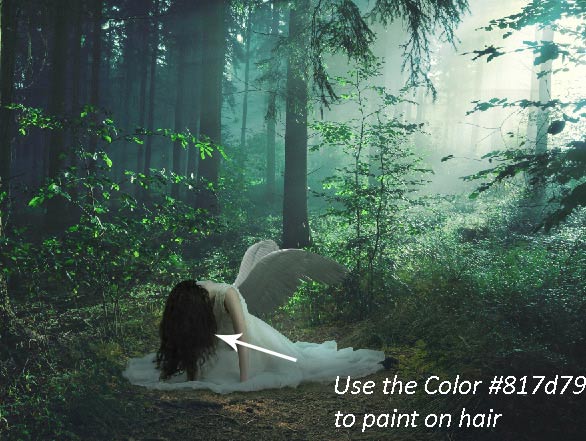
To get rid of harsh contrast, create a new layer and set your foreground color #817d79 and paint it on the hair.
Final Adjustments
Step 24
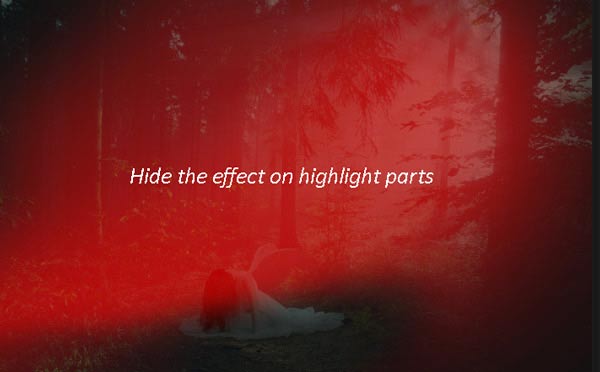
We are almost done but still lacking final adjustment for the scene. First use the Curves adjustment layer to darken the whole scene.

On the layer mask of this, erase the effect on the highlighted parts. Use a soft round black brush for masking and hide the effect in the way of light direction. Feel free to mask it as your own way and wherever you think that you need to maintain the light, just erase the effect of the Curves.
Results:
Step 25
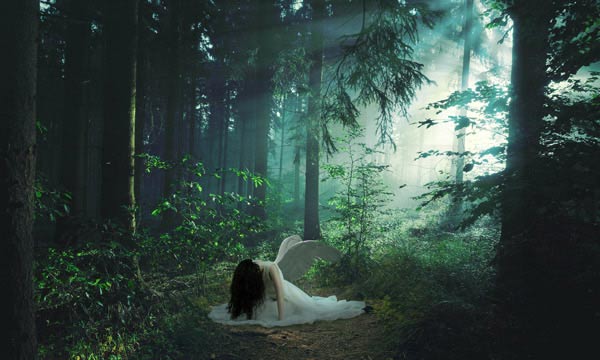
Finally, use Color Balance to enhance the color of whole scene. I only changed the values of Midtones but if needed you can go for other settings as well.
Final Results:
Conclusion
Thanks for following the tutorial. I hope you enjoyed it and would love to welcome your feedback on the tutorial. Have a great day!
awesome tips thanks for your screenshot tutorial
really help to enhance my design
Glad you find it useful