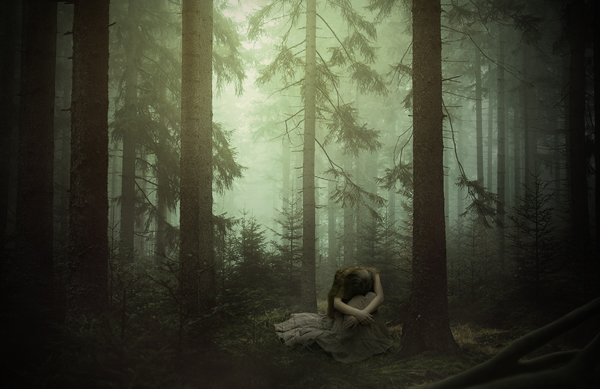
In this Photoshop tutorial, I’ll show you how to create an eerie photo manipulation in Photoshop. We’ll first convert an ordinary forest into the dark forest and we’ll also create a light effect. After adding a forest, we’ll continue placing model to the scene and we’ll blend her using adjustment layers. Finally, we’ll make the scene more eerie, misty and mysterious by painting mist and make the scene dark using adjustment layers.
Tutorial Resources
Creating background
Step 1
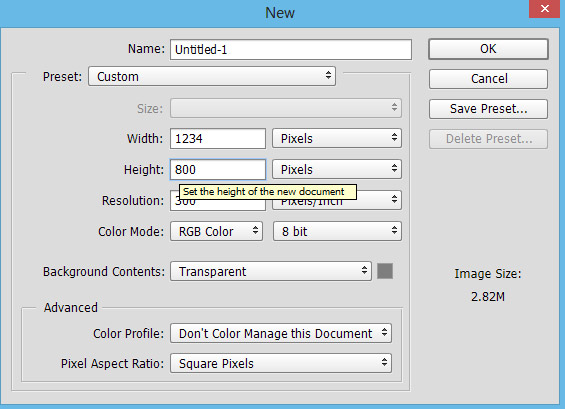
Start by creating a new document in Photoshop. Use the followings settings for document:
Add Forest
Step 2
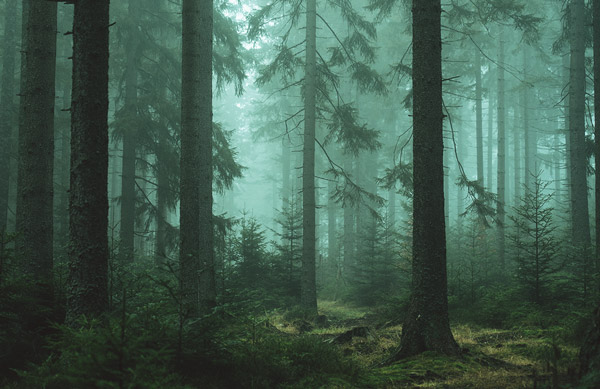
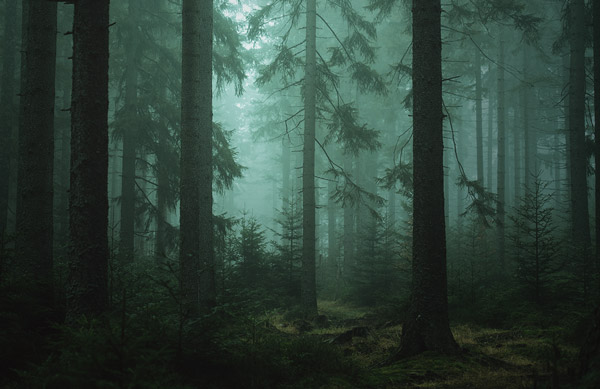
Place the forest image to main document by selecting File > Place Embedded. You can also use Transform Tool (CTRL + T) to get the perspective shown below.

Step 3
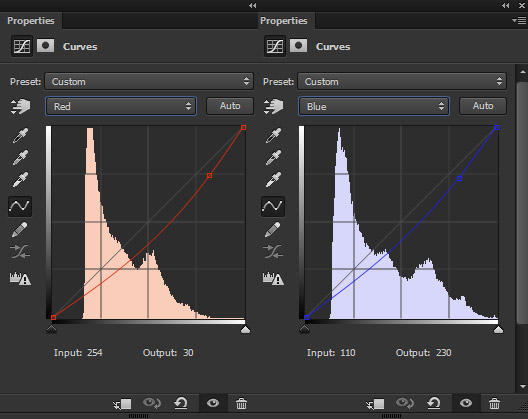
Make a Curves adjustment layer for forest. Use the Red and Blue channel to add the combination of Cyan and Yellow color tones to forest. See the settings below.
Results :
You can add an adjustment layer by clicking on the third icon at the bottom of layer panel. Read our basic tutorial for further explanation on adjustment layers.
Step 4
Make Curves adjustment layer again for forest. Now use the RGB channel to reduce the brightness and darken the forest using the following settings.
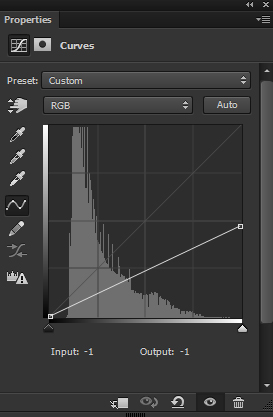
On the layer mask of Curves, erase the effect on the highlighted parts and maintain brightness there. Use a soft, basic black brush for masking and for better results always use Brush Tool (B) with lower opacity and flow settings.
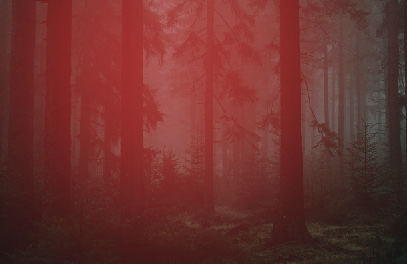
Results:
Step 5
Continue coloring the forest using Color Balance adjustment layer. Use the following settings to enhance the colors.
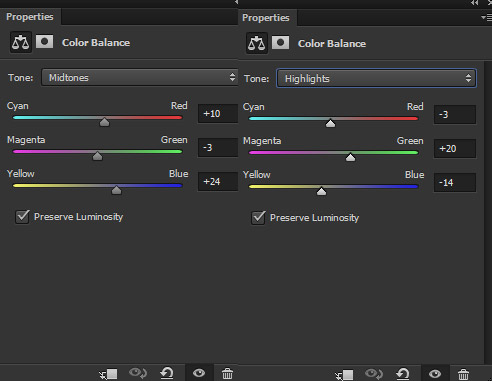
Results:
Step 6
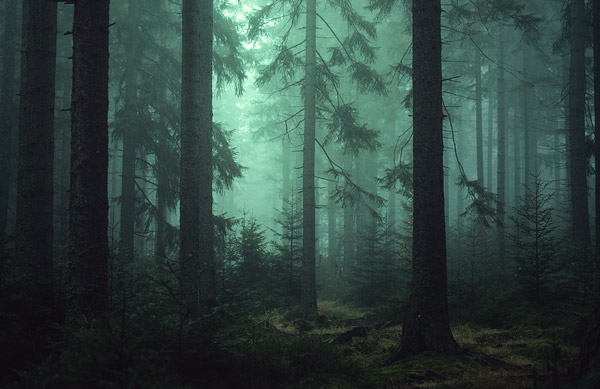
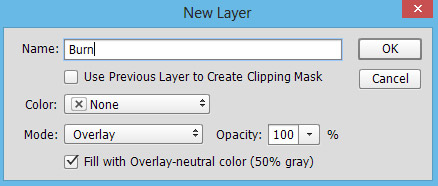
The corners of the forest still have brightness and I don’t want that. Because the overall results depict the scene in a Vignette way and we need to darken them. Create a new layer and fill this layer with 50% gray color, then change the blending mode to Overlay.
Activate the Burn Tool (O) with Midtones Range and Exposure about 9-12%. Now using the above mentioned settings darken the forest’s corners indicated by arrows.
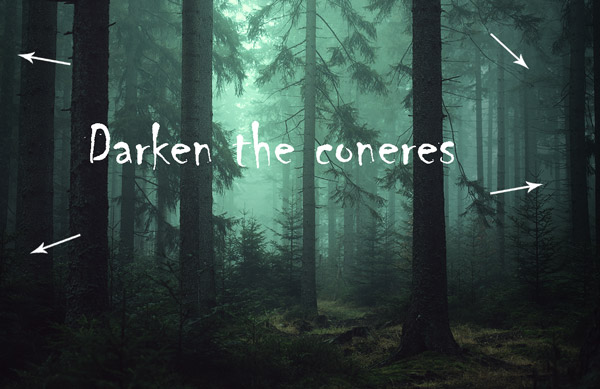
You can also see the results in Overlay mode.

Create the Light Effect
Step 7
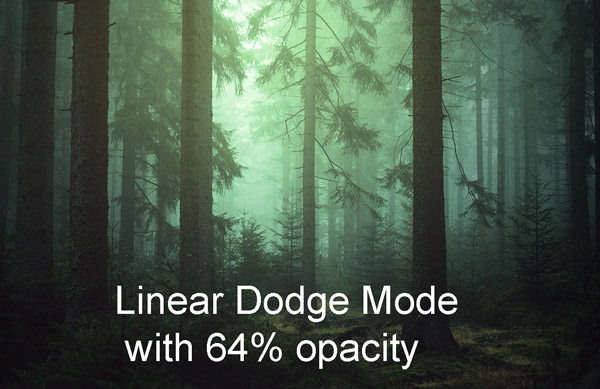
Create a new layer and name it ‘light’. Set the foreground color to #554d14. Activate the Brush Tool(B). Now paint the light on top of forest as shown below.
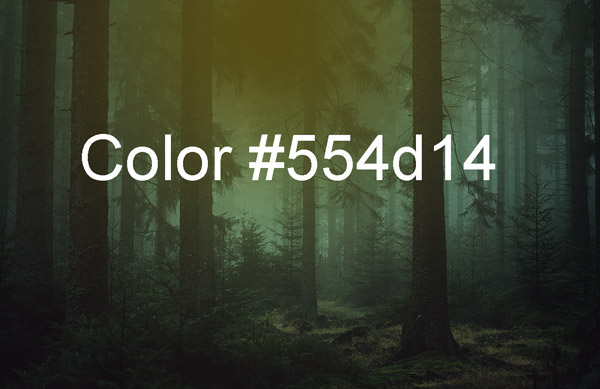
Set the light’s layer blend mode to Linear Dodge and reduce the opacity to 64%.
Add the Mode
Step 8
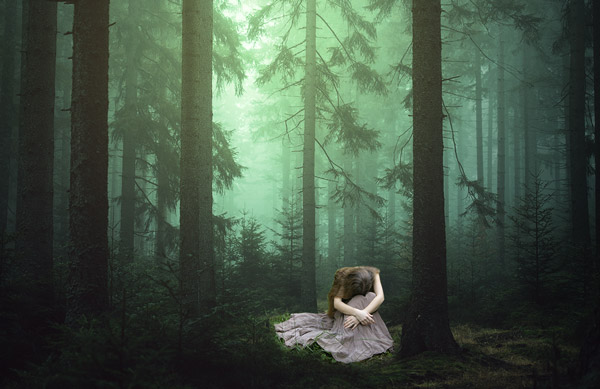
Isolate the model from its background and place her to the main document. While extracting try to leave some parts below the model’s dress and may be around the hair as well.
Step 9
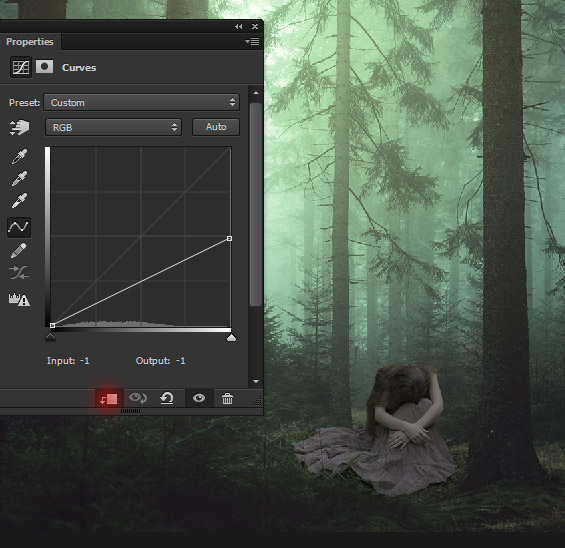
Make a Curves adjustment layer for model and set it as Clipping Mask (press the red icon ). Now darken the model as she looks too bright at the moment.
Step 10
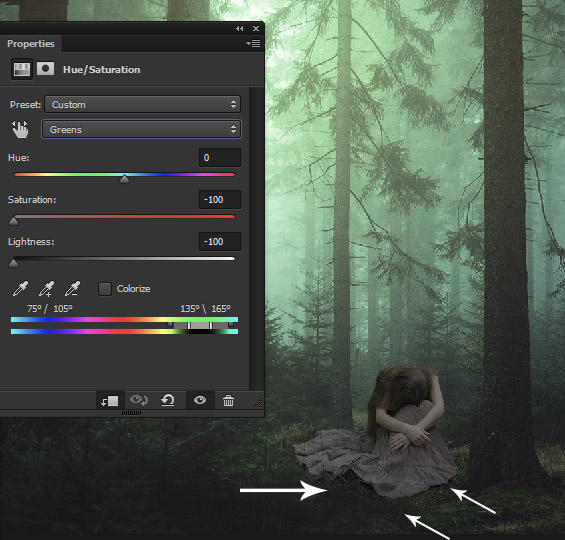
Make a Hue/Saturation adjustment layer and choose the Green. Now drag the Saturation slider to -100 and this will reduce the color on the grassy parts of the model. See the effect indicated by arrows.
Step 11
Make a Color Balance adjustment layer for model and continue matching the color with the background. Only change the values of Midtones.
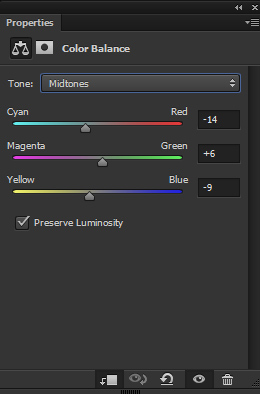
Results:
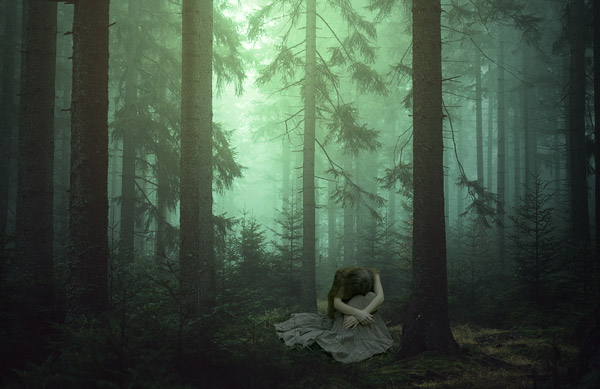
Step 12
Create a new layer, fill it with 50% gray color and change the blend mode to Overlay.
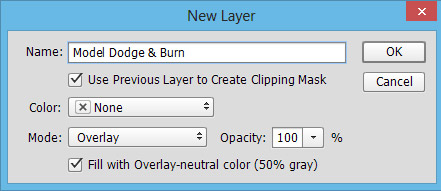
Activate the Dodge Tool (O) with Midtones Range, Exposure about 9-12% to refine the light and shade on the model. Use the Dodge Tool (O) to bring more light on hair, hands and left parts of dress. Similarly use the Burn Tool (O) to strengthen shade to those parts which are less illuminated by the light source like the back parts, on hands and dress.
You can see the results in both mode :
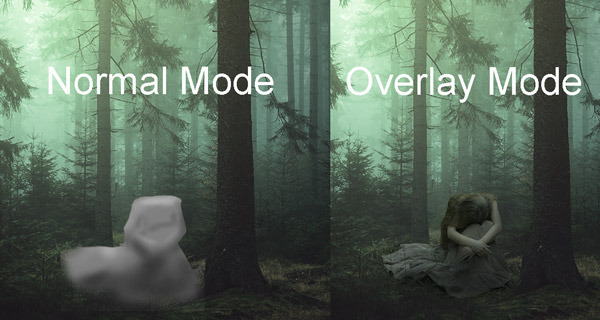
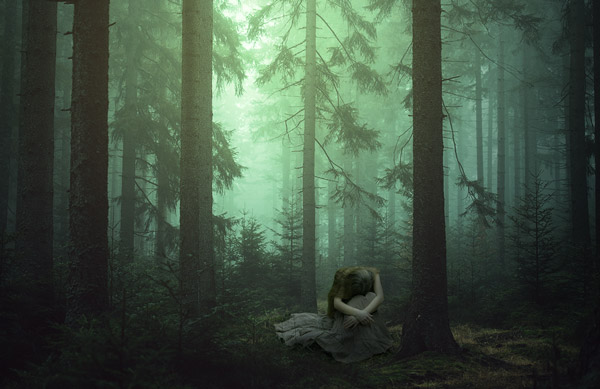
Results so far:
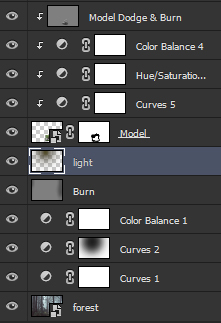
Layer panel arrange:
Using Woods for this Photoshop tutorials
Step 13
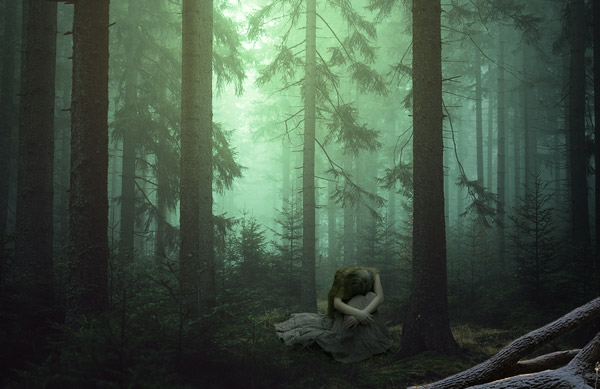
Extract the woods from the background and place the woods at the right bottom corner of the scene.
Step 14
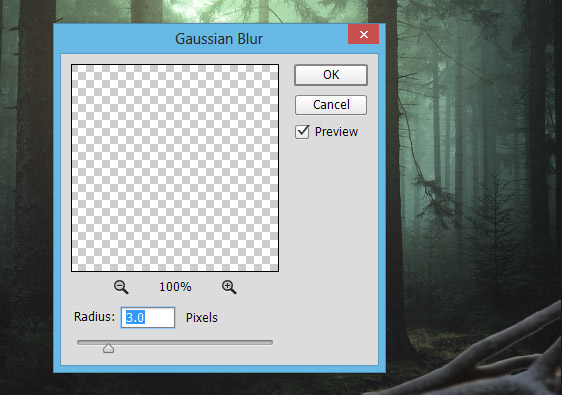
Convert the wood layer into Smart Objects. Go to Filter > Blur > Gaussian Blur and set the radius value to 3 pixels, and create depth for scene.
Step 15
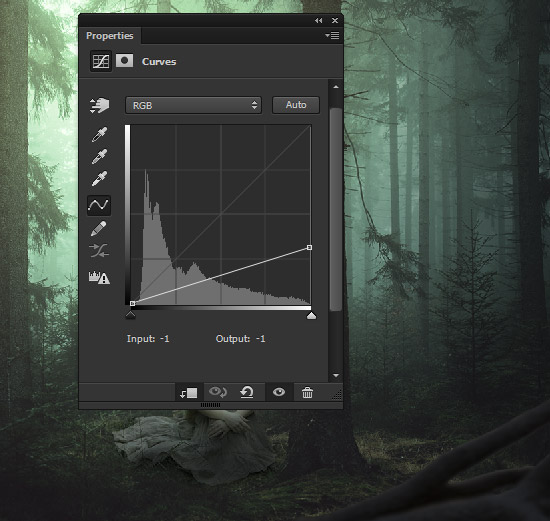
Add the Curves adjustment layer for woods and reduce the brightness.
Step 16
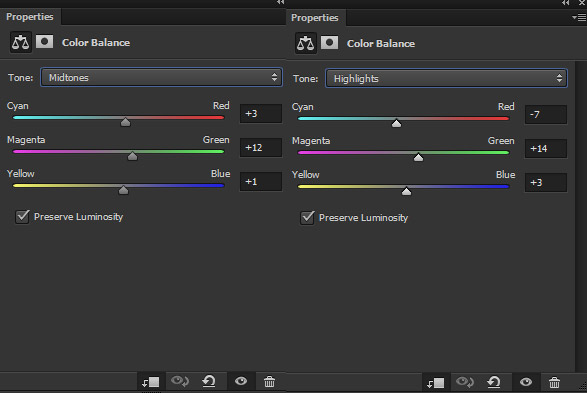
Use the Color Balance adjustment layer to match the color.
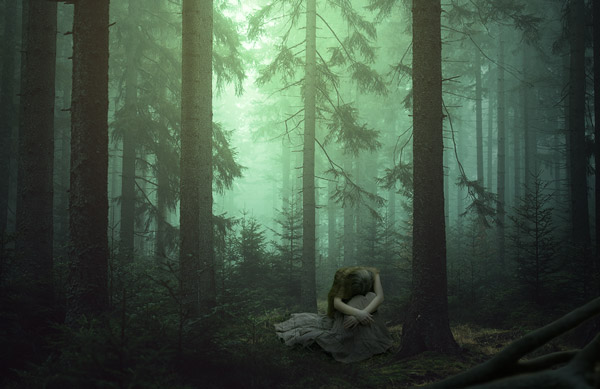
Results:
Step 17
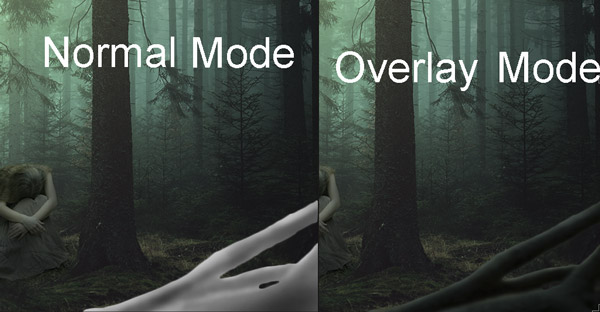
Create new layer, fill this layer with 50% gray color and blend mode changed to OverlayDodge & Burn (O) to refine the shade and light on the wood like we did for model.
Results in both mode:
Results so far:
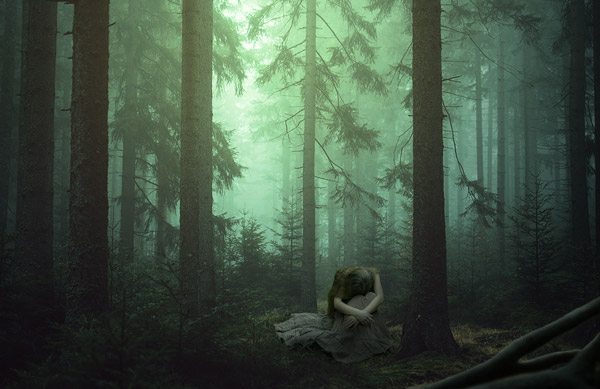
Create the Mist for this Photo Manipulation
Step 18
Create a new layer and name it ‘mist’. Set the foreground color to #9a9a9a. Use the soft round brush, paint the mist on the lower parts of the scene.
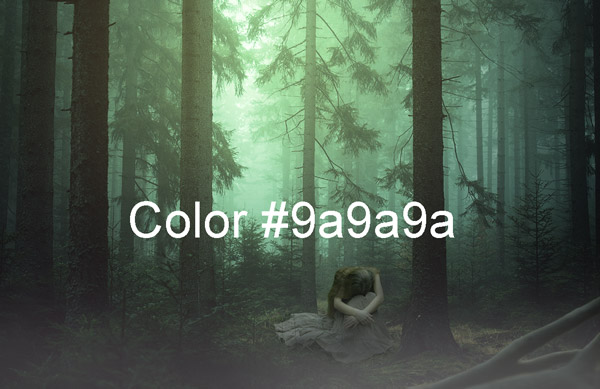
Reduce the opacity of mist layer to 29% and subtle the intensity of mist.
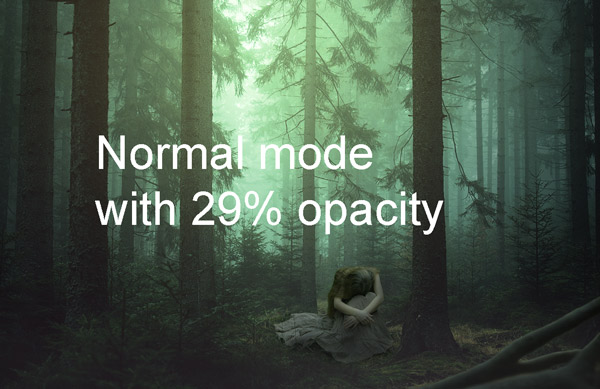
Step 19
Add a Hue/Saturation adjustment layer to mist. Now check the Colorize option to colorize the mist using the following settings:
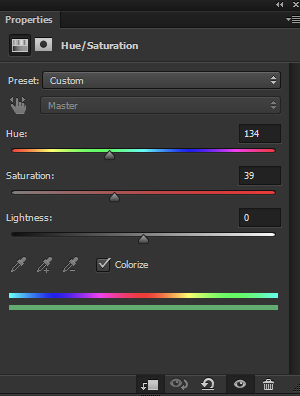
Results:
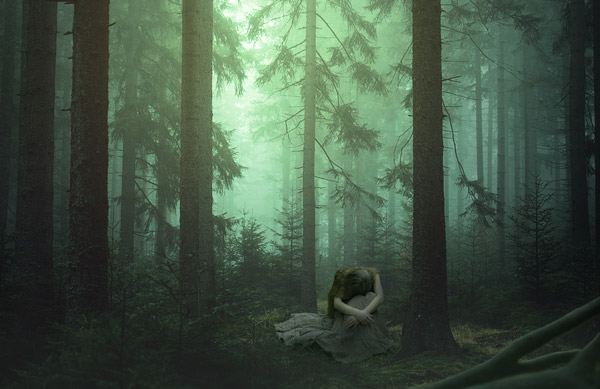
Final Adjustments
Step 20
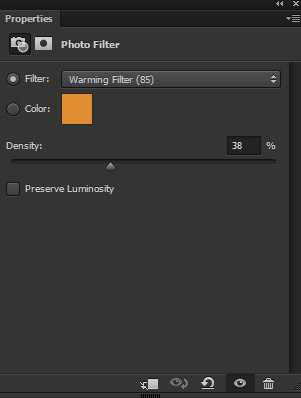
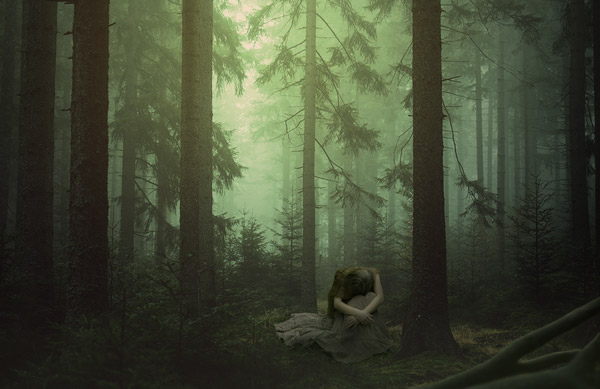
Make a Photo Filter adjustment layer (on top of all layers) and using the following settings to add warm tones to scene.
Results:
Step 21
Use the Color Lookup adjustment layer to boost the contrast.
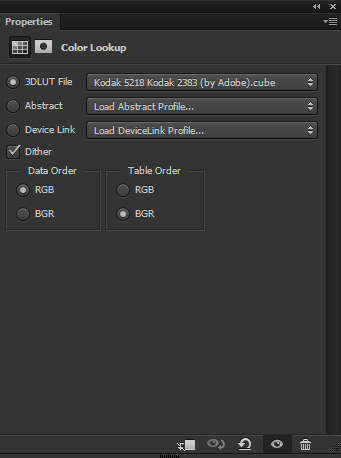
Reduce the opacity to 80%.
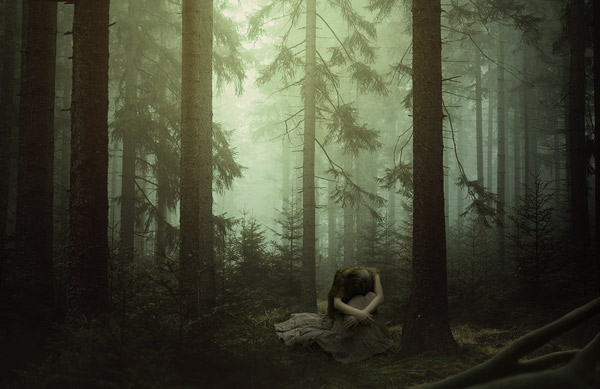
Step 22
Create new layer and name it ‘final mist’. Using the color #9a9a9a, paint the mist on entire scene except in the middle (don’t paint too much). Use soft round brush for painting the mist.
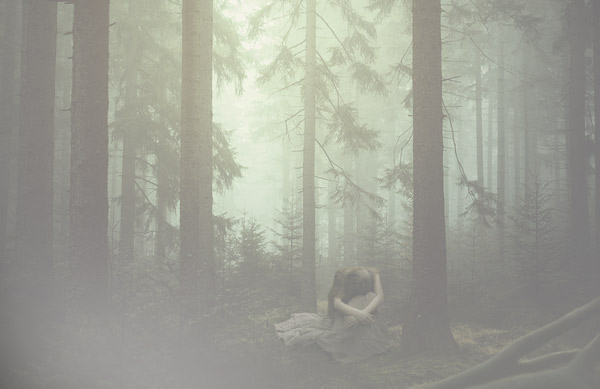
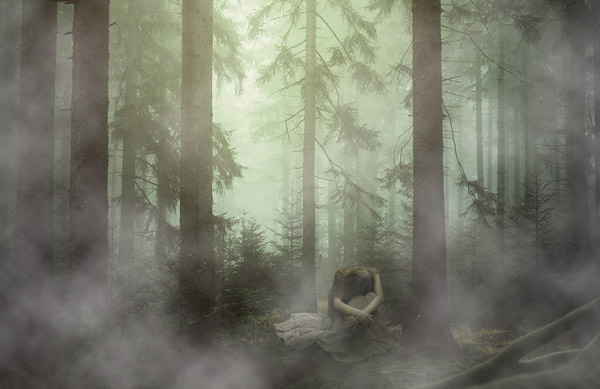
Add a mask to final misty layer by clicking on the second icon at the bottom of layer panel. While the mask is selected, go to Filter > Render > Cloud and apply the cloud filter on the mask. Before applying Cloud filter make sure background/foreground colors are set to default (black/white). Press (D) to set the color to default.
Results with misty effect:
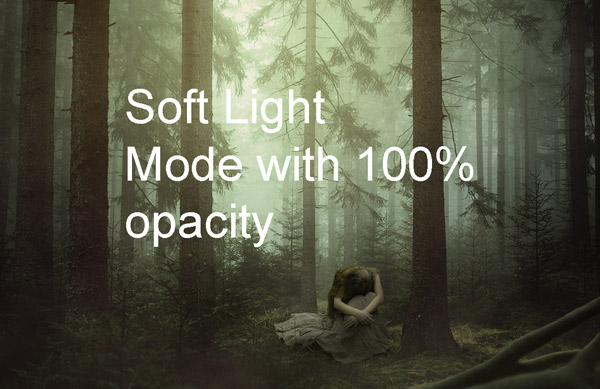
Set the blend mode to Soft Light.
Step 23
Add a Curves adjustment layer and decrease the brightness on highlights and midtones (a little bit).
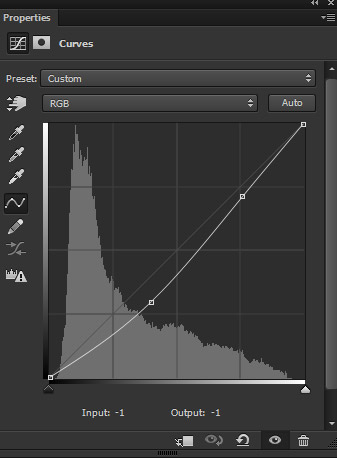
Results:
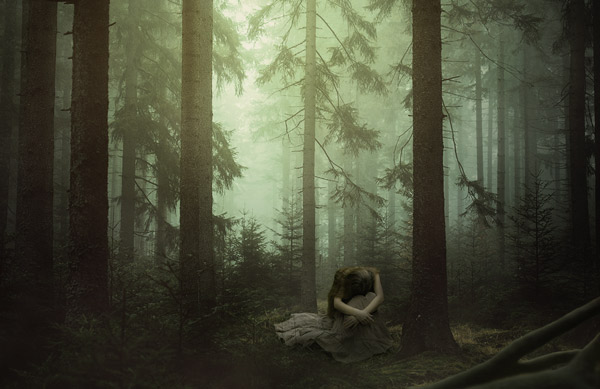
Step 24
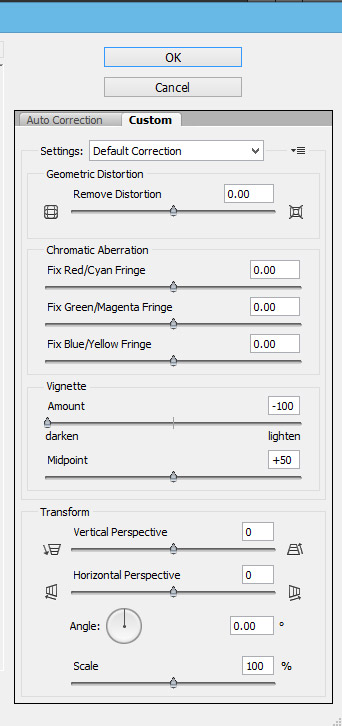
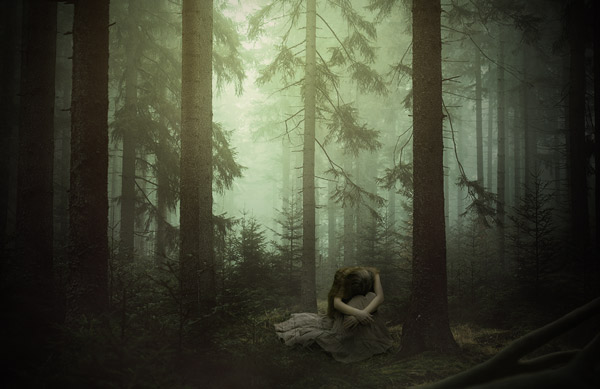
Press CTRL + SHIFT + ALT + E to merge all the layers into single layer. Go to Filter > Lens Correction and reduce the Vignette amount to -100 to create a Vignette effect for scene.
Final Results:
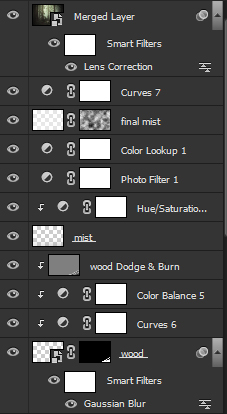
Layer panel arrange:
Conclusion
Thanks for following the tutorial and I hope you liked it. Share this tutorial with the world by just clicking the social media icon on your screen. Have a great day!

This was awesome! Thank you very much!
Thanks!