Do you ever struggle with your camera settings? If so, you’re definitely not alone! In fact, most photographers don’t know how to use their camera to its full potential… And that’s why they only get average photos they don’t really feel proud about. Capturing perfectly exposed and sharp photos requires a good understanding of the Exposure Triangle that involves Aperture, Shutter Speed & ISO. These are three fundamentals of a tack sharp photo that you ever dreamed of.
In this post, we’ll learn how to understand ISO, how and when to use it, what does it affect and so much more. We’ll go through some examples of when to use it and how you can get the most out of it as a beginner.
What does ISO Stands for?
ISO stands for International Standards for Organization. It an organization that sets standards for all kinds of different measurements.You camera does not refer to ISO organization and in your reference to your camera, it is a camera settings that makes a photo brighter or darker.
What is ISO?
ISO controls the camera sensitivity towards light. It is one of the important pillar of the exposure triangle along with Aperture & Shutter Speed. In simple words, it makes your photos either brighter or darker. Keep in mind ISO is purely a digital sensor whereas Aperture & Shutter Speed are analog situations.
The lower the ISO value the less light your camera capture that is exactly needed to avoid over-exposed photos in bright conditions.
The Higher the ISO value the more light your camera capture that is exactly needed to capture bright photos in low light conditions.
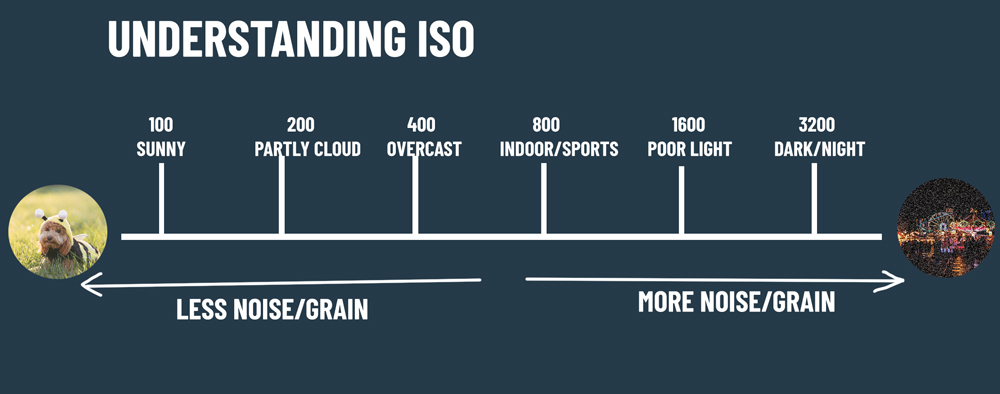
Note: A High ISO value can result in grainy photos and affects the quality of photos. It is called noise appearing in your photos caused by High ISO. But that doesn’t mean you should avoid a high ISO all the time, a little bit of noise (even you can’t notice it unless you zoom in) is acceptable than a dark photo.
ISO Values
ISO values can go as low as 100 to as high as 6400 or more. The common values are 100, 200, 400, 800, 1600 & 3200. A photo taken at ISO 400 is going to much brighter than ISO 200. In simple words, if you increase the ISO number from 100 to 200 that means you are telling your camera to double the brightness of a photo.
Set ISO Manually
In Auto Mode, the camera tries to find the best settings to capture a properly exposed image. If you are using Auto mode, then you might not able to set ISO.
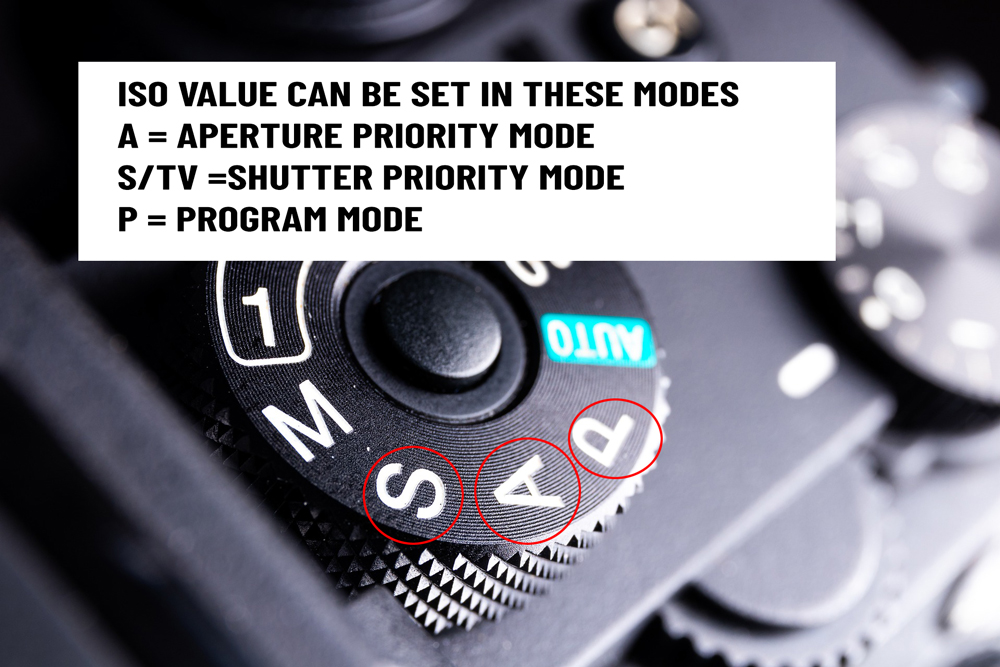
To take the control of ISO in your hand, you need to switch to Program (P), Aperture Priority (AV/A), Shutter Priority (S/TV) and Manual Mode (M) where you can change ISO values.
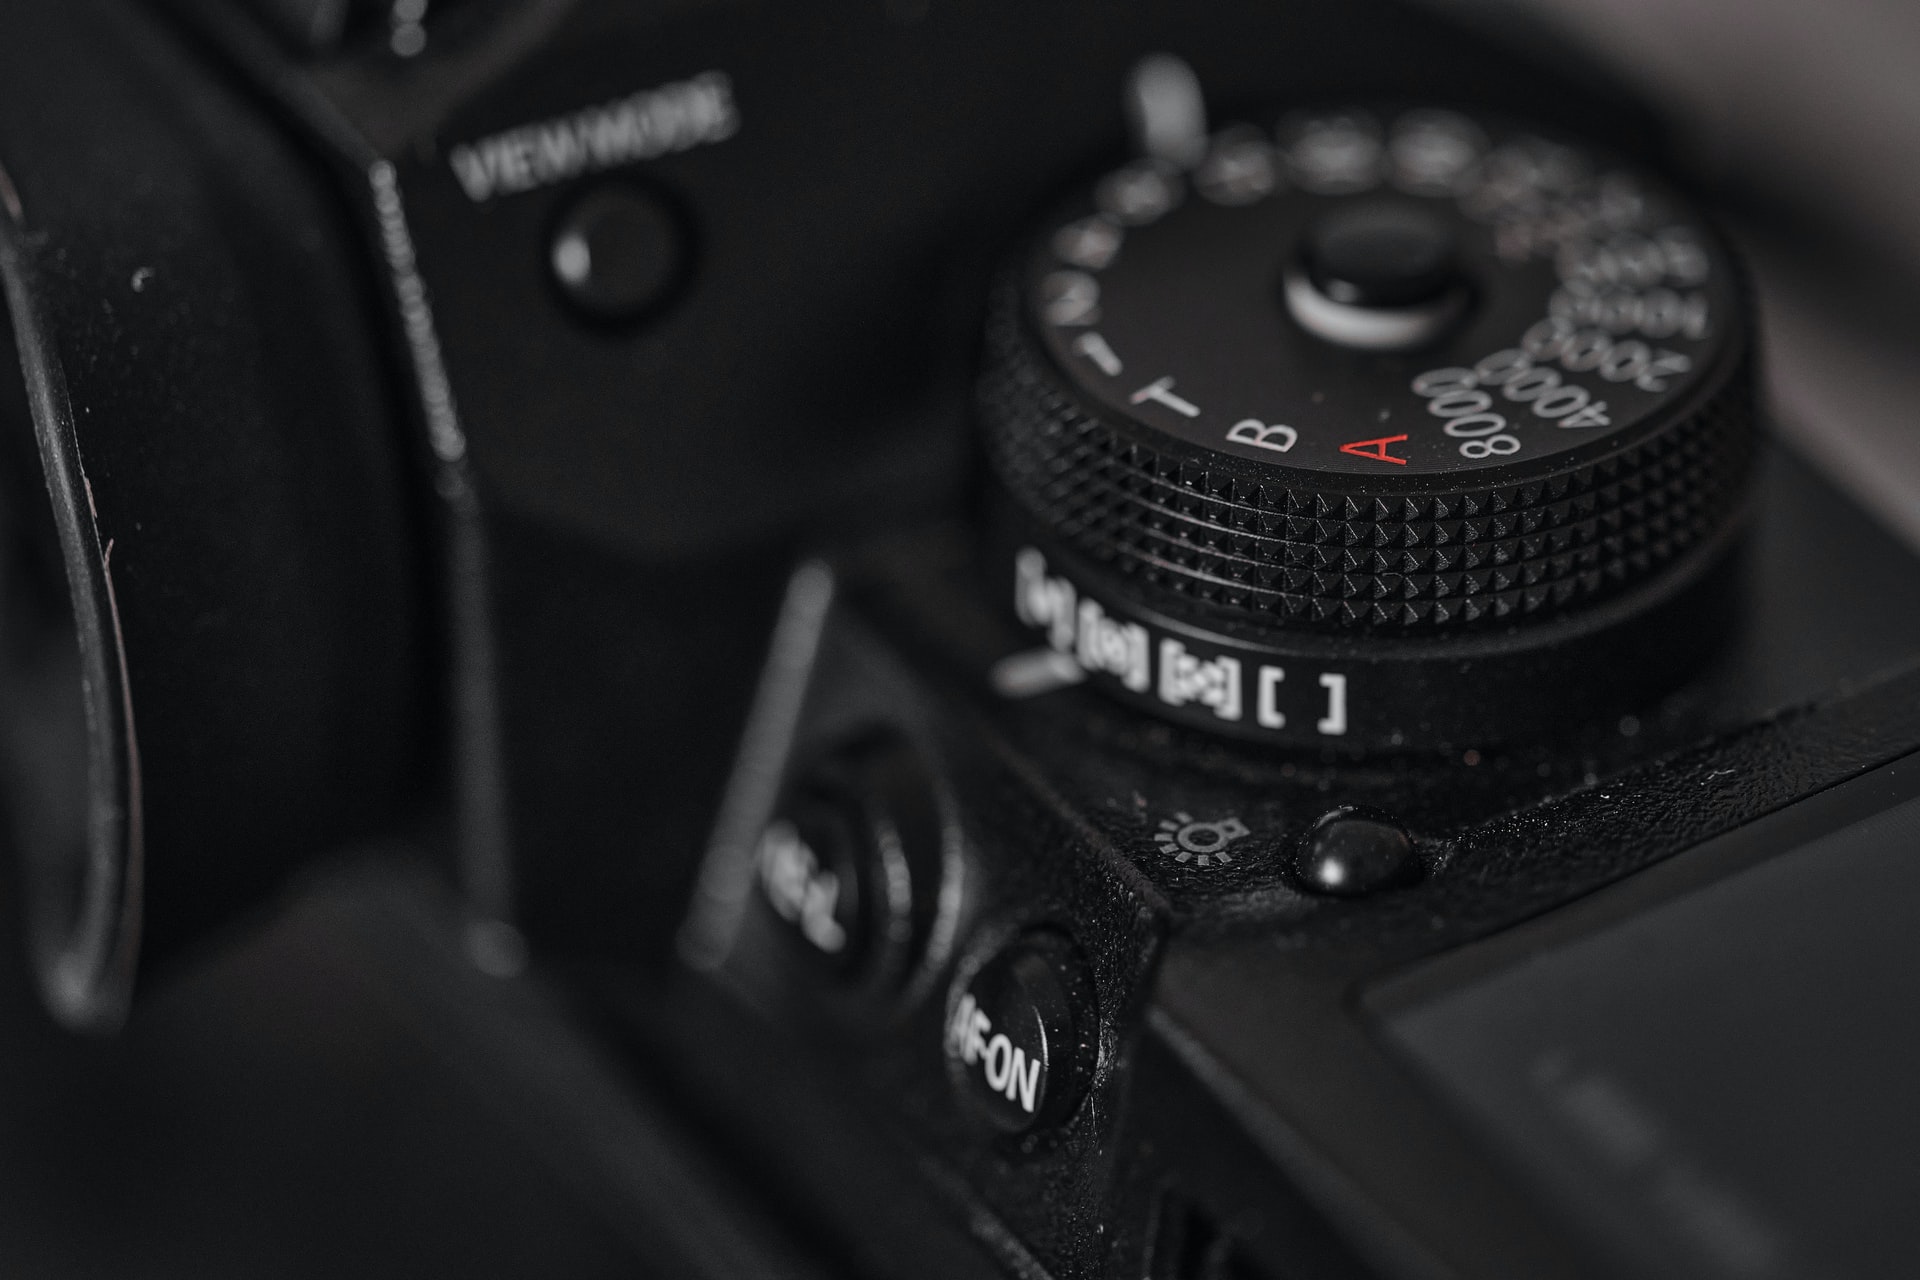
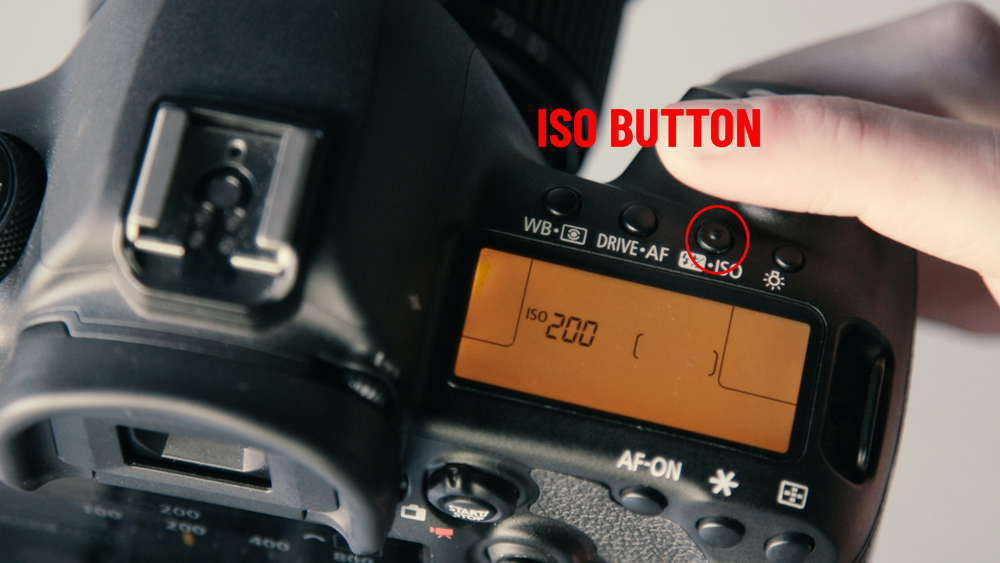
In order to change the ISO value, you need to take a look at your camera model. Some camera models have an ISO dial that can be quickly used to adjust the ISO value.
You can see a dedicated dial on a mirror-less camera:
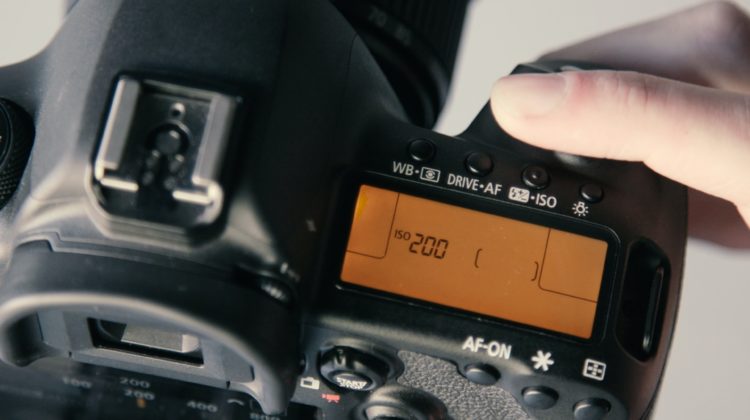
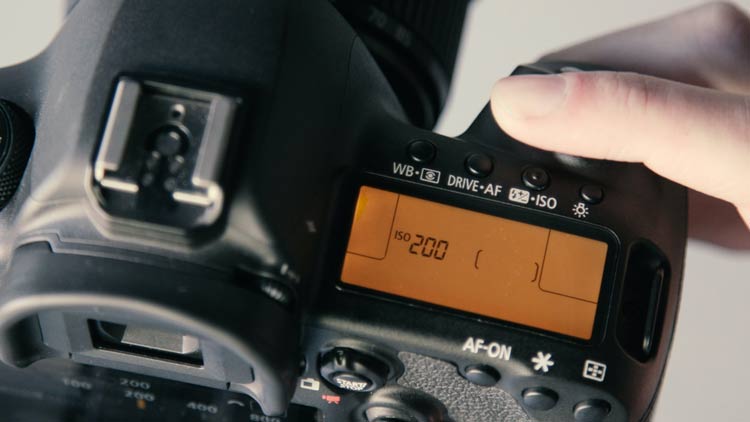
And some cameras (in a DSLR) have an ISO button that needs to be pressed to adjust ISO values. When pressed, the LCD screen shows the current ISO number and you can then adjust it according to lighting conditions.
Use Low ISO Values In Bright Conditions
When you have good lighting situations with your chosen Shutter Speed or Aperture then you should choose a low ISO value. Using low ISO values in bright conditions makes the camera less sensitive to light and captures a properly exposed photo with no grains. Most of the time a low ISO Value such as 100 or 200 is the best settings to go for.

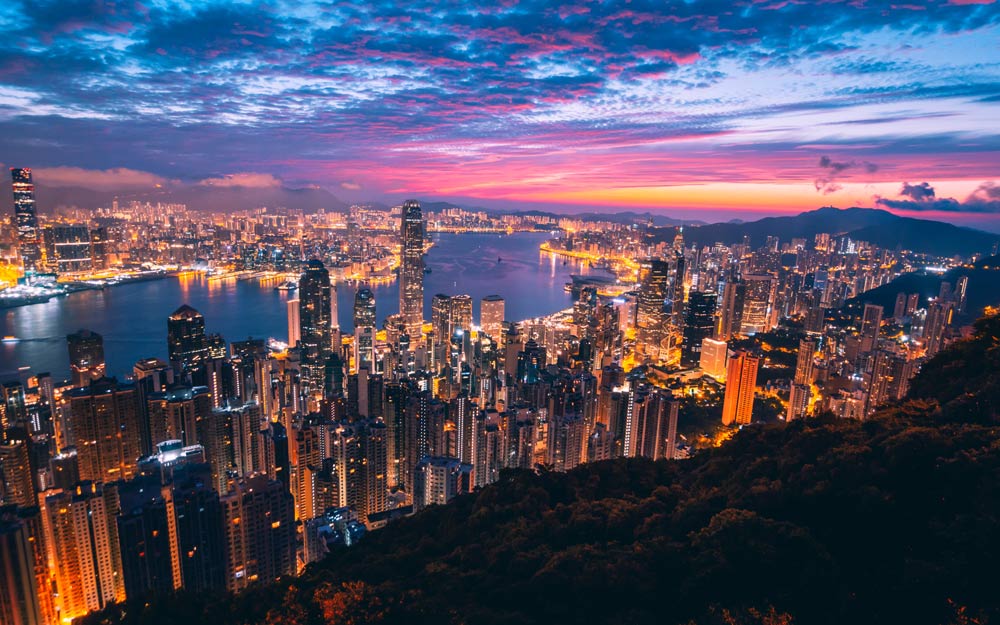
Use High ISO Values In Low Light Conditions
You might have figured this out, when you are capturing photos in low lighting situations, you should use a High ISO Value so your camera can absorb more light and give you a bright photo even at night.
Increase ISO For Faster Shutter Speeds & Smaller Apertures
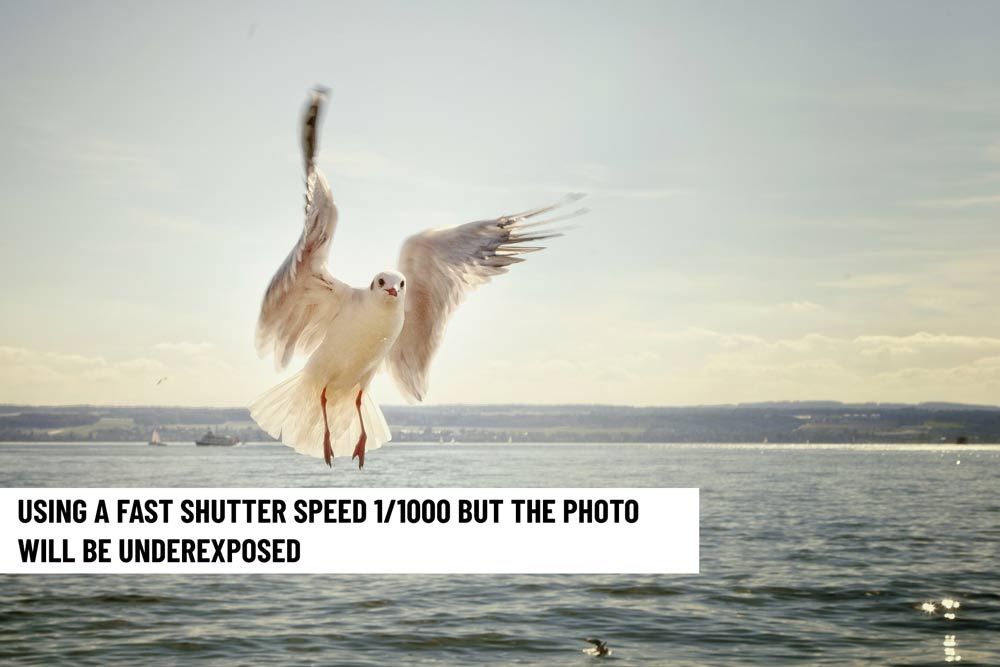
Let’s say you want to capture a fast-moving subject or object but you can’t but due to light conditions your camera is limited to slow shutter speed. Even you use the faster shutter speed let’s say that 1/1000 (remember a fast shutter speed let less light into the camera), you might end up with underexposed photos. To unlock fast shutter speeds, you can increase the ISO that will help you capture clear and bright photos of moving subjects/objects (without any blur) in low light conditions.
Let’s say you want to use the small aperture to get a greater depth of field, but due to light conditions, your camera is limited to a large aperture size but you can unlock a smaller aperture size by increasing the ISO value. This happens all because of the exposure triangle because your camera has to find a balanced exposure.
Remember, we are using either Program, Aperture Priority & Shutter Priority mode to change the ISO.
When you increase the ISO value one step, your camera has to find a balanced exposure that can be done either by increasing Aperture Size or decreasing Shutter Speeds. Increasing the ISO value (100 to 200) one step means, the camera has to increase shutter speed one stop (1/400 to 1/800) or decrease the aperture size one f-stop (f/8 to f11) to keep the balanced exposure.
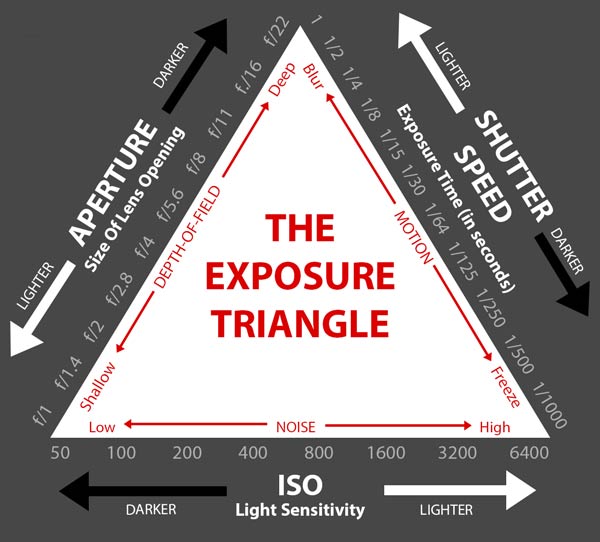
If you decrease the ISO value (200 to 100), your camera will either decrease the shutter speed one stop or increase the aperture size one f-stop.
Avoid High ISO
As you know, using a high ISO value means noise in images that results in a bad quality photo. No one wants to compromise with the quality of photos, that’s why most photographers stick to the lowest ISO values possible (100 or 200 but sometimes using a High ISO values does make sense like unlocking fast shutter speed by increasing ISO).
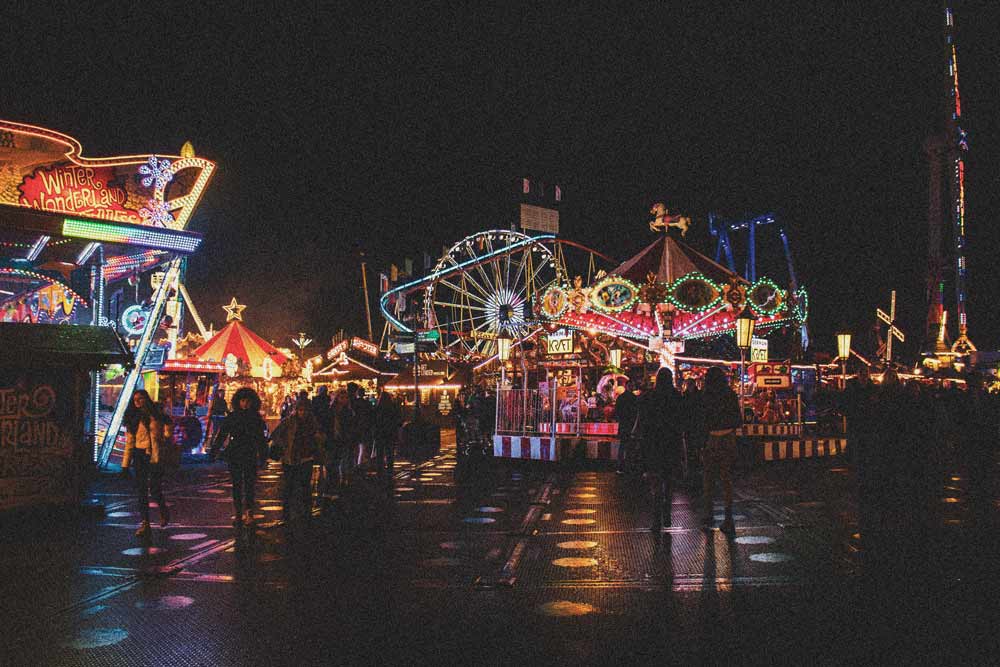
If you are shooting in low lighting conditions and the goal is to shoot a sharp image (not moving subjects), then you don’t need to use a High ISO value (3200) as you can use a slow Shutter Speed of 1/125 (higher for longer lenses). What it does is, increase the amount of light hitting the camera sensor and give you soft and bright photos without even increasing the ISO value.
But you gotta pull out your tripod or put it on a surface when shooting with slow shutter speeds otherwise you’ll get blurry photos.
Conclusion
- If there is enough light to capture photos, stick to the lowest ISO.
- In low light conditions, if you want to capture a subject that is not moving, stick to slow Shutter Speeds & low ISO values but you gotta keep your camera still.
- Use High ISO values when you need to capture fast moving subjects in low light. That will unlock fast shutter speeds avoiding any motion blur and giving you a sharp, clear & bright photo.
That’s it for now! I hope you have learned a few pointers to nail down the ISO in your Camera. If you have questions, do comment below!

Leave a Reply