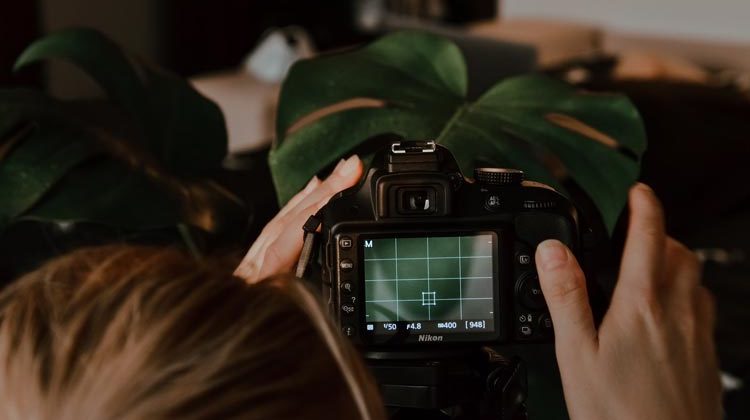
In this article, you’ll learn how to use the Single, Continuous and Manual Focus mode in your camera. Most importantly, when to use manual focus in some scenarios where Single & Continuous won’t make much difference.
All your camera (and your eyes) can see and capture is merely light reflected by the objects surrounding you. Thanks to some amazing properties, light can carry information about the color of each object. An image is in focus when the light reflected by each point of the area that we want to focus on converge precisely at the plane of the camera sensor.
Your camera works together with the lens to achieve focus. The inner technical details of how the focus system works in your camera are very complex, out of the scope of this article, and many photographers don’t even bother going that deep into the knowledge of this technical aspect.
There are 2 main autofocus settings:
- Single Autofocus
- Continuous Autofocus
Single AutoFocus
It’s the very first setting you should learn how to use. The single focus mode works best for non-moving subjects and static scenes. In this mode, when you press the shutter button halfway, you will activate the focus, and your camera will attempt to focus automatically on your subject. Keep the shutter pressed halfway to “lock” the focus.

The camera will not release focus until you either press the button all the way down to take the photo or release and press the shutter button halfway again.
How to Select Single AutoFocus
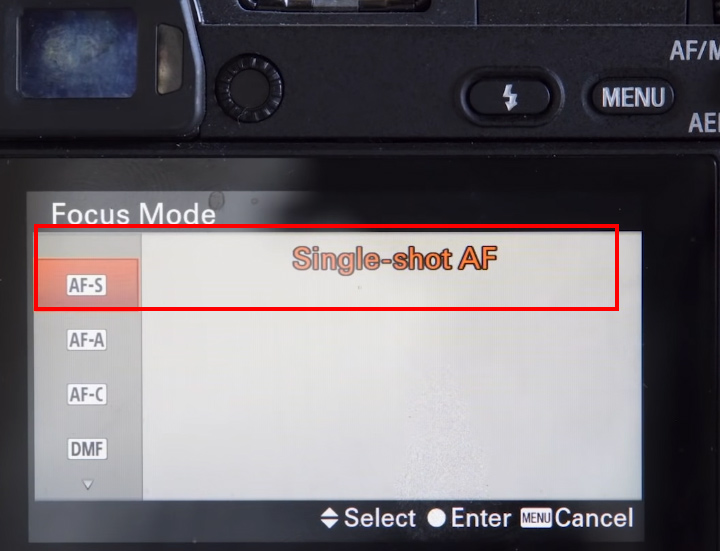
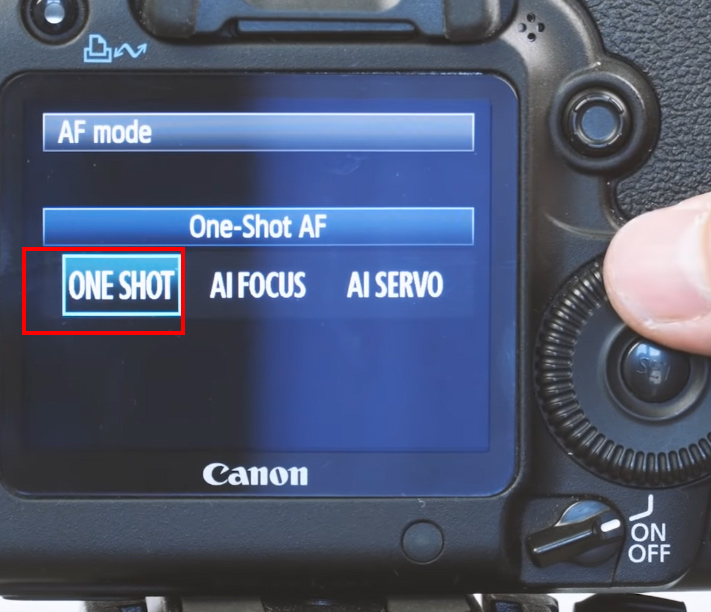
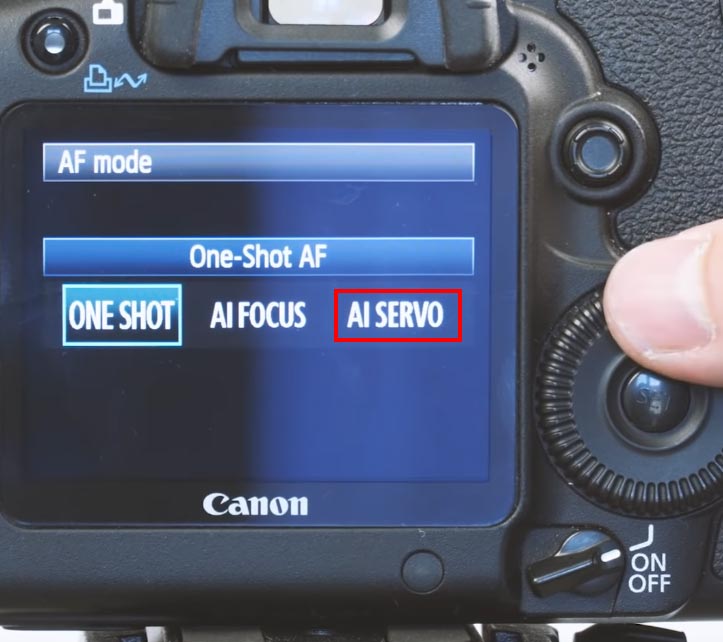
You can use the menu to Select Single Focus on the back screen of your camera. Single Shot shot is called one-shot on Canon cameras, AF-S on Sony, Nikon and most of cameras out there.
On Canon Camera:
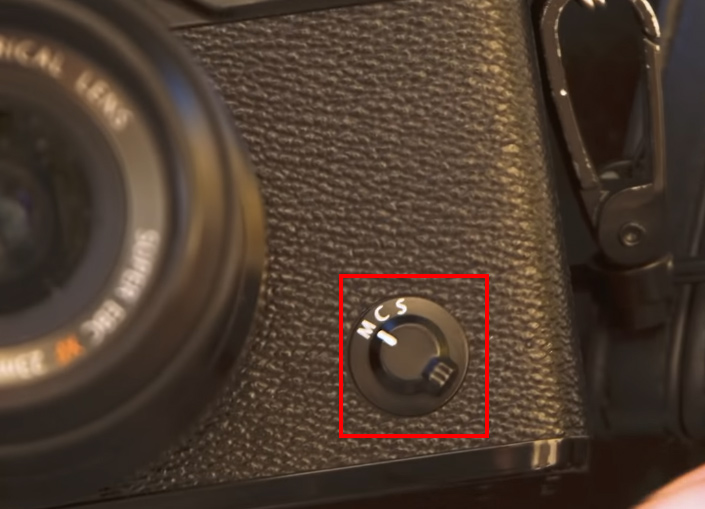
You might see these options on the camera body to select between Single, Continuous & Manual Focus mode.
Once you select it, press the Shutter button half way down to focus on your subjects.
Continuous AutoFocus
It’s specifically designed for moving subjects and for dynamic scenes. Same as for single autofocus, as long as you press the shutter button halfway down, the focus will activate and continue to follow the moving subject and move with it while tracking your subject.

To take the photo, press the button down. Half release the shutter button after shooting. The continuous autofocus will keep following the subject until you either press all the way down again to take the photo or fully release it. It sounds more complicated than it is!
How to Select Continuous AutoFocus
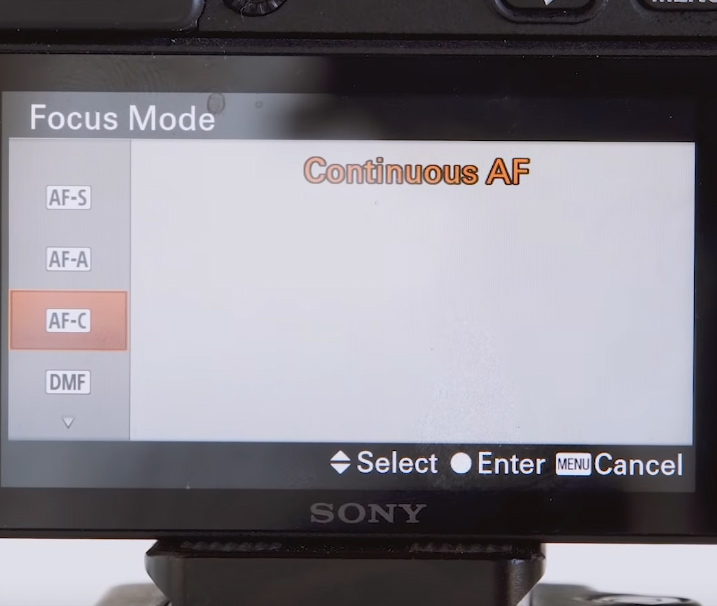
Just like Single Auto-Focus, you can select Continuous Autofocus mode in the Camera Menu. It is called AI Servo on Canon Camera, AF-C for most of the cameras.
Use AI Serve mode on Canon Cameras:
Depth of Field and Focus
Depth of field describes the range in a photograph, from near to far, that appears to be in focus. The more a lens is opened up – for example, to an aperture of f/4 – the less depth of field there will be (i.e., the foreground will be in focus, and the background will appear blurred).
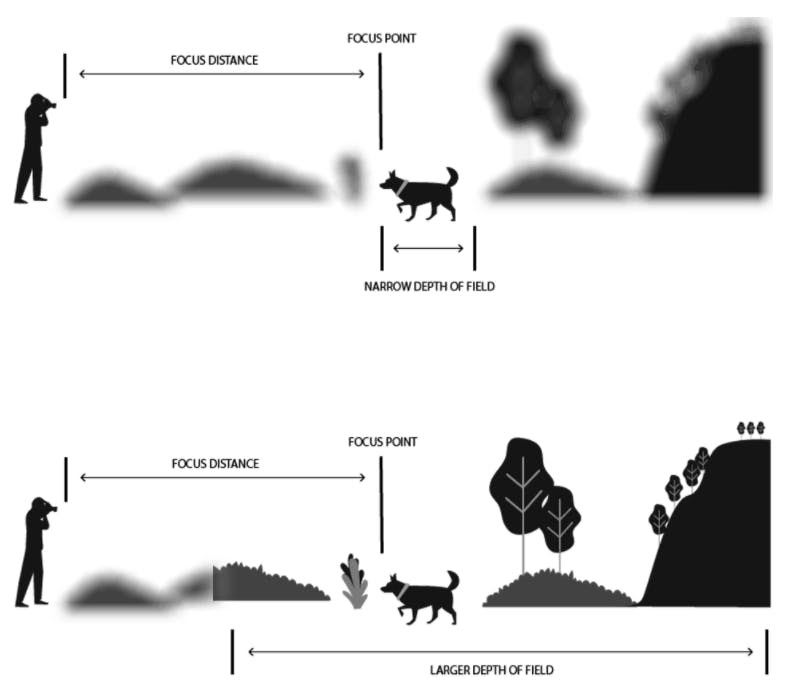
Example:
If you require all the elements of your composition to appear sharp, you should stop the lens down to an aperture with a higher numerical value, such as f/16.
When you are taking headshots of people, a shallower depth of field proves beneficial, as this isolates them from any distracting background detail. In contrast, a deeper depth of field often ensures that every detail is in focus for a landscape shot.
Manual Focus
Autofocus almost always does the job, but there are cases where no matter how many times you press that shutter button, your camera can’t focus properly on your subject. You can use manual focus to override Auto-focus and take the control of focus in your hand. Your camera lens’ focus ring needs to be twisted as you point & shoot to change the focus.
When to Use Manual Focus
Low Contrast: If there’s not enough contrast in your scene, your camera will struggle, and it will take more time to focus. It can also miss focus completely.
Low Light: In dimly lit environments, Autofocus suffers because the lens cannot let enough light pass through. A wide aperture such as f/1.4 or f/2.8 will be more suitable for this light condition than an f/5.6. However, a problem you will encounter is that your Depth of Field can be very shallow. Switching to Manual focus will solve the problem.
Shooting Through Glass: If you’re on a plane and want to take a photo out of a window, your camera will most probably get confused. Manual focus comes to the rescue.
How to Use Manual Focus
It can be a little bit intimidating at first if you’ve never used it, but when you get more confident with it, manual focus is quite fun to use.
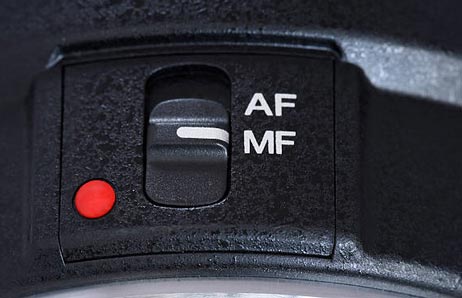
First, you need to switch your lens to Manual Focus mode. Your lens has a switch labeled AF – MF or A – M. Flip it to MF (or M).
Camera lenses have a ring dedicated to focusing. Start by bringing the viewfinder close to your eye and twisting the focus ring. Look how the different parts of the image come into focus. Now look at your lens from the top and notice how the focus ring has numbers indicating ft or m. Those are distances expressed in two scales, feet and meters.
Twist the focus ring and align one of those numbers with the mark at the fixed mark at the center you’ll know the distance where the lens is focusing.
This method is essential for studio photographers.
Pro tip: Once you’ve put your subject in focus, you can use the live view mode and check your LCD screen to fine-tune the focus. Using the magnifying button, you will see your subject with greater detail and check from the LCD in live view mode if the image is tack sharp.
When you’re happy with your focus and composition, hold the camera steady, hit the shutter button. Done, congrats on using manual focus mode!
There is a lot more to cover on focus but I just wanted to cover some basic stuff to keep you going. I hope you enjoyed the article. Do comment, if you have questions….
Recommended Reading:

Leave a Reply