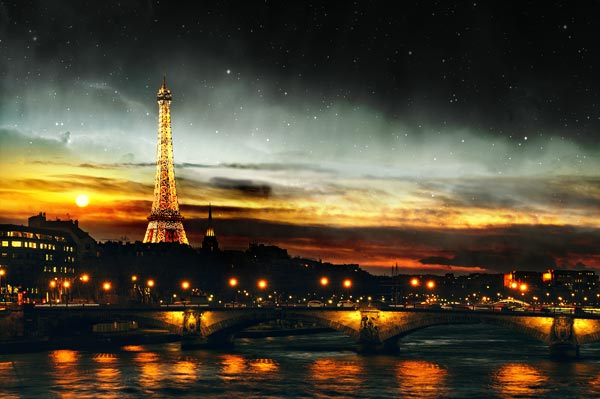
In this tutorial, I’ll show you how to create a day night scene photo manipulation in Photoshop. We’ll use a city image for this tutorial, and then we’ll add the sun and stars to make the scene complete. After that, we’ll finish it up using adjustment layers and you’ll be brushing up your photography skills as well.
Tutorial Resources
Step 1
Create a new document in Photoshop by selecting File > New and give the following values :
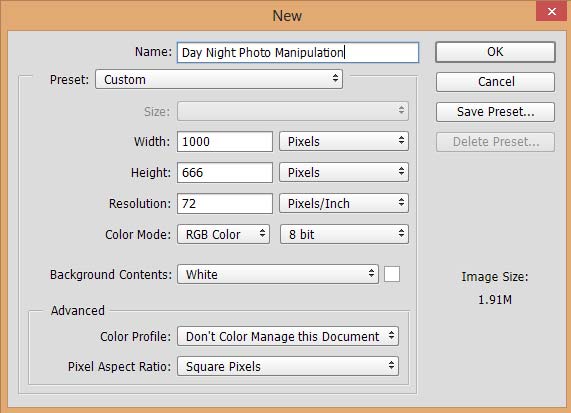
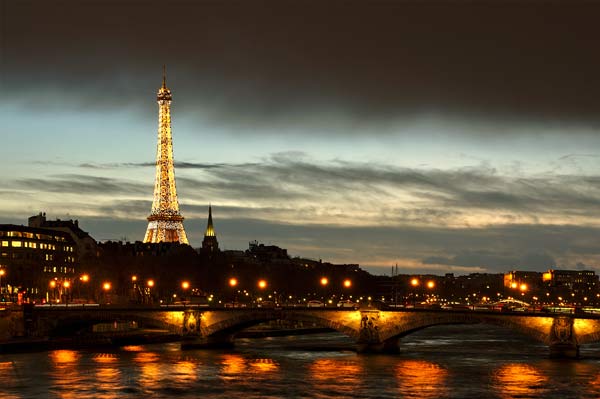
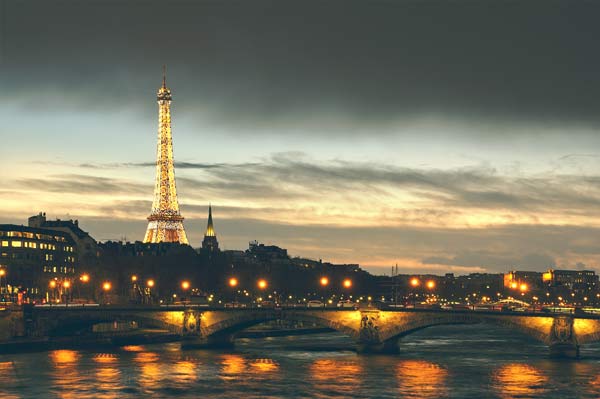
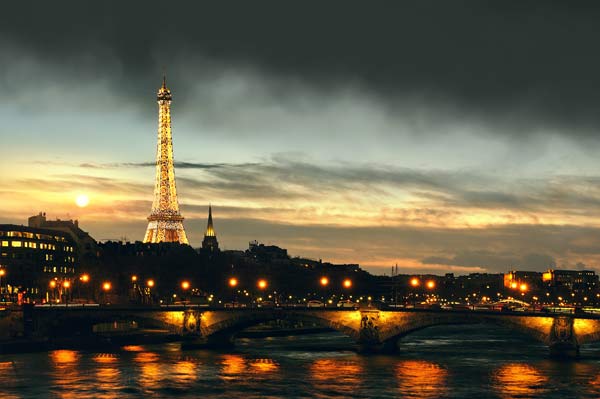
Place the city image to the main document using Place command. Go to File > Place Embedded and then place the city image.
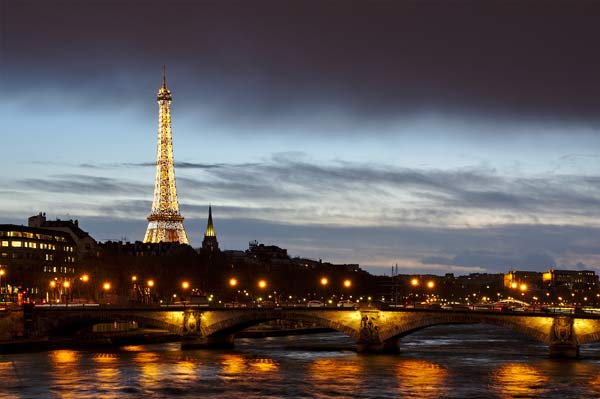
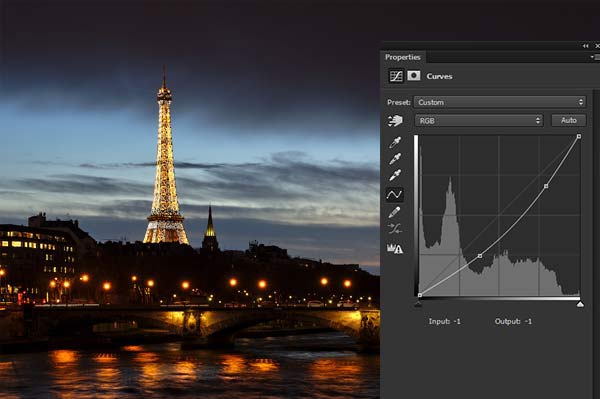
Step 2
Go to Layers > New Adjustment Layer > Curves and make a Curves adjustment layer. Then use the following setting to darken the city:
Step 3
I used the Color Balance for adding basic colors to composition. Only use Midtones and Highlights settings.
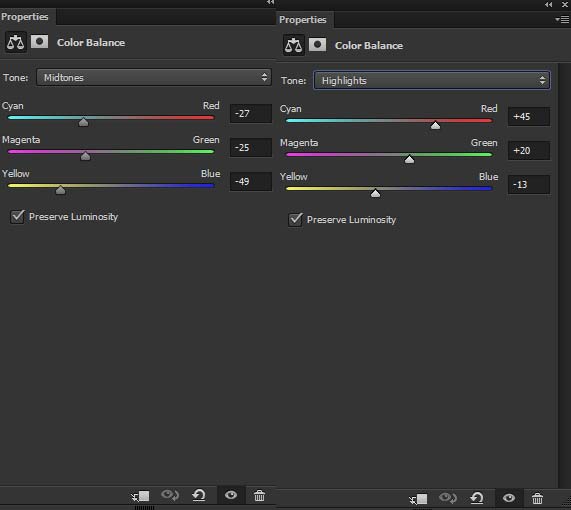
You can notice that I added mostly yellow and red color using Color Balance adjustment layers. Feel free to experiment with different settings it will only take a slider to drag left or right.
Step 4
Press CTRL + SHIFT + N to create a new layer. Set the foreground to #4b2e15 and activate the Brush Tool (B). Use a soft round brush and paint it over the sky like I did it below.
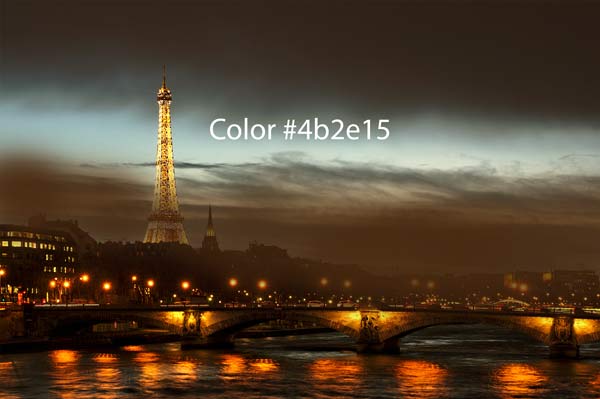
Change the blending mode to Color Dodge and light up the sky.
Step 5
Make a Gradient Map adjustment layer on top of all layers. Choose the gradient color flow from dark blue (#0b2732) to dark orange (#523618).
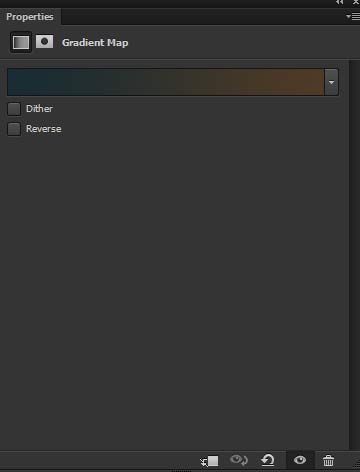
Set the blending mode of Gradient Map to Screen.
Step 6
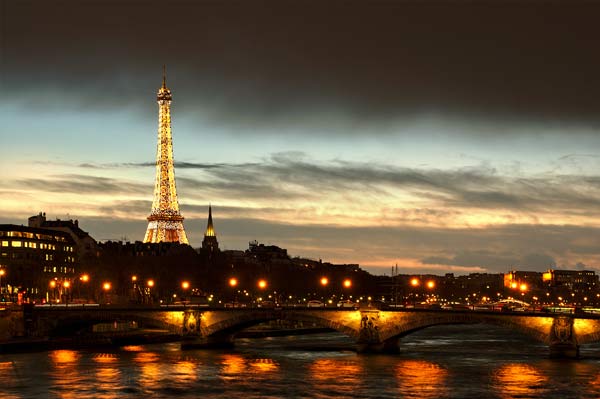
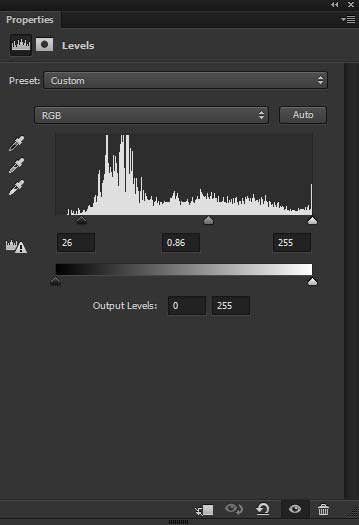
I used the Levels adjustment layer for increasing the contrast of whole scene.
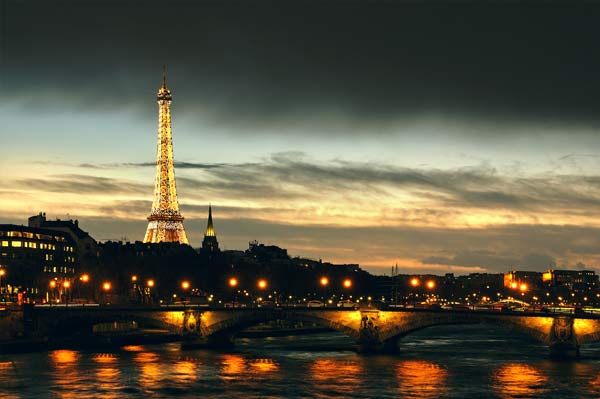
Results:
Step 7
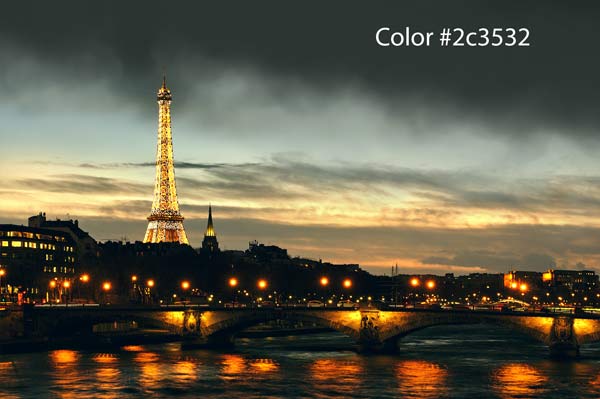
I didn’t like the clouds over the city and so I decided to paint the clouds. So I painted some clouds using soft round brush with color #2c3532. If you don’t know how to paint clouds then you can skip this step or you can also use clouds images or brushes for painting cloud. You can find many clouds brush on DeviantArt.
Here are the results after painting clouds.
Step 8
Place the sun image to the main document using place command. Use the Transform Tool (CTRL +T) to flip it horizontally. Click on the second icon at the bottom of layer panel and add a mask to sun layer. We’ll only need the sun and also, the sunset mood in this image is exactly matching with city sky. So mask everything except the selected part in below image using a soft round black brush. For betting masking result tries to reduce the brush opacity and flow around 40% and try to keep some parts of the sun image which exactly match the city sky.
Here you can see the image for reference:
Results after masking:
Step 9
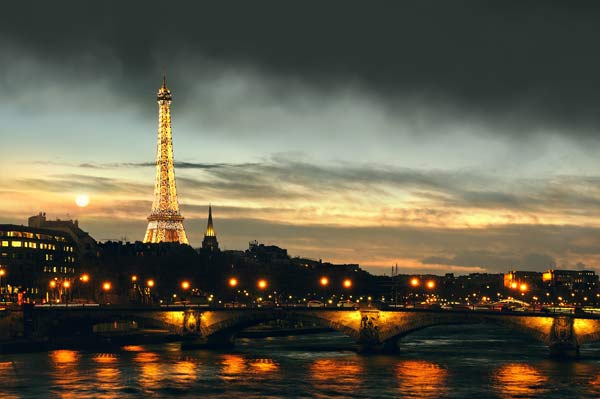
Now we’ll illuminate the sun by painting light over it. To do that, first, create a new layer and name it ‘sunlight’. Choose the dark orange which we used in step 4 and paint some light over the sun as shown in below image.
Change the blending mode to Color Dodge.
Step 10
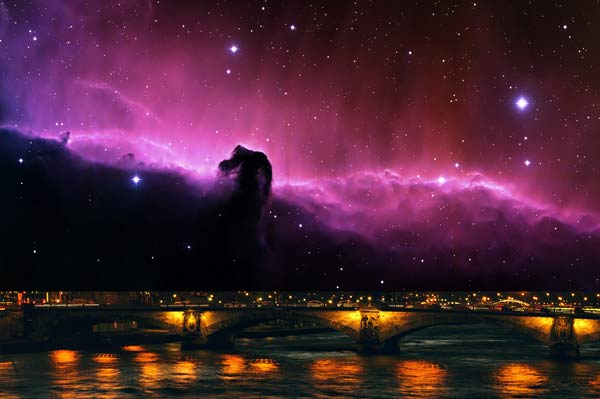
Now we’ll add the stars to the sky to complete the scene using nebula image. Place the nebula image to our main canvas.
For blending the nebula with the existing background, simply change its blend mode to Overlay. Also, using layer mask I masked out the bottom parts of it to blend it properly with the background. Here are the results:
Step 11
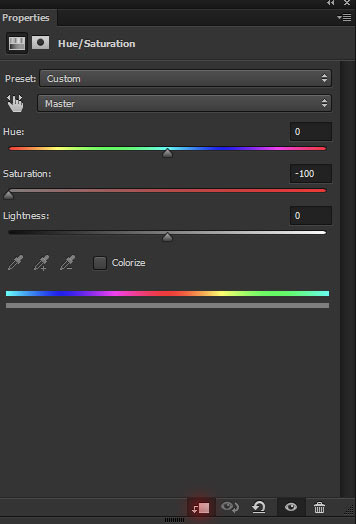
The nebula color is not matching with the background and it is because it has too much saturation. Make a Hue/Saturation adjustment layer for nebula and set it as Clipping Mask (click on the red icon).
Reduce the saturation to -100 by dragging the Saturation slider.
Here are the results:

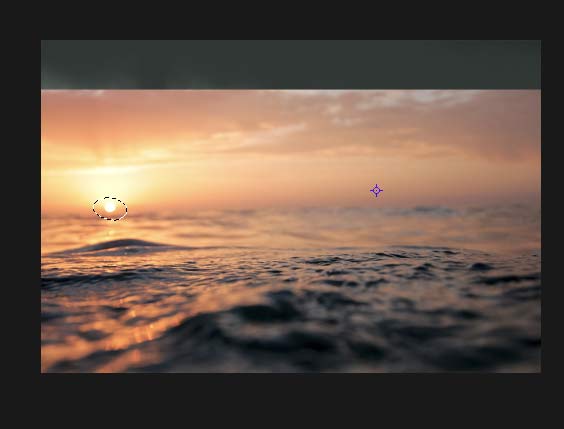
Step 12
You may notice that some parts of the nebula (indicated in red circle) not blending with the sky and it also doesn’t look good like big clouds, some big stars, and many others.
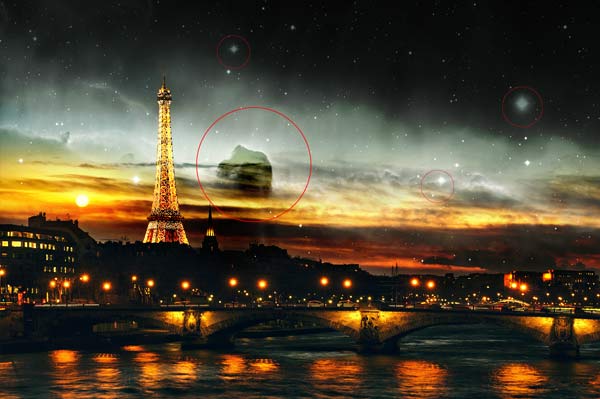
To fix this, we’ll retouch the image using Clone Stamp Tool (S). Create a new layer and name it ‘cloning’. Activate the Clone Stamp Tool (S) and clone out the unwanted parts from the sky. Here are the results after cloning :

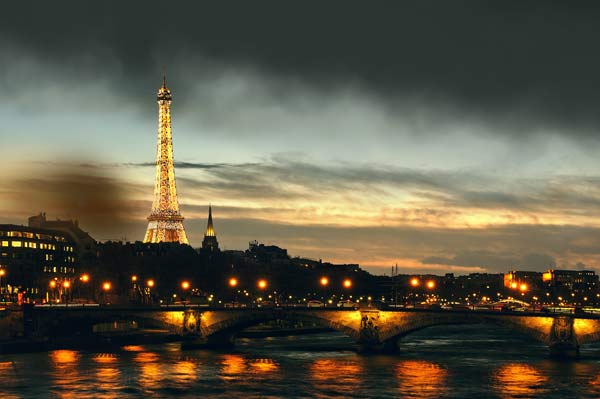
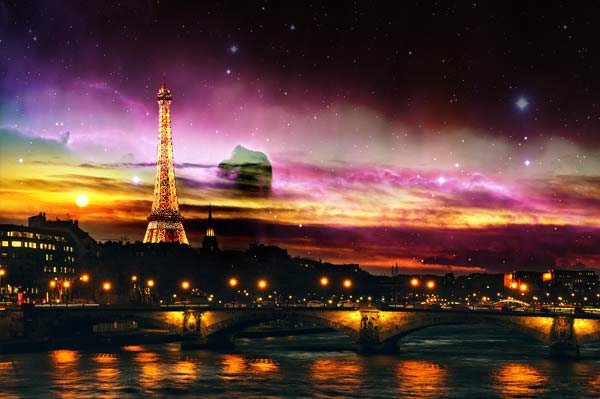
Conclusion
I hope you enjoyed the simple tricks and tips in this tutorial. If you have any suggestion then do let me know and I would love to hear thoughts and feedback. Till then keep photoshopping!!
its a lovely tutorial but the links to the images cannot be opened
Hey Nikita,
Thanks for letting me know and just fixed the links.