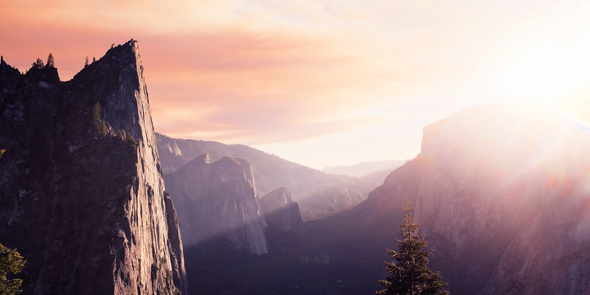
Photoshop Filters are used to add special effects to photos. Using Filters we can add certain effects to our photos and we can also customize filters non-destructively using Smart Filters. In this tutorial, I’ll introduce you to some common basic filters used in every photo manipulation. Read this tutorial and find out how you can use filters to add special effects to your photos.
Tutorial Resources
Photoshop Filters
Photoshop Filters are used to clean up or retouch your photos, you can also apply many effects such as blur, sketch, lighting effects, motion blur, lens flare, noise and much more with the filters. To apply a filter to an image select Filters and you can choose any filter in Filter submenus. See the below image.
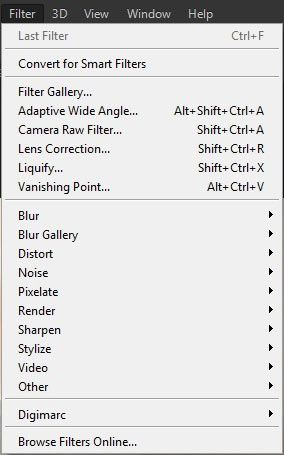
But before we apply a filter to any image and let me tell you about using the filter non-destructively using Smart Filter.
Smart Filters
Smart filters are used to apply Filters non-destructively. That means you can easily go back to customize the value of any filter at any time and Smart Filter also comes with a built-in layer mask, it allows you to hide the effect of filters in unwanted areas.
To use Smart Filter, first, we need to convert the image into smart objects. First, open any image in Photoshop and right-click on it then choose convert to smart objects.
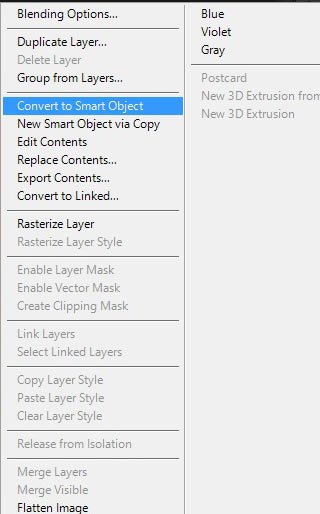
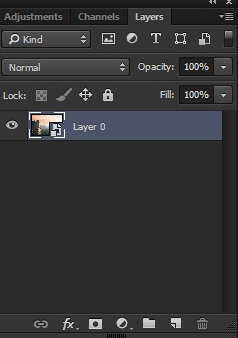
Here we have the image converted into smart objects and now we ready to apply Filters to any image without harming it.
Gaussian Blur Filter
The most common Photoshop filter used in all kind of photo manipulation is Gaussian Blur filter. It very simple filter and it used to blur the image or you can soften the image as well from this filter. You can also use this filter for retouching and also used to add depth to photo manipulation.
Here we have the mountains image open in Photoshop.

Add a Gaussian Blur filter to the mountains by selecting Filters > Blur > Gaussian Blur.
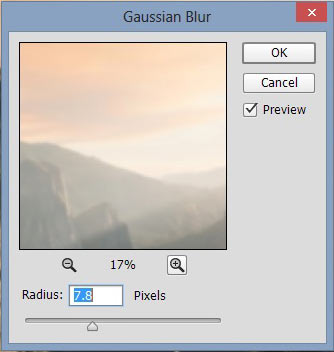
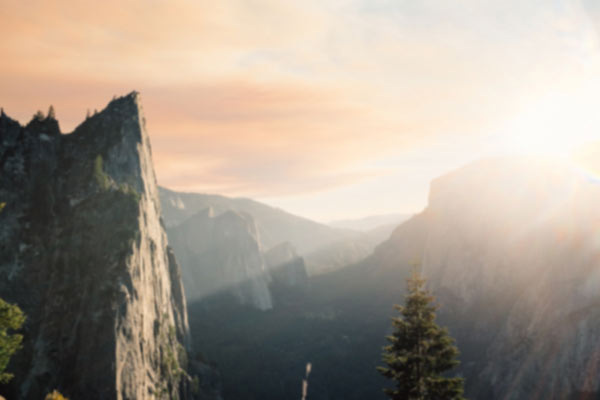
Here are the results. You can increase the radius value for stronger Gaussian Blur effects.
Look at the layer panel now.
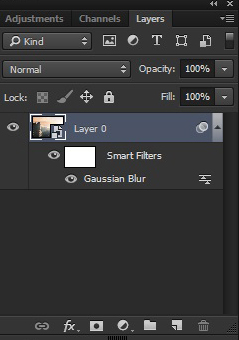
As you applied a filter to smart objects, we are having an area that says “Smart Filters” indicating that we have now smart filter applied to objects.
Now if you double click on the smart filter then you will able to change the value of applied filters. You’ve also notice that there is the white rectangular area right beneath the smart objects and it is the layer mask of Smart Filter. You can use it to hide the effect of the smart filter and it also same as an ordinary layer mask.
Motion Blur Filter
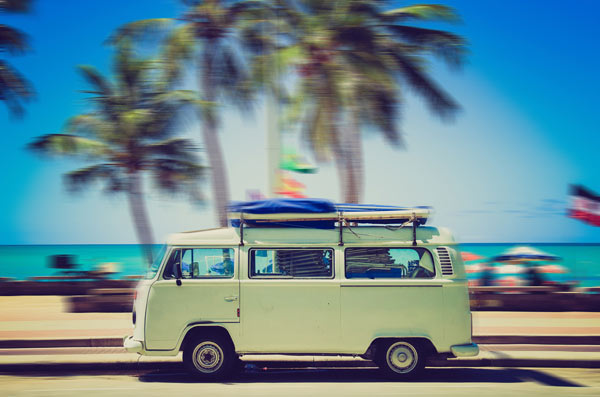
Motion blur Photoshop filter is used add motion to photos. You can add motion to cars, bike and to falling objects.
To add Motion blur to any image select Filter > Blur > Motion Blur.
Open up the vehicle in Photoshop.

Now add Motion Blur filter to vehicle image. Here are values.
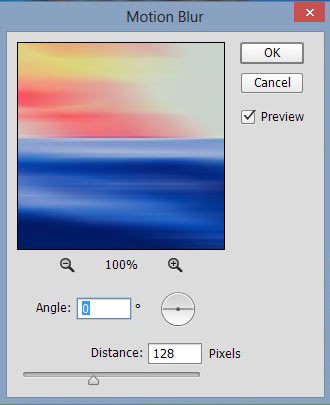
In the above image, the angle determines the direction of motion and distance slider is used to set the length of the motion blur streaks. The higher the distance value the more you have the longest streaks.
Here is the result and I also erased the effect of motion blur on the vehicle using a layer mask.
Add Noise Filter
Add Noise filter is used to add grainy effect to your photos. You can also use it to add a little bit texture to your image. Combining the Add Noise and Motion Blur filter you can apply rain effect to your photos.
Open the little girl image in Photoshop.

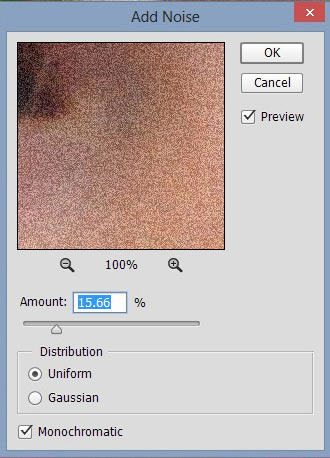
Add the Add Noise Filter to girl image by selecting Filter > Noise > Add Noise. Here are the values.
Here are the results.
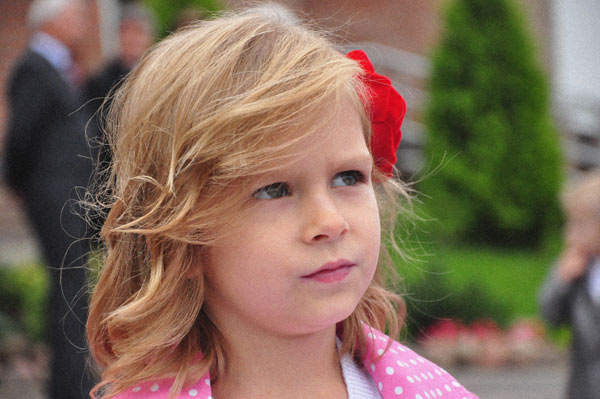
As you can see we’ve got the grainy effect on the image.
Clouds Filter
Clouds filter is used to create smokey and misty or foggy effect. With this filter Photoshop basically, takes your current foreground and background colours and create a random, cloud-like effect.
Let’s create a cloudy effect using Cloud Filter. So Create a new document in Photoshop about 500 into 600 pixels and fill it with black color by pressing Alt + Backspace (make sure you foreground and background is set to black/white and you can set it to default by pressing (D) on the keyboard) or you can go to Edit > Fill.

Now create a new layer and choose the lighter blue color and make a big stroke using Brush tool on the layer as shown in the image below.

Now add a layer mask to the newly created layer and then apply a Cloud filter by selecting Filter > Render > Clouds on the layer mask of newly created layer.
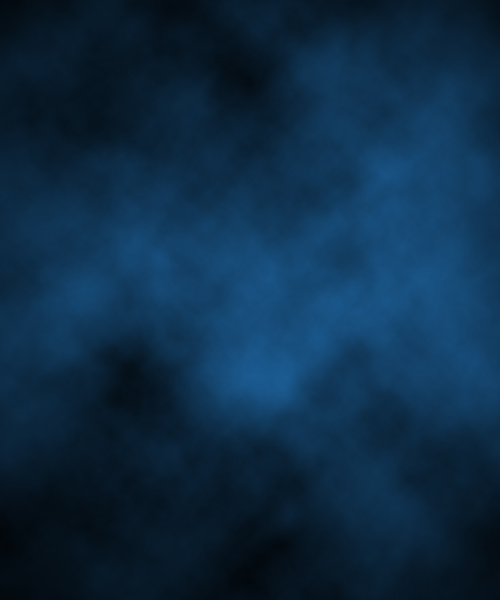
As you can see we have very smokey cloud effect.
Lens Flare
Photoshop Lens Flare filter add a lens flare effect to the photos. You can use it for adding a nice glowing effect to your photos. It is also used to create a light source in photo manipulation.
Open up the family image in Photoshop.
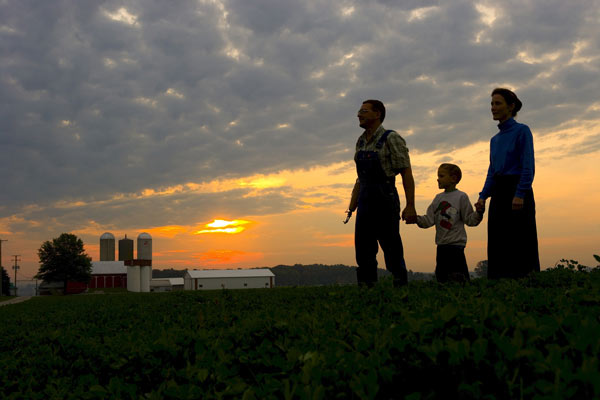
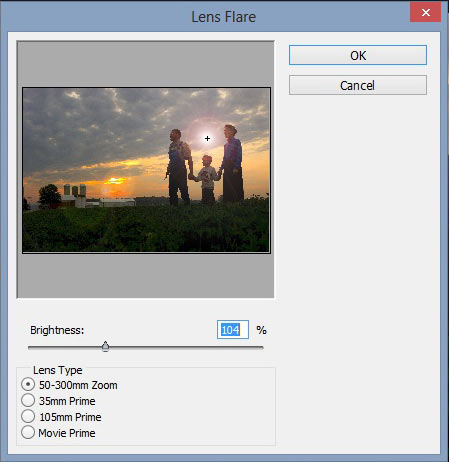
Add a lens flare to it by selecting Filter > Render > Lens Flare. Here are the values and you have four type of different lens to choose. I’ve chosen the 50-300mm Zoom.
Here are the results.
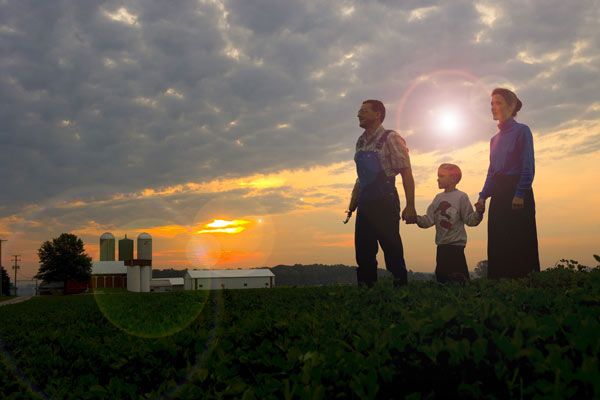
As a result, we have nice glowing light source added to the family image.
High Pass Filter
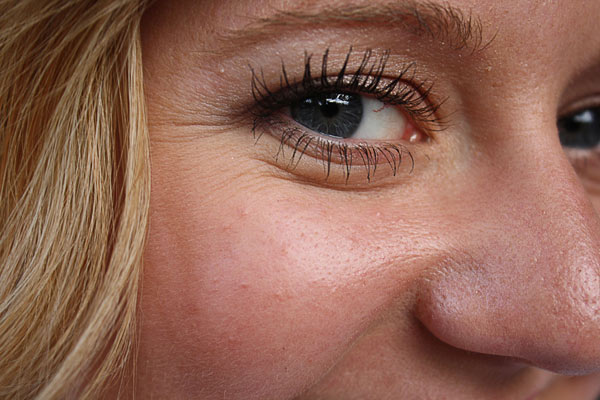
High Pass filter in Photoshop used for sharpening the image. It’s is one of my favorite filters for sharpening the photos and also used in retouching to bring back the lost details. To add a High Pass filter to any image first you need to duplicate the image.
Let’s open up the girl image in Photoshop.

Duplicate the girls’ image by pressing (CTRL + J) and add a High Pass filter to it by selecting Filters > Other > High Pass. Then change the blend mode of duplicate girls image to Overlay.
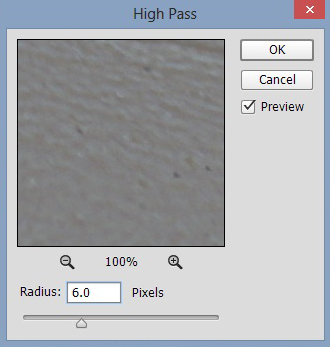
Here are the results with the sharpened image.
Conclusion
So these are the most used filter in every photo manipulation. Always use the Smart Filter to apply Filters to any image. There are many Filters available in Photoshop but going over the every Filter would take a very long time, so I just introduced the common one. Now you are ready for the advanced upcoming tutorial and we’ll implement all the things you’ve learned so far on PSD Stack into photo manipulation.

Nice post !!!
Articulo rápido y bien estructurado.
Nice tutorial 🙂